A JIG FOR MARKING PLUMB CUTS IN RAFTERS
2. Then nail on a 1×2 fence.
|
|
|
|
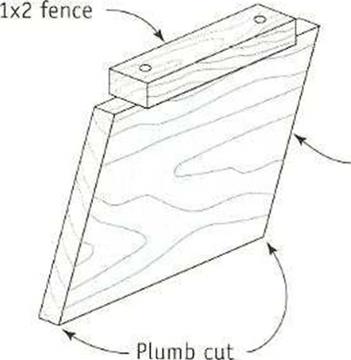
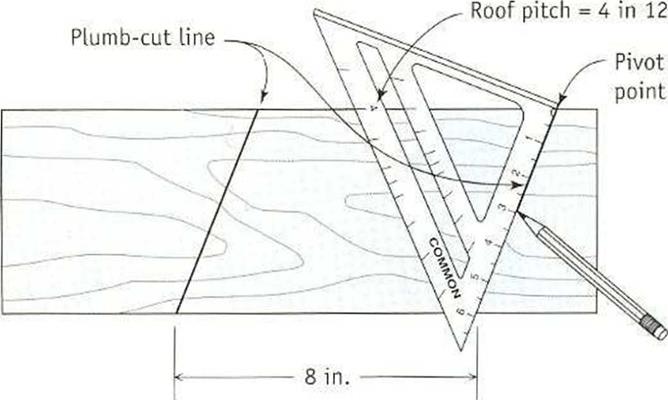
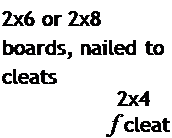
If you need to make a series of plumb cuts to match and align rafter tails along an eave, make a jig like the one shown here. Use a rafter square to mark the plumb-cut angle of tie roof (4-ІП-12 or 5-in-12) on a short length of 1×4 or 1×6, depending on the rafter size. Cut a parallelogram-shaped template with
identical plumb-cut angles, then nail a short 1×2 fence to the upper edge of the template. Once a chalkline has been snapped across all the rafter tails, use this template to mark the plumb cut on them so that they can be cut to length.
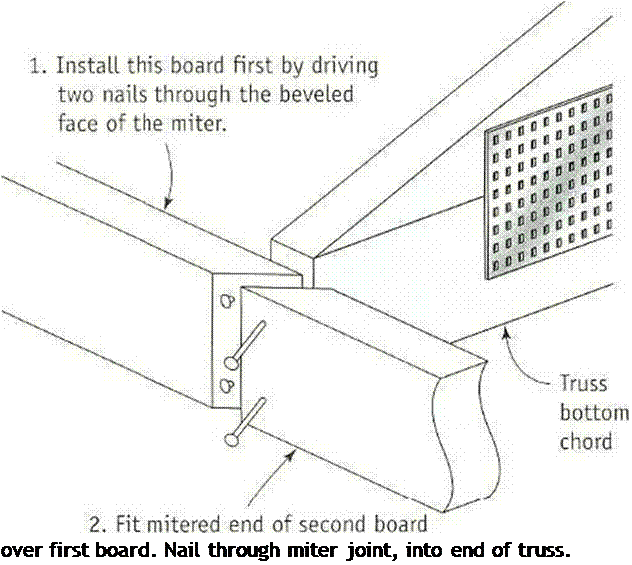
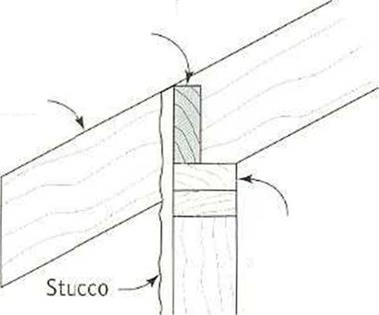
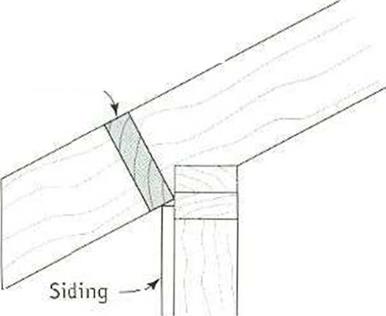
CUTTING AND NAILING GUIDELINES FOR GUTTER AND FASCIA BOARDS. Use long, straight stock for gutter or fascia boards. Both types must butt together over the solid backing of a rafter tail. Gutter boards can meet in a simple butt joint; fascia boards should meet with a mitered joint, as shown in the bottom illustration at left.
Nail gutter and 2x fascia boards to truss or rafter ends with 16d, hot-dipped galvanized nails. Nail fascia boards with a finish hammer, being careful not to miss the nail or you’ll leave hammer tracks in the wood. I lave a partner hold the other end of the board. Hold the board down a bit on the rafter tail so that the roof sheathing just skims over it (see the illustration on the facing page). To line up

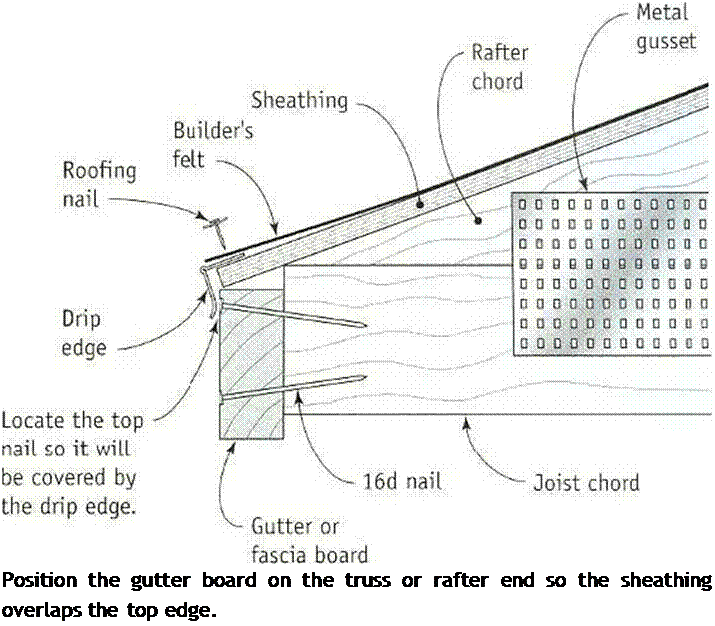
everything correctly, tack a piece of scrap wood on the top edge of a rafter and let it project downward, the way the roof sheathing will. Drive the topmost nail high enough so it will be covered by the drip edge that will be installed later.
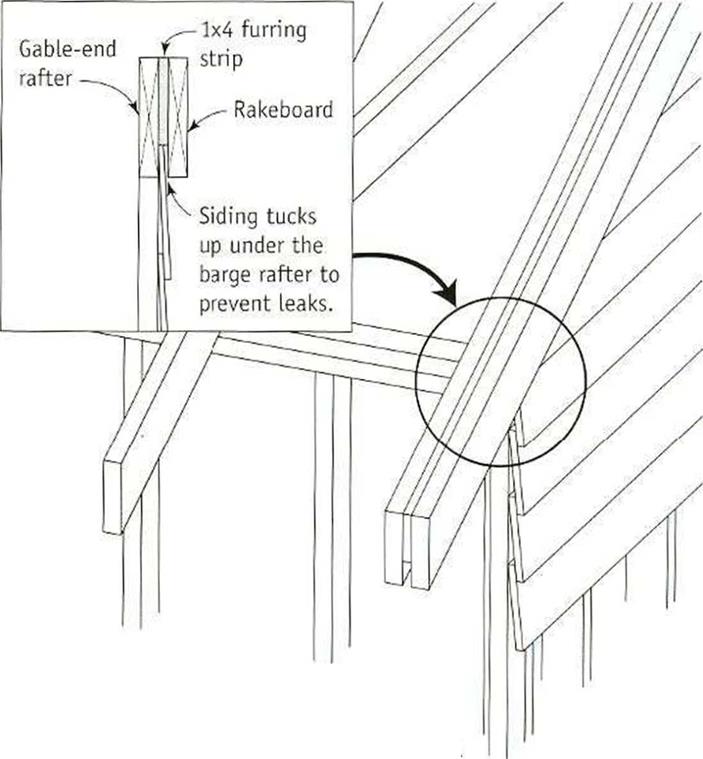
At the bottom corner of the roof, the cave trim meets the barge rafter. If the exterior trim will be covered with cladding, as on this house, plumb-cut the barge rafter and nail it to the plumb-cut end of the gutter board.
Install the gutter board so that it runs long, just like the lookout boards, then mark the correct overhang distance on the gutter board and on the topmost lookout. Be sure to take the barge rafter’s thickness into account. Snap aline between these two marks, then cut the gutter board and lookouts in place. Now you’re ready to cut and install the barge rafter.
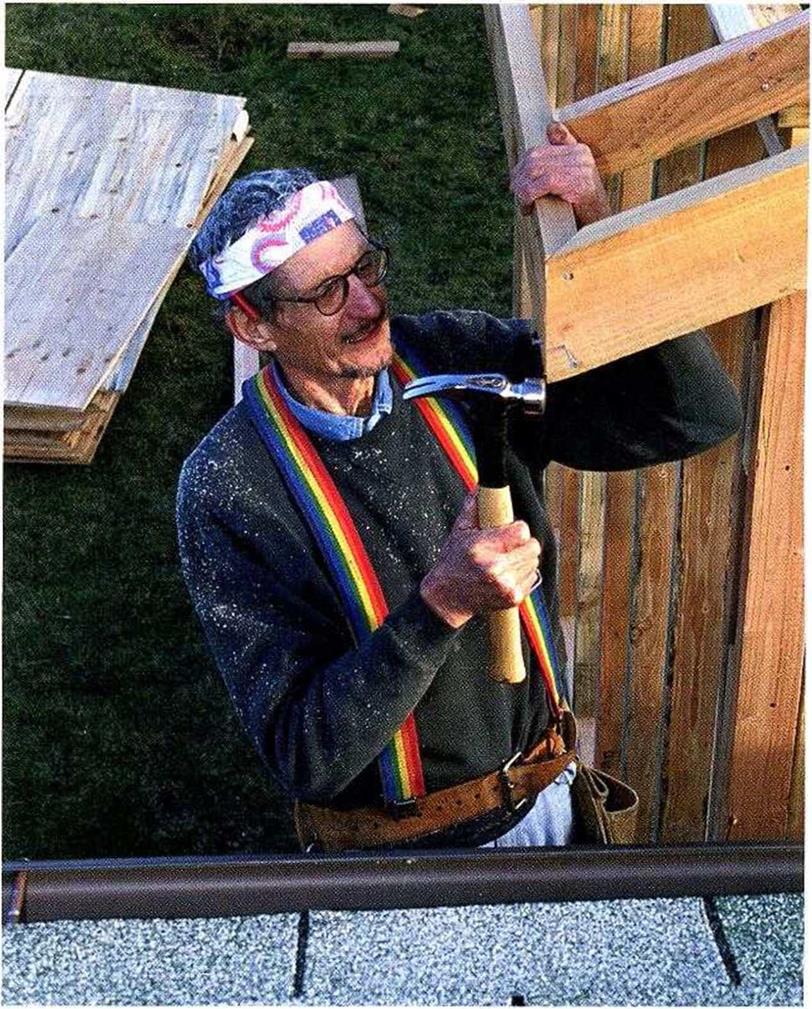
The procedure is similar if you’re installing fascia instead of gutter boards; however, miter the end of the fascia board to lit a mitered plumb cut on the barge rafter (see the photo onp. 131). It’s easier to make both miter cuts before nailing the boards. Miter and install the fascia first, then snap the cutoff lines on the lookouts as described previously.
Select straight, clear stock lor the barge rafters, and start with a board that’s a little longer than you need. Make the bottom plumb cut on the ground. This is a mitered plumb cut if vou’re working with finished trim. With one or two helpers holding the hoard above, nail the barge rafter to the lookouts and to the gutter or fascia board. I like to make the top plumb cut with the board in place, judging by eye where the top of the cut should be. When you install the opposite barge rafter, mark the top plumb cut against the rafter you’ve already cut to ensure a light-lit ting joint.
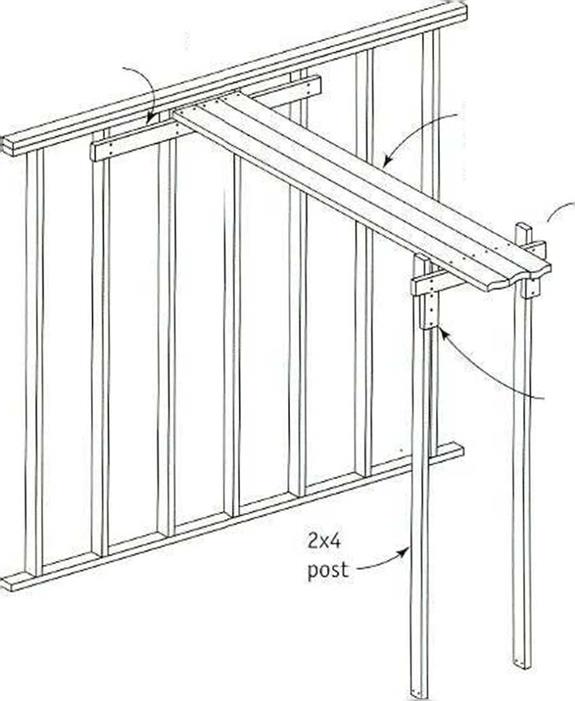
Sheathing a roof is much like sheathing a floor, except that the deck is sloped, not flat, and you work at least 10 ft. off the ground. Anyone who has worked in the construction trades for more than a few years has heard stories about someone who has fallen from a roof—or has seen it happen. 1 was sheathing a roof many years ago on a cool morning with a bit of frost on the ground. The sunny side of the roof had no frost. Without thinking, I stepped onto the shady side of the roof and was immediately careening down a fairly steep pitch, heading for doom. Fortunately, I had my straight-clawed hammer in my hand. Instinctively using it like an ice ax, I stink the claw into the sheathing, stopping myself just short of the roof’s edge—a thrilling wav to
O C* /




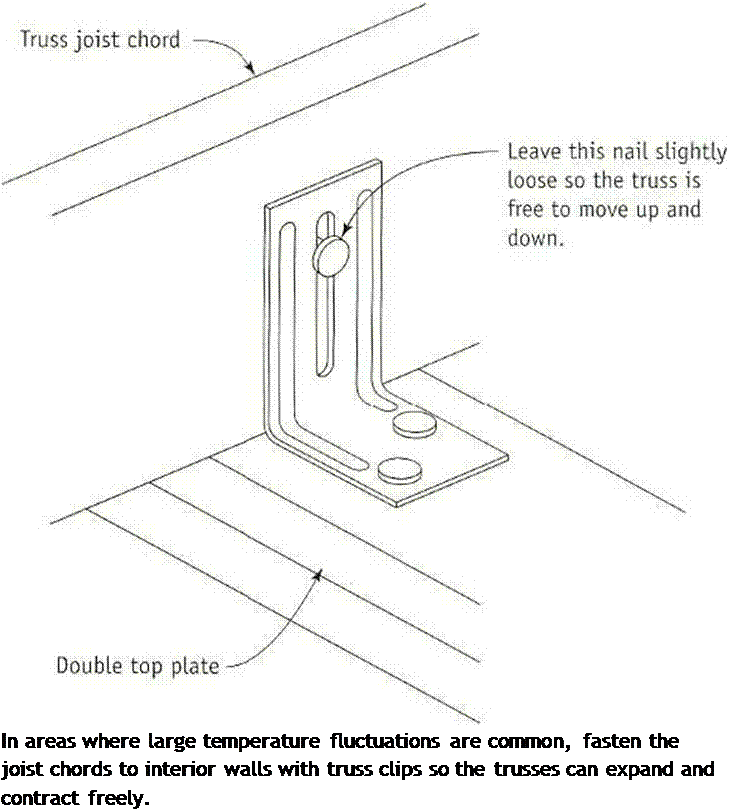
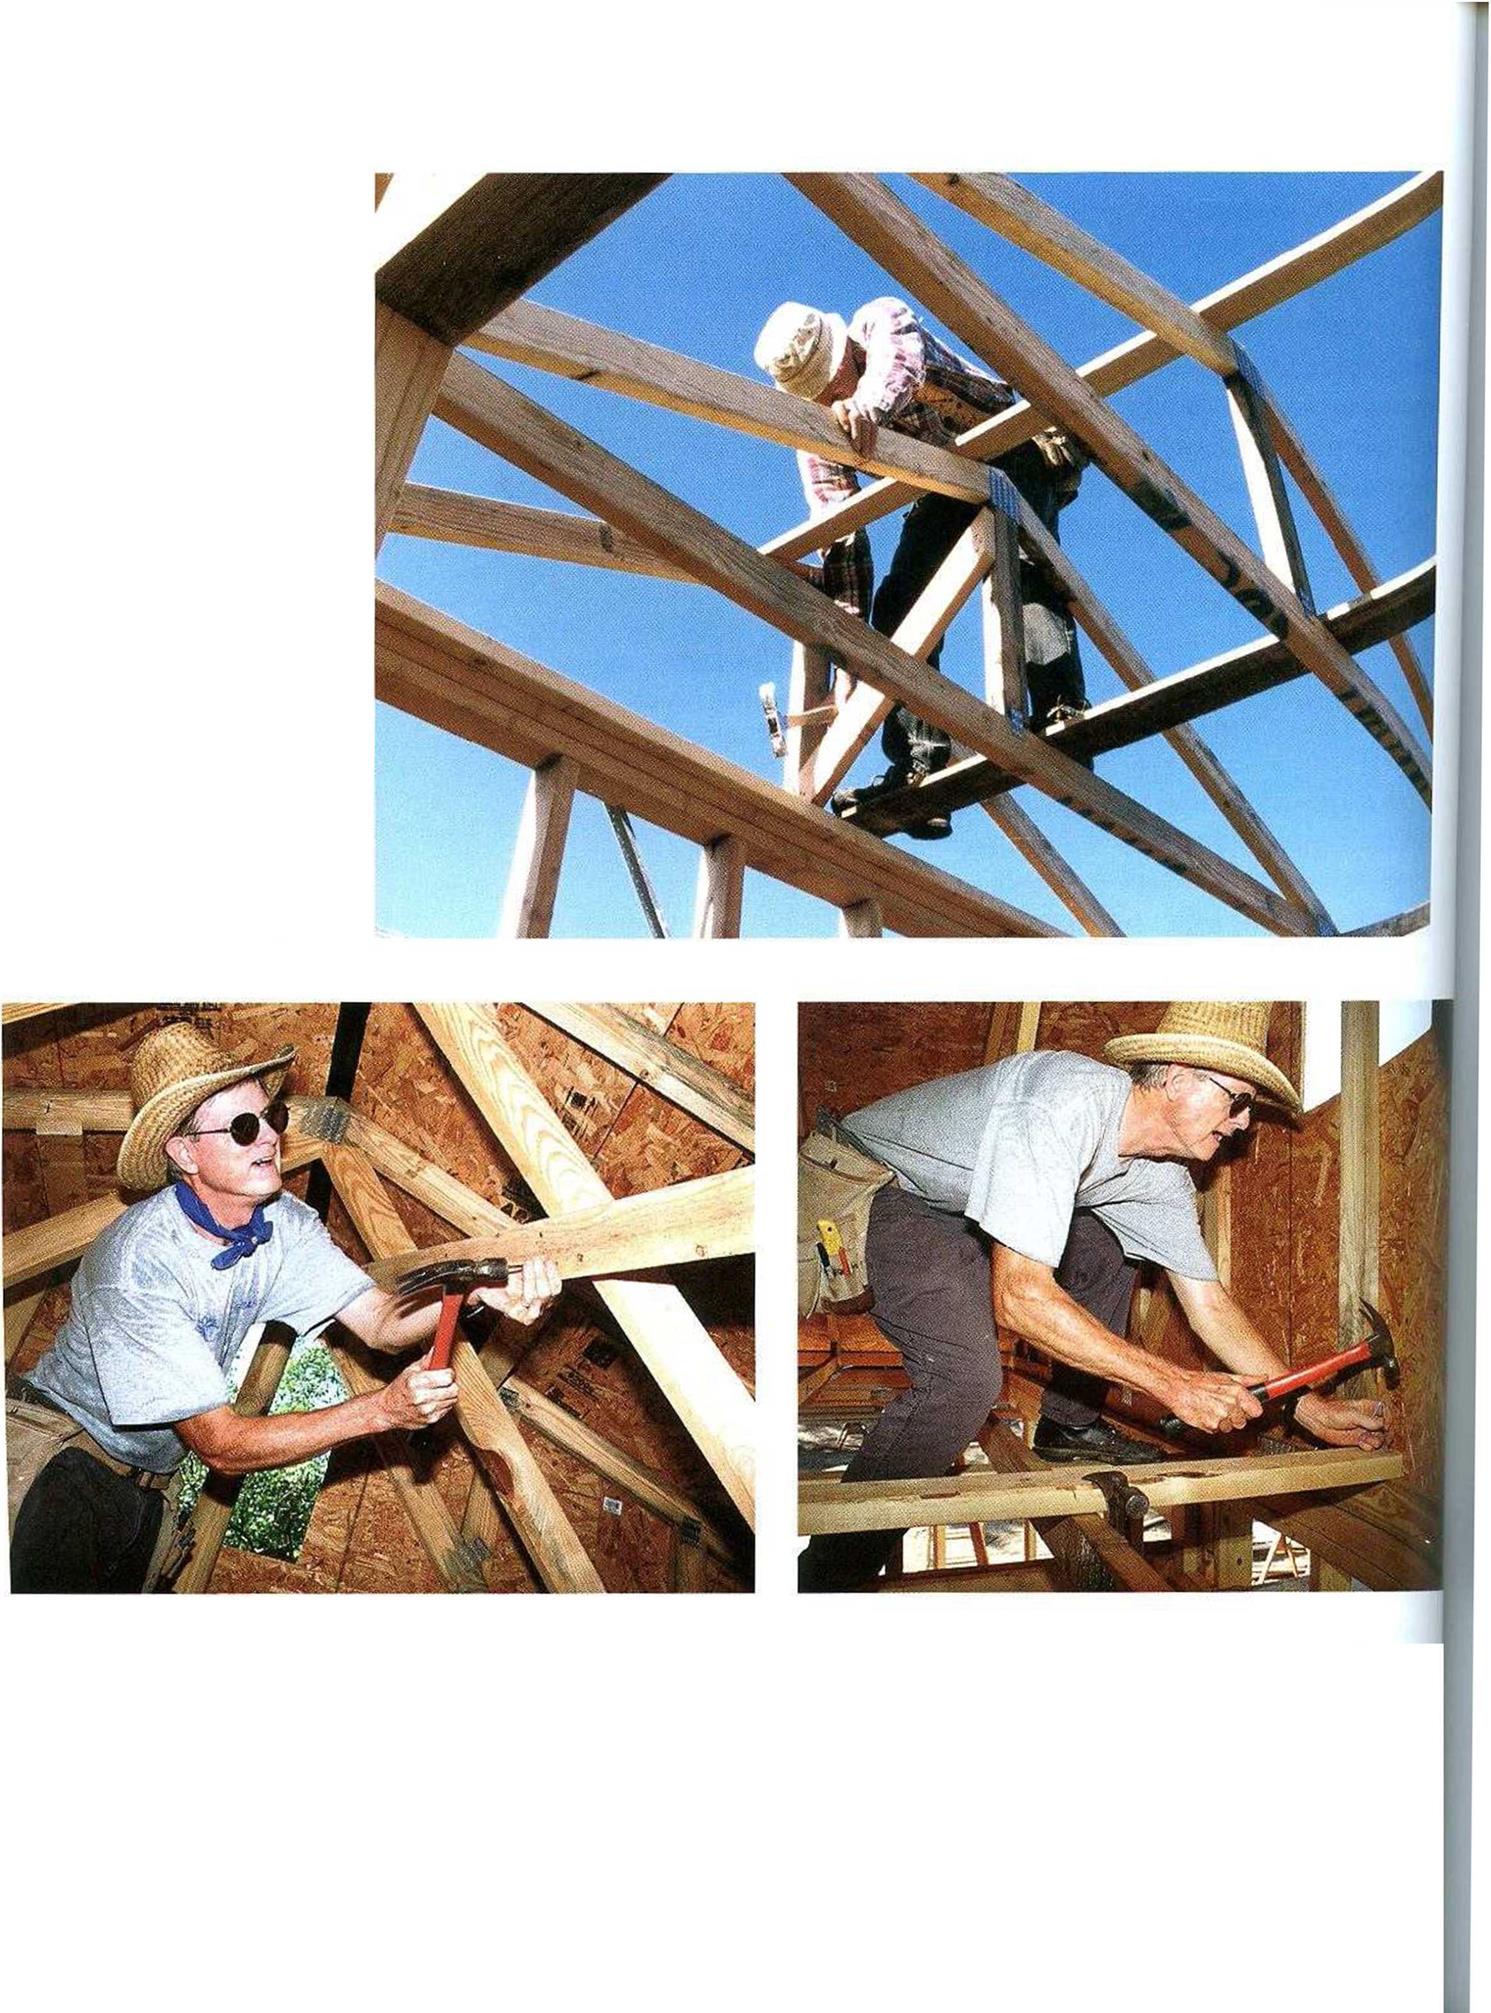 courtesy Fine Homebuihiinq magazine, The Taunton Press, Inc.]

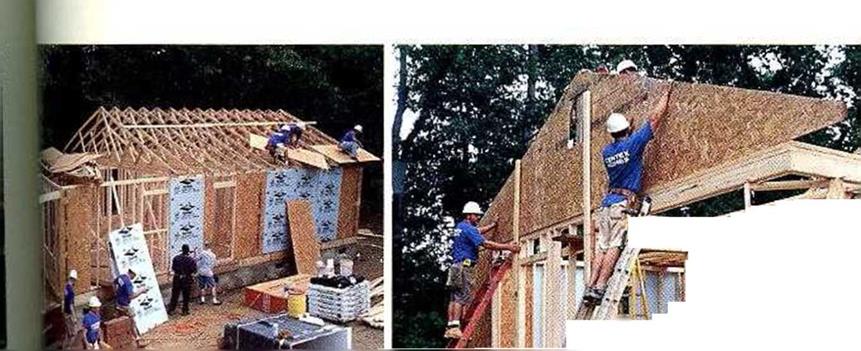
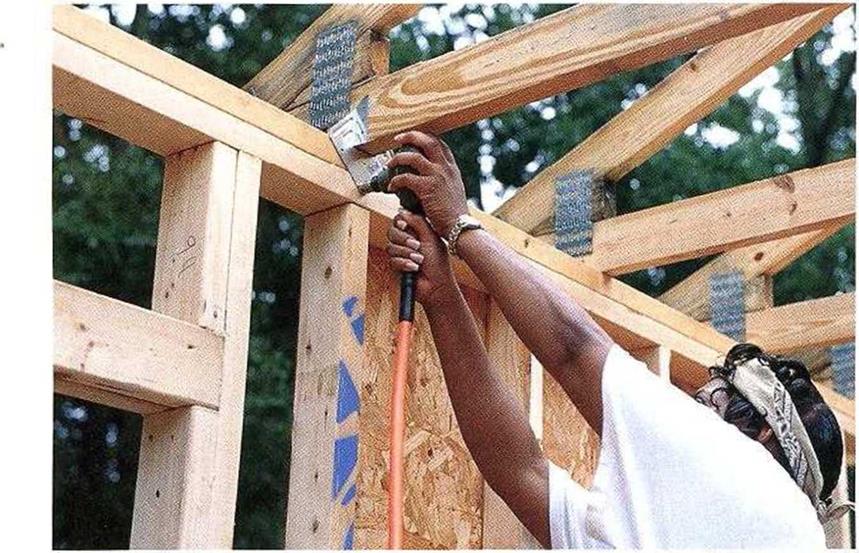
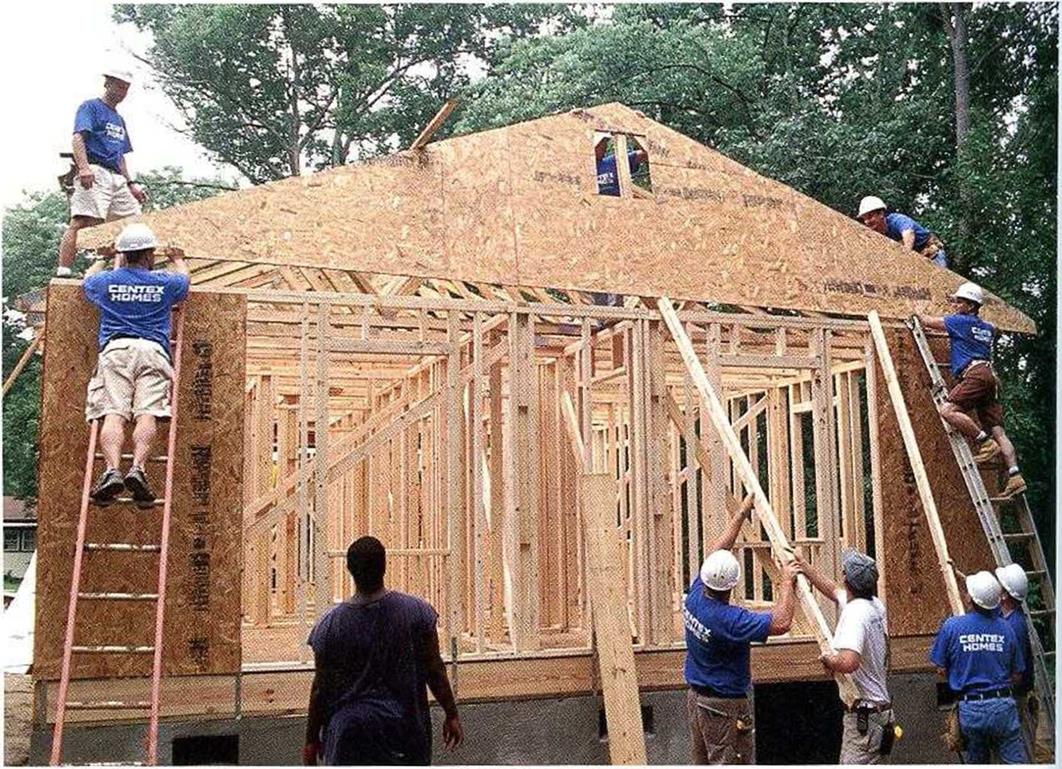 INSTALLING THE LAST GABLE-END TRUSS. Unlike the other roof trusses, this one was sheathed on the ground and then hoisted into position.
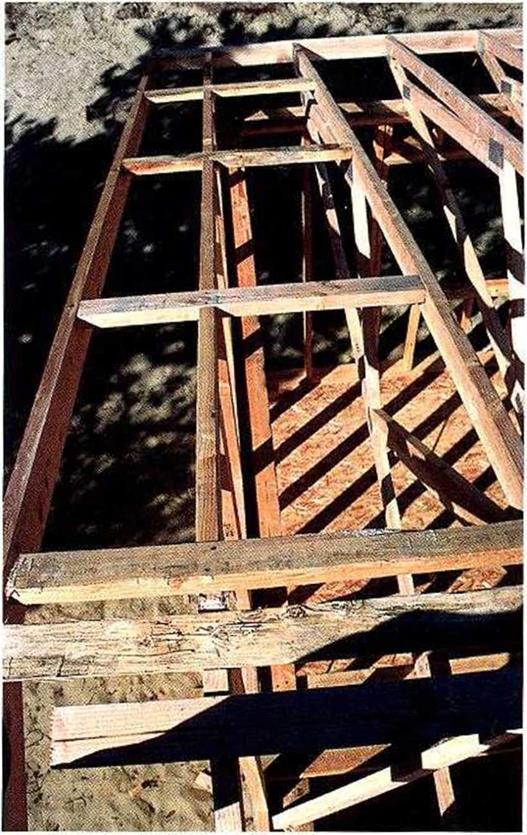

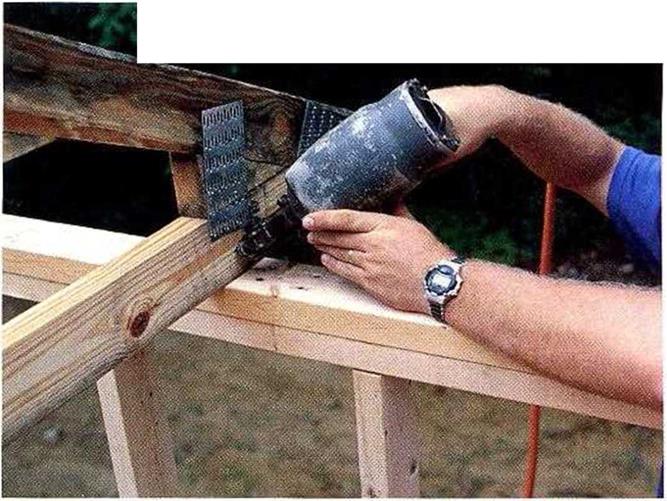
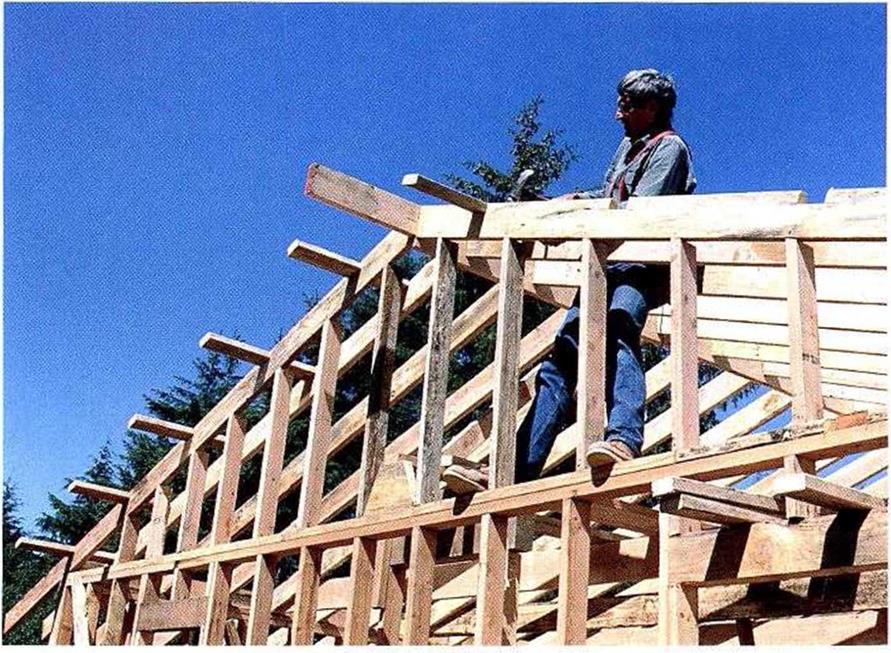 In preparation for installing the first truss the gable-end truss), I nail a long, straight.
 Be aware of wind. Take care with trusses while the wind is blowing. Sheathed trusses can catch the wind like a boat’s sail. Even bare trusses can be difficult to control. If it’s windy, have extra helpers on hand and use extra bracing to keep installed trusses in place.
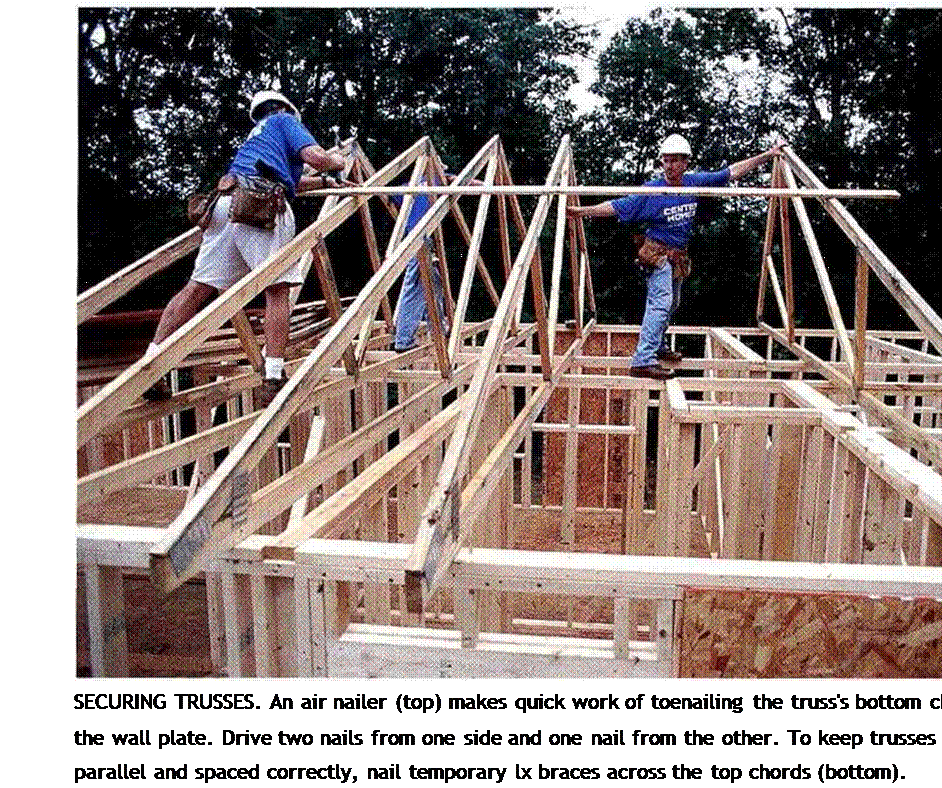
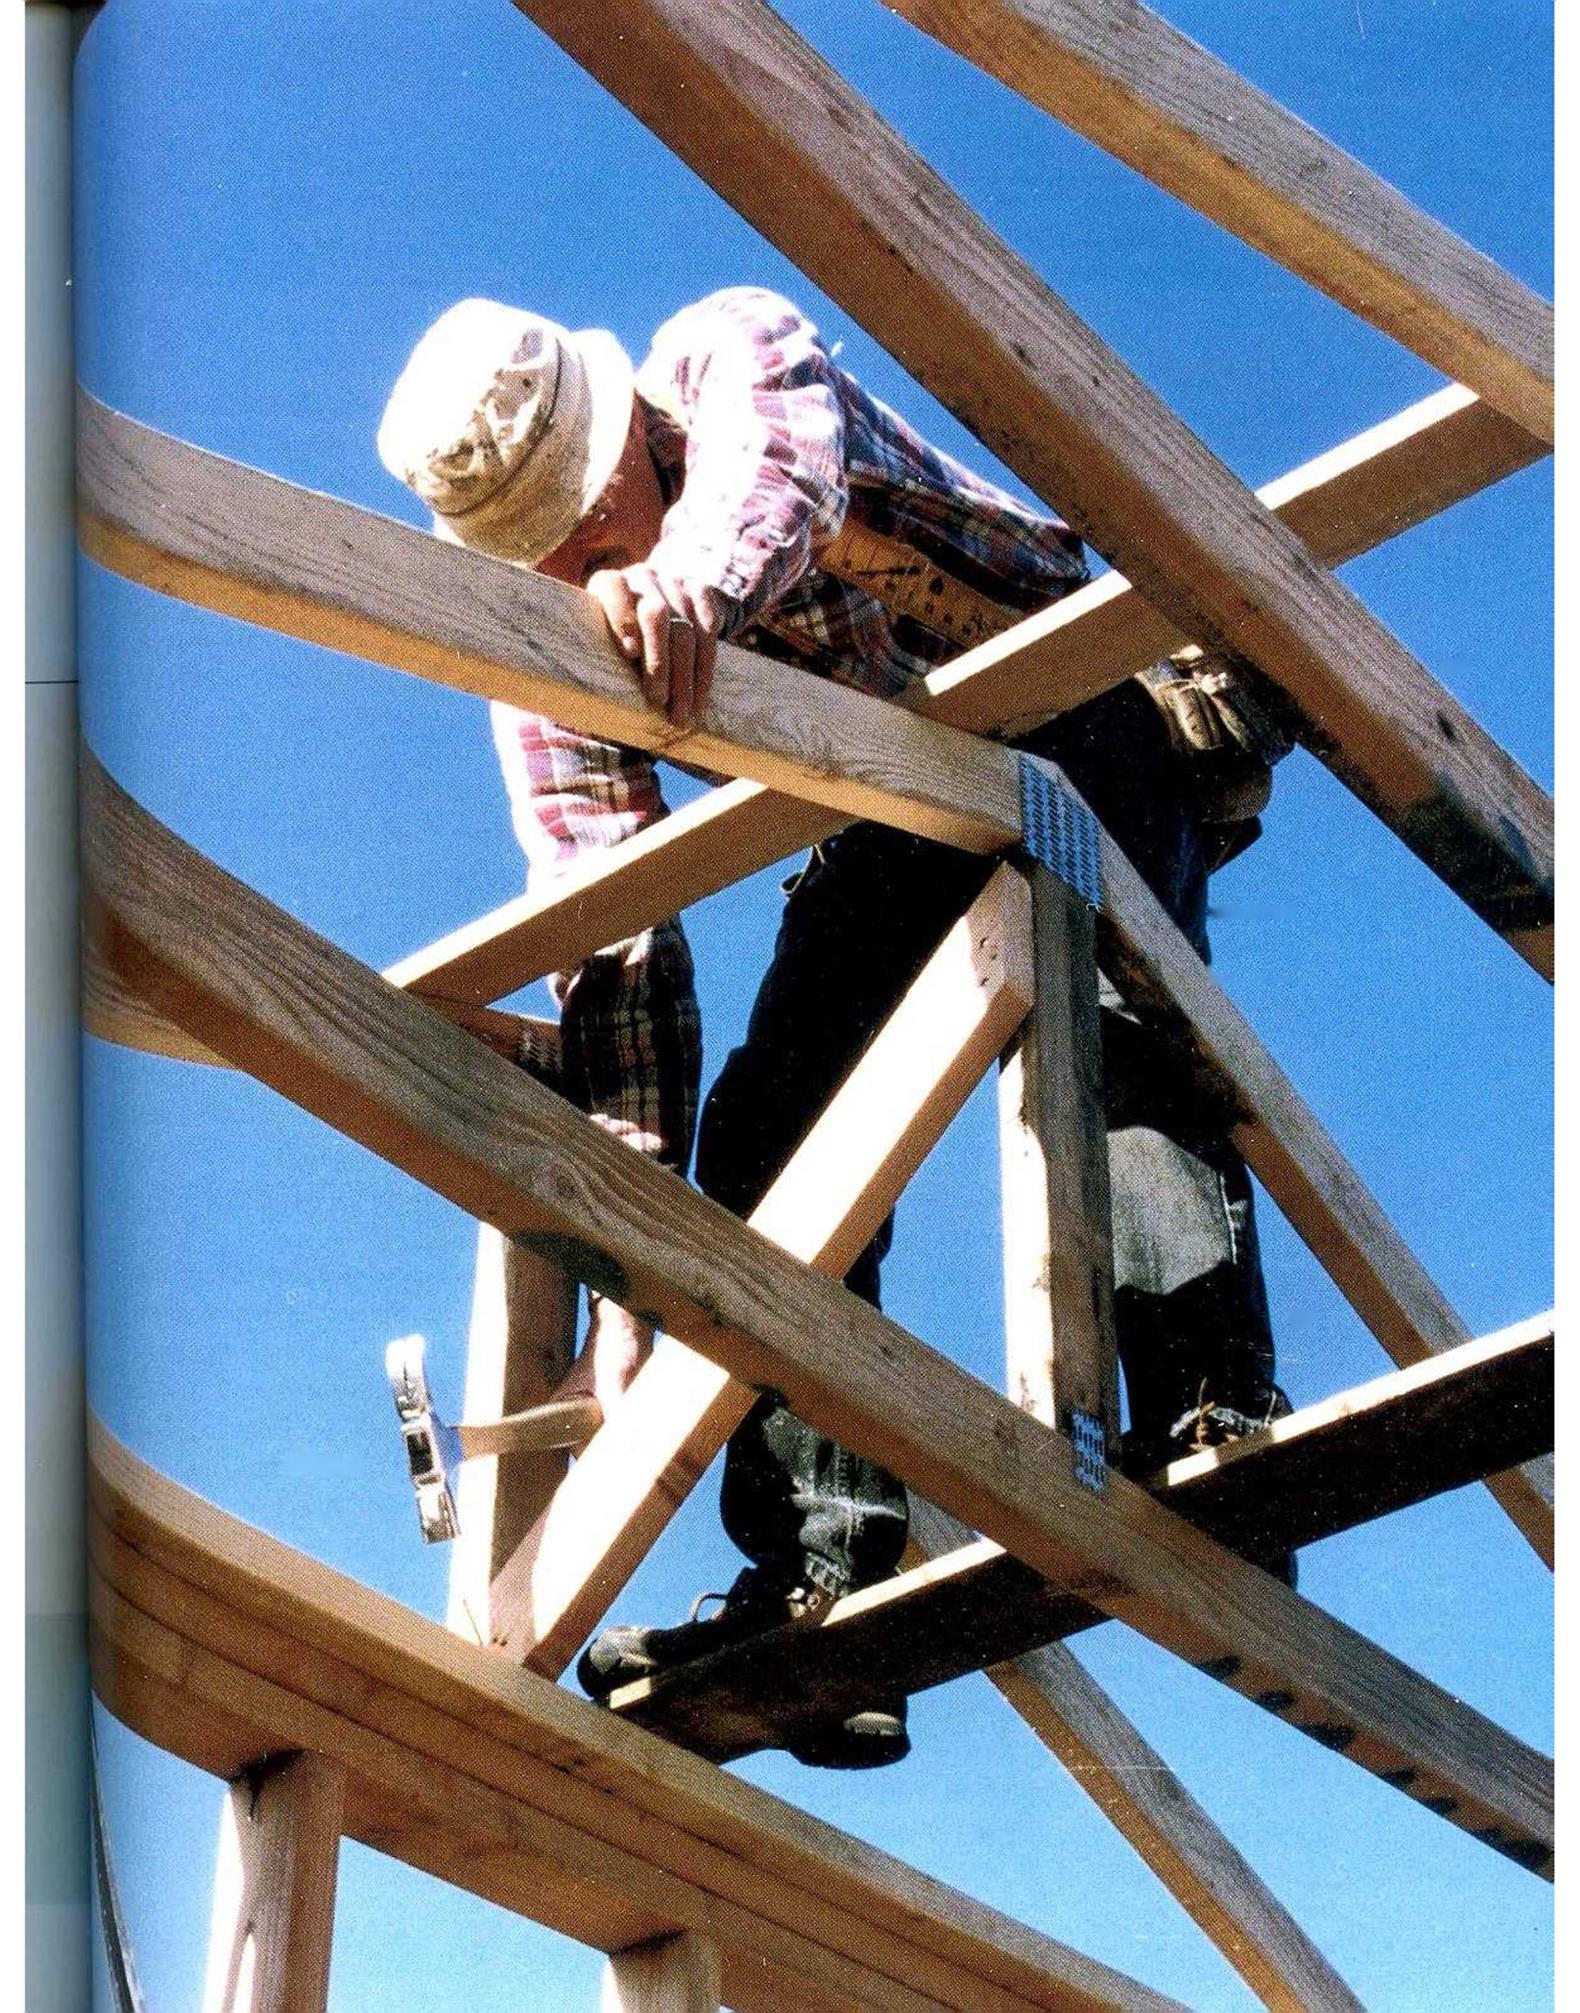
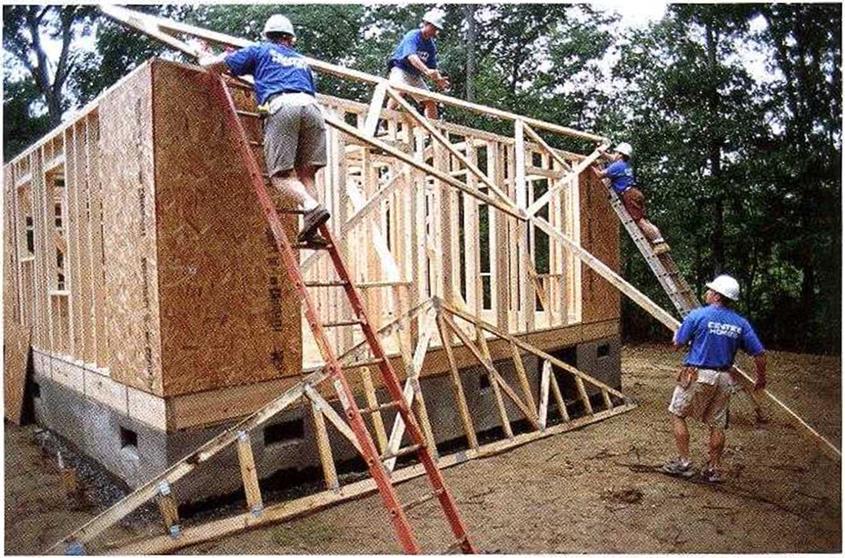 TRUSSES TAKE TEAMWORK. A crew of four does a good job of getting roof trusses up on the walls. Using a long push stick, the ground worker helps elevate the truss.



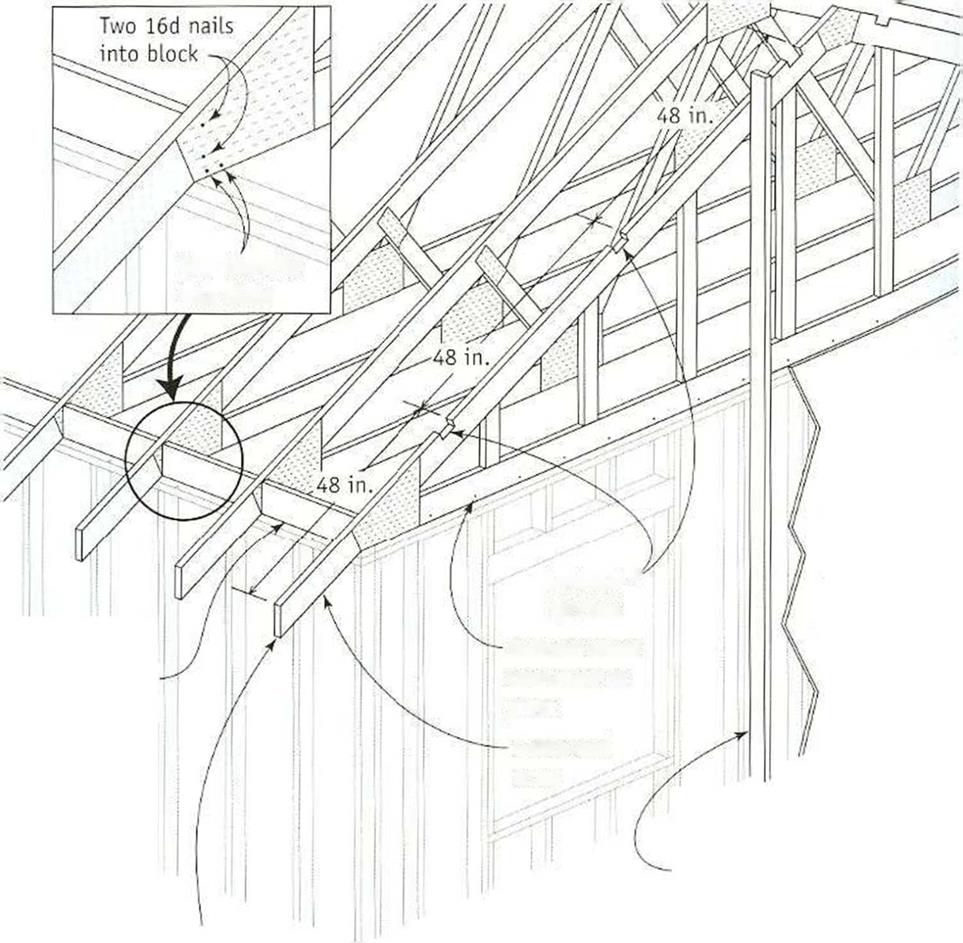
 Despite your best efforts to line the walls (asexplained in chapter 4), the exterior eave wall plates may not be totally straight. If you hold the truss overhang to a wall that is not straight, the rafter ends and fascia won’t be straight, either. There is an easv wav to remedy this. Measure 1 in. in from the outside at each


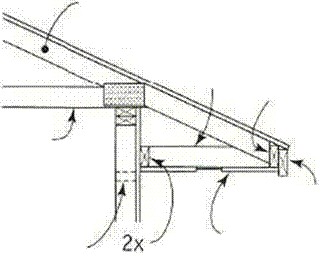

 If the trusses do not have a raised heel, you can still build a soffit easily by sheathing the underside of the sloped rafte’ tails. For a level soffit, nail a long 2x to the building and sheath between it and the gutter board or subfascia. If only a fascia board is used, cut a groove near the bottom edge to support the outer edge of the soffit board. No matter which type of fascia treatment you choose, make sure you install fire-stops between the studs to help prevent a fire in the wall from spreading into the soffit area. Check with your building department to find out which fire-stop details are required.

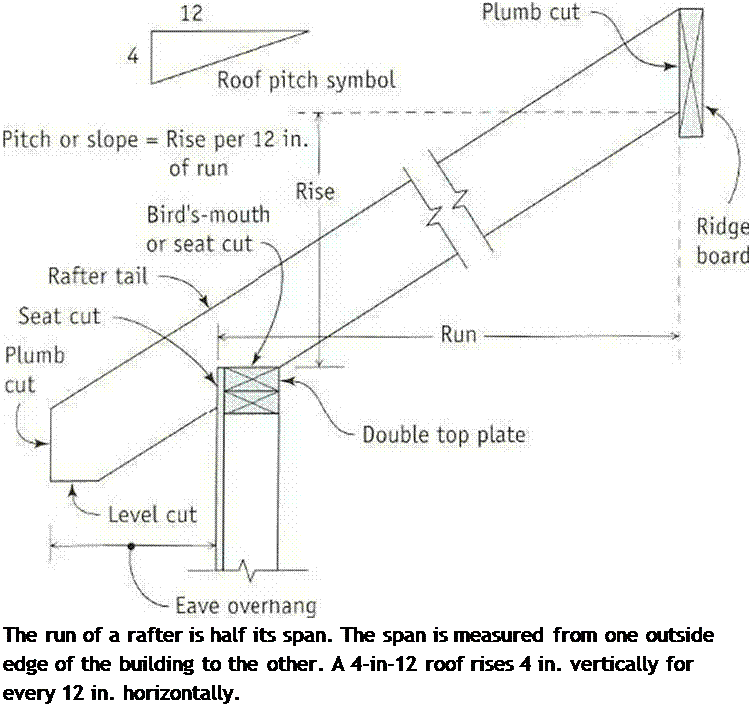
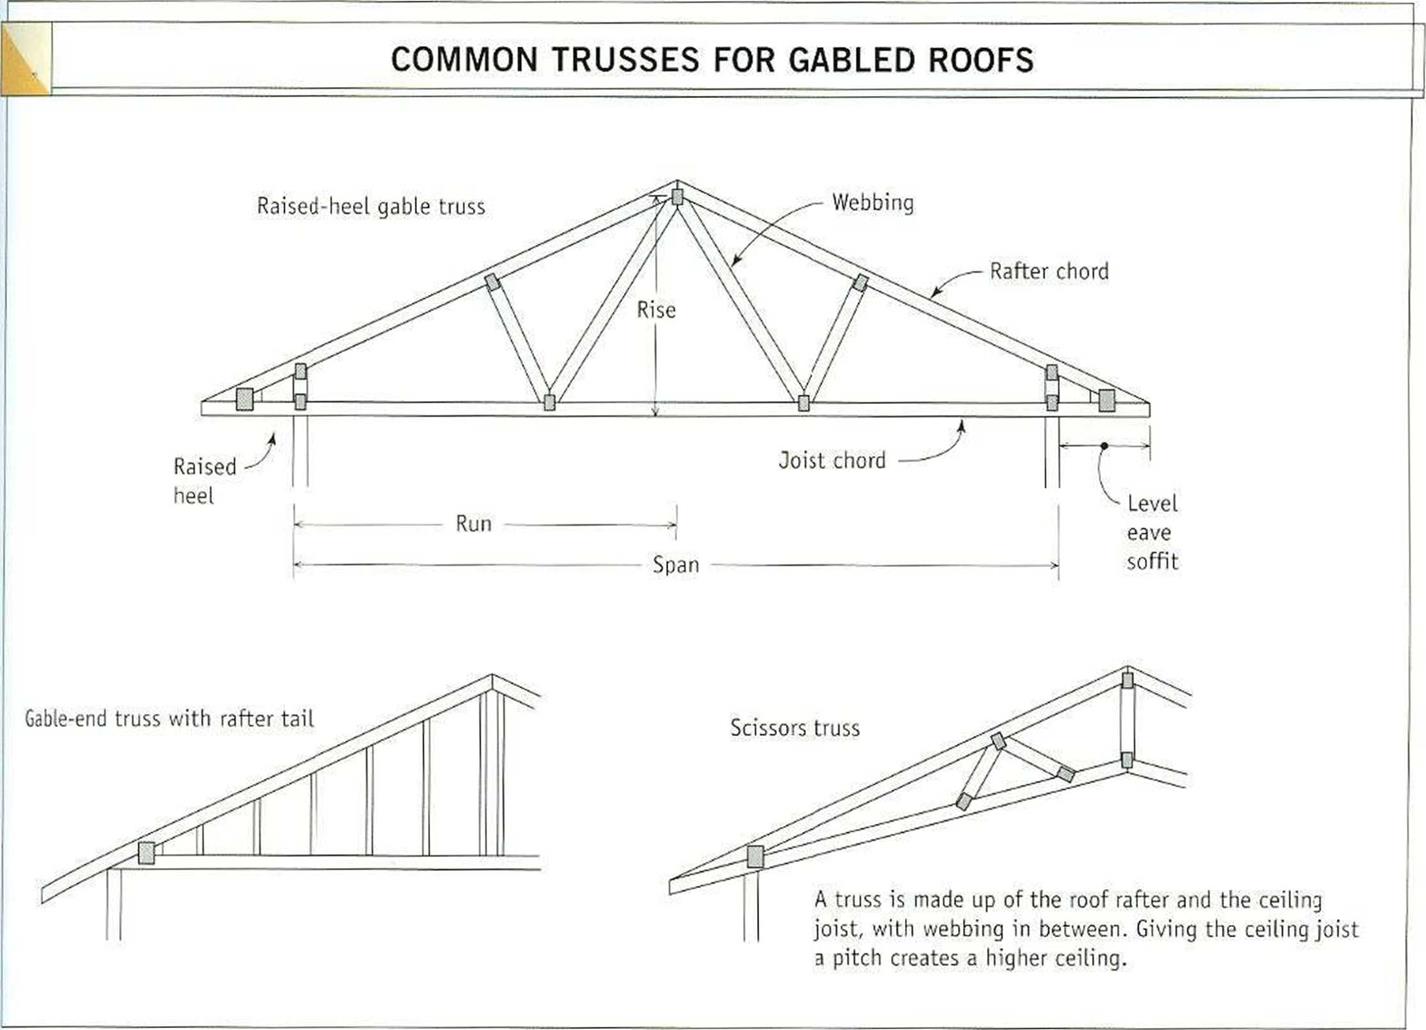

 ROOF PITCH. Trusses for most small affordable buildings have either a 4-in-12 or a 5-in-12 pitch (see the illustration on the facing page).


