CARPETING STAIRS
If possible, use a single strip of carpet on stairs, eliminating seams. Stair padding can be many pieces because it will be covered by carpet. For the best-looking job, carpet pile on treads should slant toward you as you ascend the stairs. On risers, the pile should, therefore, point down. If you use several pieces of carpet on the stairs, for durability and appearance, carpet seams should always meet in riser-tread joints.
Estimating and ordering. First, determine the width of the runner. On closed stairs (which have walls on both sides), carpeting usually runs from wall to wall. On open stairs (with balusters on one or both sides), carpeting should run to the base of the balusters. In either case, each side of the carpet should be tucked under 1J4 in. to hide the cut edge and prevent its unraveling. Thus measure the width of the stairs and add 2/2 in. to that width. So if your stairs are 36 in. wide, you’ll be able to cut only three runners from each 12-ft. width of carpeting, allowing for tuck-unders and waste.
To determine the overall length of the stair runner, measure from the edge of the tread nosing to the riser, and from there up the riser to the nosing of the step above. Add 1 in. to this measurement to accommodate the padding over the step and multiply this by the number of steps. Add 6 in. to that total for adjustments at the top and bottom of the stairs.
That’s a formula for straight-run stairs. If yours have bends and turns, create a paper template for each step that turns. Each template should cover a tread and the riser below. As noted above, add 1 in. for the distance the padding sticks out around the nosing. However, some old hands at laying carpet feel that stairs should be covered only with continuous pieces, with extra carpet tucked behind riser sections.
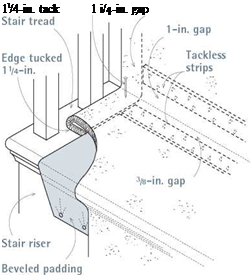
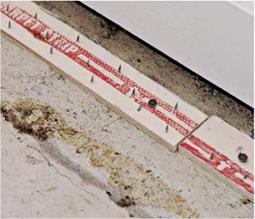
Installing carpet on stairs. Nail tackless strips on the stair risers and stair treads so that tack points on risers point down, and those on the treads point in, toward the risers. The tackless strip on each tread should be about 3з8 in. away from the riser, so there’s a gap to tuck the carpet into. The tackless strip on each riser should be about 1 in. above the tread. Tackless strips should be 2h in. shorter than the width of carpet with tucked-under edges. That is, each edge is 1% in. wide and does not attach to the tackless strip.
So the strips must stop short by that amount. Instead, tucked-under edges of carpet will be tacked with a 134-in. tack on each side, driven into the riser-tread joint.
Padding pieces are as wide as the tackless strips are long. Butt the padding to the edge of the strips. To keep the pad from being seen from the open side of a stairway, cut the riser portion of the padding at an angle, as shown below left. Staple the padding every 3 in. to 4 in. To tuck the carpet edges, snap chalklines on the backing,
134 in. from the edges. Use an awl (not a utility knife) to score lightly along the lines, fold the edges under, and then weight them down for a few minutes to establish a slight crease.
Secure the bottom of the stair runner first, overlapping the carpet about 34 in. onto the floor; push the carpet into the tackless strip at the base of the first riser. (The tackless strip on the first riser should be!4 in. above the floor.) Press the carpet onto the strip points with a stair tool. Tack the bottom of the rolled edges onto the riser with a 134-in. tack at each end. Then pack the extra end of the carpet into the ^-in. gap between the tackless strip and the floor.
To cover the first step, stretch the carpet with a knee-kicker, starting at the center of the tread. As you push the knee-kicker, use a stair tool to tamp the carpet into the riser-tread joint. Work out from the center of the step, until the carpet is attached to tackless strips along the entire joint. At the end of each side, secure the tucked-under edge with a single 1 ^-in. tack. Continue up the stairs, using the knee-kicker and stair tool. If the width of the carpet varies (sometimes a tucked – under hem slips), insert an awl point in the hem and jimmy the tool to move the hem in or out.
[1] For additional quick-diagnostic charts like this one, see House Check: Finding and Fixing Common House Problems by Michael Litchfield with Roger Robinson (Taunton Press).
[2] Using stack clamps, support the stack above and below the cuts. Mark and cut the stack. 2. Slide no-hub couplings onto cut stack ends (you may need to roll the neoprene sleeves on first). Insert a no-hub fitting. 3. Slide couplings over fitting ends. 4. Tighten. 5. Connect the branch drain to the no-hub fitting.


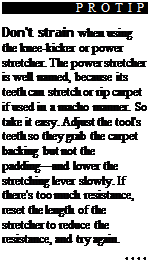
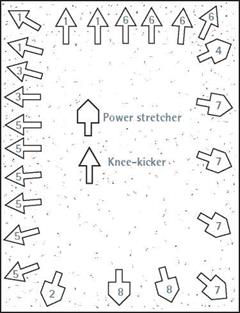
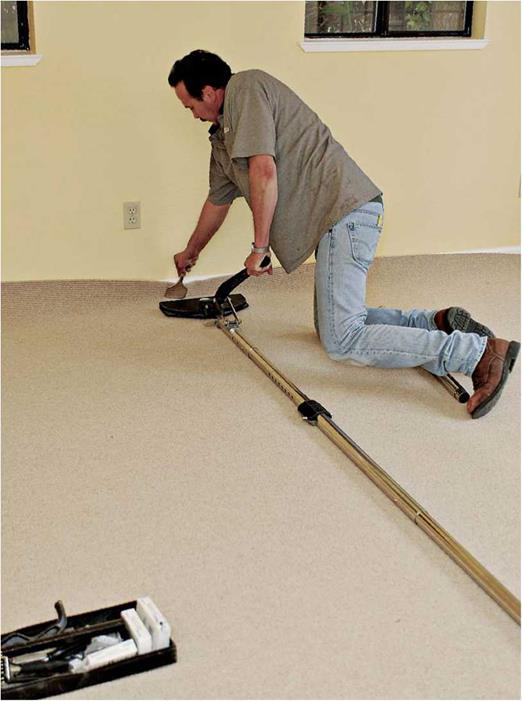
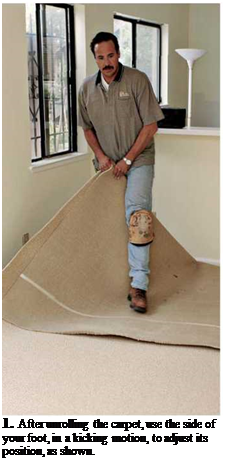
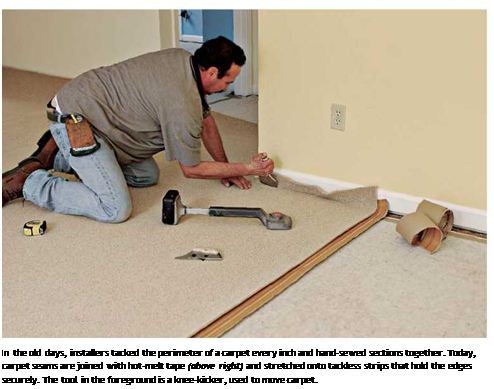
 That’s pretty much it. Once the second corner is attached, alternate using the knee-kicker and the power stretcher, somewhat as shown in "A Carpet-Stretching Sequence,” below. There’s no one always-best sequence. Keep an eye on what the carpet is doing, and use the tool that seems right. Seen from above, your carpet-stretching movements would resemble something between a tennis match and icing a cake. Back and forth, fine tuning as you go.
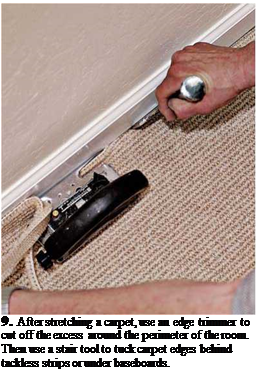
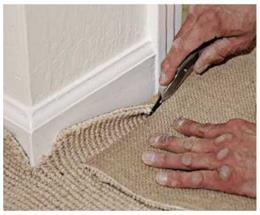
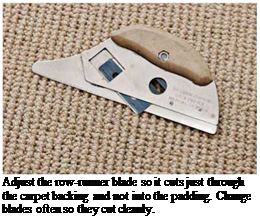
 Once the carpet is secured to the tackless strips and the transition pieces in the doorways, use an edge trimmer to remove the excess; trimmers also tuck the edge of the carpet to a degree. After trimming the edge, go around the perimeter with a hammer and a stair tool, tamping the carpet between the tackless strips and the wall, or under the baseboard trim. It’s important that the trimmer’s blade be sharp, so change razors whenever the tool drags, rather than cuts.










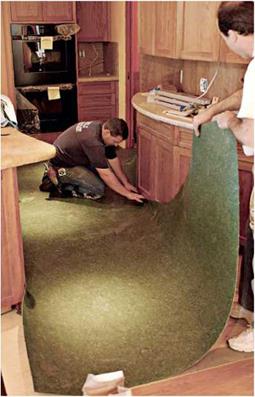 hand seam-roller to seat the material in the adhesive. Repeat the process with the second half of the sheet. If you get adhesive on the face of the flooring, clean it off at once, using a cleaner recommended by the manufacturer. (Most glues clean up with water.)
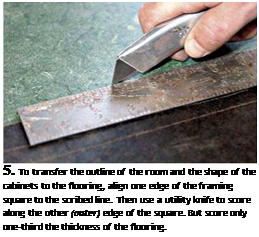
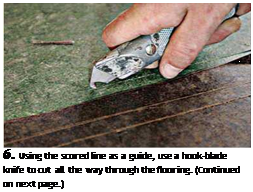

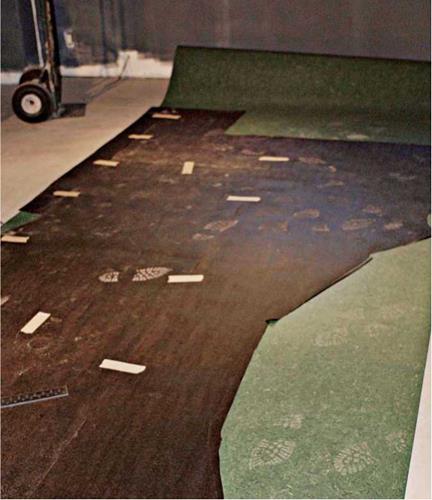
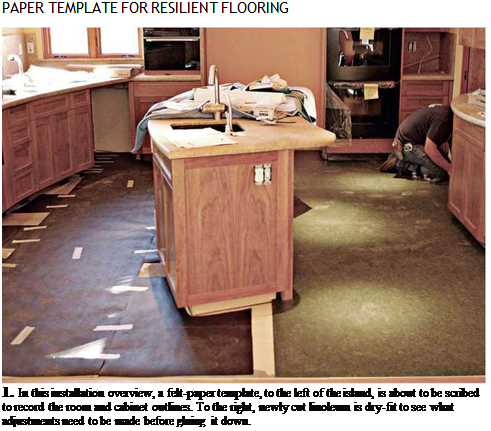
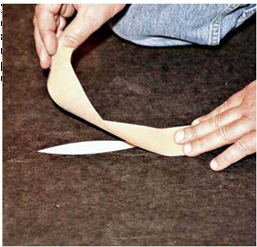

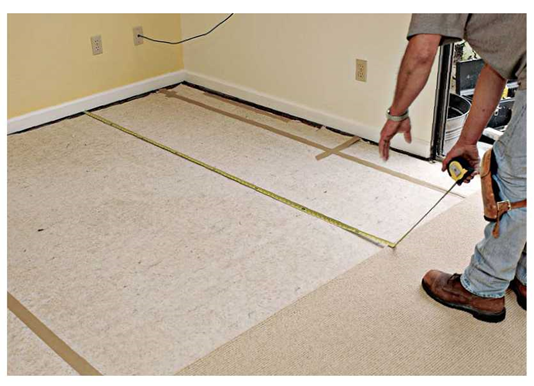
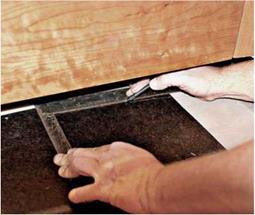 It’s okay to use several sections of felt paper if a room is large or unusually complex. In this case, be fastidious about marking section edges so you can reassemble and tape them to the resilient sheeting before transcribing the room outline. On a room of any size, you’ll probably need to use several sheets of resilient flooring as well. (Sheet widths vary from 6 ft. to 12 ft.) Important: When you’re done scribing, gently lift the template—but leave the duct tape stuck to the paper. Loosely roll up the template and carry it to the room where the resilient sheet has lain unrolled on the floor, face up, to warm and flatten. Line up template edges to trimmed flooring edges. Then carefully unroll the template so it lies flat atop the resilient material (Step 4). Press down the “boats” so the duct tape sticks to the resilient flooring, anchoring the template.


 Before filling panel joints and irregularities with a patching compound, use a wide spackling knife or drywall-taping knife to scrape off splinters. If the blade clicks against a nail or staple, use a nail set to sink the fastener below the surface.