Preparing the Girders
Once the floor was complete, I transposed the plans onto the deck with a black marker, at full scale. Now the position of every post could be seen clearly on the deck, and 1 could even show how the major south wall girders could abut with each other over the posts. See Fig. 5.22. I could check with the structure below to make sure that the line of thrust was transferred directly on compression to the post below, and not just missing them, as per Fig. 2.9 on page 24.
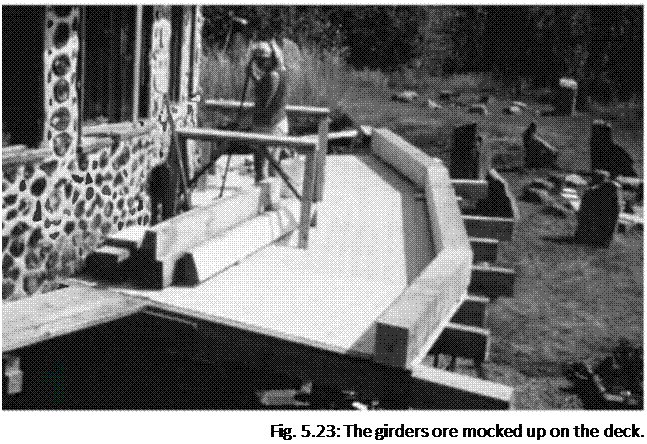
Before installing the posts, my family and I laid the girders out on the deck, supported on little blocks of wood. Then, the corresponding ends of the girders were cut at an angle so that they joined together fairly well. This was done by marking with a pencil and with judicious use of both an angle square and a regular framing square. Each piece was cut with a chainsaw. Now the girders were repositioned on the little blocks of wood, as in Fig. 5.23 and Fig. 5.24.


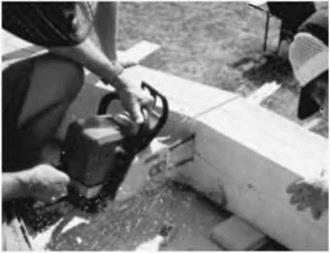
 Unless one is a very skilled chainsaw carpenter, the chances are that the butt join between the two girders won’t be all that great. Good, possibly, but not great. You can make it great by butting the two girders together as closely as possible, and then passing the chainsaw down between them, as in Fig. 5.24. Helpers can lend their weight to the project, one on each girder. You may have to do this two or three times, butting the girders again after each cut. Pretty soon, you’ll have a great butt joint, and this joint will be ready for use when the girders are assembled permanently on top of the six – foot-high (1.8-meter-high) posts. It is just much easier to get these girders to match up well on the deck, than to do the work overhead. Be wary of chainsaw “kickback,” both while cutting and when the saw completes the cut.


Leave a reply