Flooring (Decking)
 We decided on two-by-six V-jointed tongue-and-groove spruce planking for our floor. The V-jointed side goes down, making an attractive ceiling as seen from the room below. We like it for its strength, appearance, and ease of installation. We also like the benefit of doing the floor and ceiling below in one operation, a real plus with the plank-and – beam system. Also, we wanted to maintain visual consistency with the original floor, because there would be a direct doorway opening from the dining room into the new sunroom.
The toughest part of the planking was installing the first board, because it had to be scribed to fit a very rough-textured cordwood masonry wall, as can be seen in Fig. 5.19. Fortunately, the round house was slightly flattened at this point because of a six-foot wide sliding glass door unit below. Still, the first plank had to be scribed with a pencil and cut to fit up against the cordwood wall without huge gaps. I used chisels and a variety of saws to trim the edge that went up against the cordwood wall, the edge with the tongue on it. With new work, especially with conventional rectilinear construction, you will not have this sort of problem. Again, starting from scratch is easier.
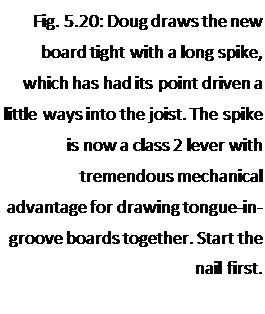
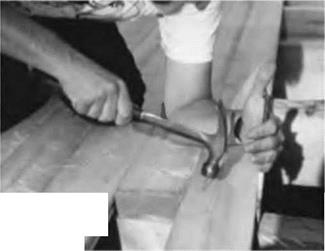
Once the first plank was installed, the rest went quite easily. You could hire a machine for blind-nailing tongue-and-groove planking, but I have always used cup-headed nails to attach the planks. These nails can be driven slightly below the surface, so that the floor can be sanded prior to finishing. Use two nails at each place where the plank is supported by a joist, with the nails about an inch inward from both the end of the board and the edge. I insert the tongue of one board into the groove of the board already nailed, then use a ten-inch log cabin spike to draw the tongue absolutely tight into the groove, leaving no space between boards on the top surface. (Remember that the underside has that attractive V-joint, so the boards can only be laid with the non-jomted side up.) While holding the pressure with one hand, I drive the two nails in with the other. You might find it easier to start the nails before drawing the boards up snug. See Fig. 5.20.
With rectilinear buildings, you will want to design the building to maximize the use of the boards. The boards I was able to purchase came only in 12- and 16-
foot lengths. Our floor sections were trapezoidal in shape, so, with our ever- increasing planking span, scrap pieces would constantly get shorter. On subsequent sections, we used the scrap pieces in the reverse order in which they were created. We waited until the first large central section (or facet) was about half covered before cutting the ends. We snapped a chalk-line down the edge of the section, centered over the middle of the four-by-eight joist below. Then I set my circular saw’s blade so that it cut just a little bit deeper than the thickness of the planking, by about one-sixteenth inch (1.6 millimeters). Now I could cut a fair bit of the section at once, and get a nice straight line.
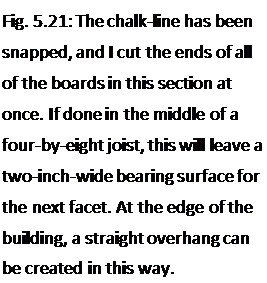
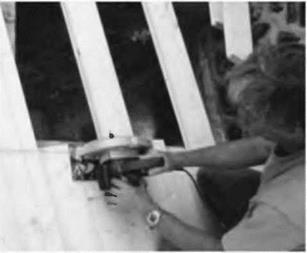

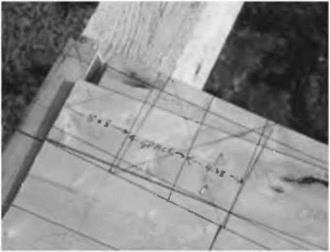 On subsequent facets, it is necessary to trim one end of the board to the proper angle in order to fit it up to the previous section. Use an adjustable angle square to measure and mark this angle. Again, let the extra length of the plank run long, so that all the ends can be trimmed at once. We did this upstairs on the roof planking, and the extra length of the board became the overhang, which was all trimmed at once by a single straight cut with the saw. See Fig. 5.21.
Doug Kerr and I tore out the old deck and joists, installed the new joists, and decked the whole area in just four days, not bad for renovation work. Thanks, Doug!


Leave a reply