Step-By-Step Instructions
1) 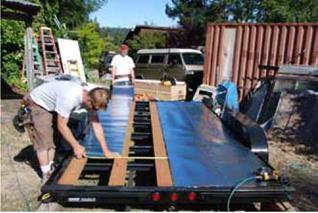 Buy your materials and order your windows. Be sure the trailer will accommodate the weight of your house. Cut any extra vertical parts off the trailer, but leave the wheel wells intact. Remove all the decking you can. Leave no more than 24” between the remaining boards. These gaps should be covered with aluminum flashing to guard against rodent and water infiltration. Do not put any beneath the porch.
2) 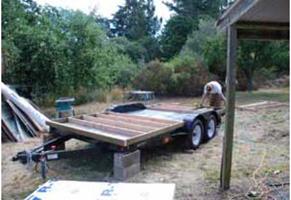 Assemble the floor framing in front and in back of the wheel wells. Then connect the two sections by framing between the wells. Use screws instead of nails for this and all your framing.
3) 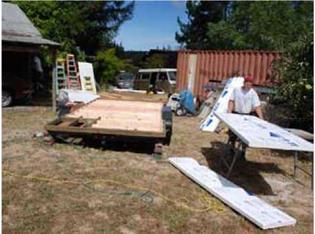 Fill the cavities with your choice of insulation (in this case, expanded polystyrene foam board with expanding spray foam at the seams). Once again, the porch area should be left open to let water drain through it.
4) 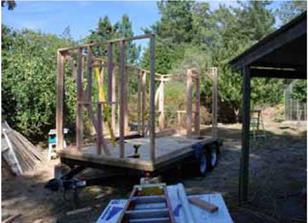 Once you cover the whole thing with 3/4” flooring or a subfloor, the exterior wall framing can be erected all along the perimeter. Connect the walls by driving screws through the bottom plates into the floor framing below.
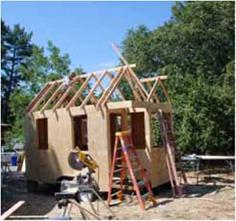
5) 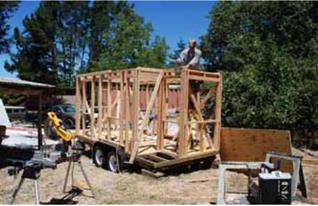 Put up temporary, diagonal braces to steady the project while you work. Then install the collar beams (ceiling joists). The framing over the wheel wells is supported by horizontal headers which are, in turn, supported by the wheel wells.
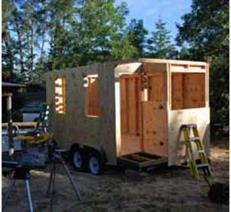
6) 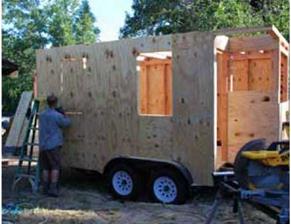 Screw and glue CDX plywood to the exterior surface, and cut openings for the windows and door(s) with your skill saw.
|
|
|
|
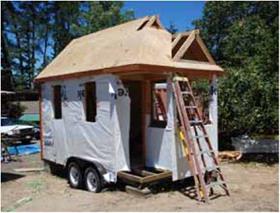
8) Staple house-wrap to the walls. Go ahead and cut holes in the wrap if you anticipate dry weather or if your windows and door(s) are available for installation.
|
|
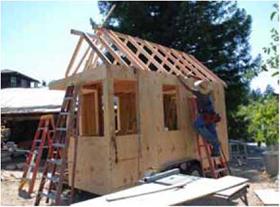
7) Frame the roof and gables. Be sure to fasten the rafters to the walls with metal hurricane clips so that the entire roof does not blow off onto the highway.
|
|
9) 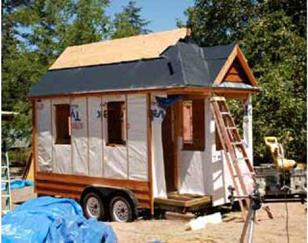
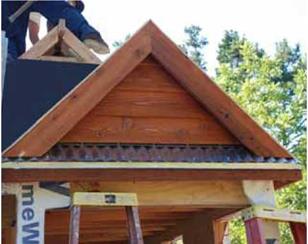
Waterproof the roof with tar paper or some equivalent. Then, run some 1/4” lath up the sides of the house. Place each over a stud. The channels between the strips will serve as air spaces to vent beneath the siding. This would also be a good time to trim the corners and openings and to put facia boards up around the eaves and rakes.
10) 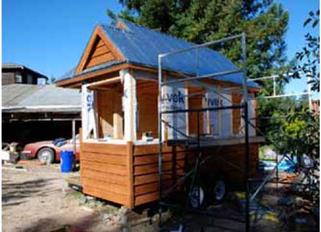 Use metal roofing if you plan on moving the house much. Asphalt shingles and most other materials are far more prone to blowing off. When the roof is done, you can put up your siding. Drive screws through it into the lath, and studs below. Caulk the seams where boards meet the wheel wells.
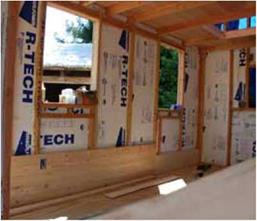
11) 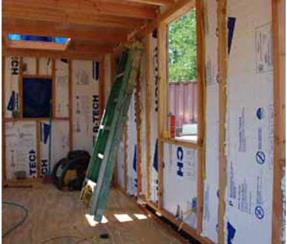 Fill the wall cavities with your insulation of choice, and frame the interior walls. Then, run the wires and pipes for your plumbing and electrical systems. I like to hire professionals to do most of the utilities, as these require a whole new skill set. If your insulation is water-permeable, this would be the time to hang some sort of vapor barrier to protect it from potential condensation problems.
|
|
13) If your windows and doors are not in place by now, then this would be the time to insert them. You can also start building and/or installing any cabinetry and built-ins you intend to include.
|
|
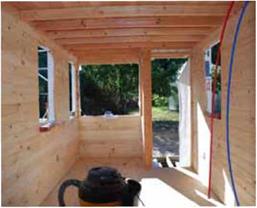
12) Your interior wall finish can now be hung. I generally use thin, knotty pine tongue-and-groove paneling because it is so light and easy to install, but drywall and other materials will work, too, so long as you do not exceed your trailer’s weight limit.
|
|
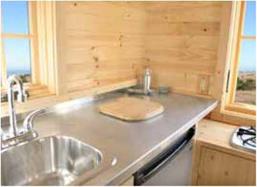
14) Put your integral appliances in place and trim your edges. I do tend to put the screws aside and use nails and glue for this part. Finish work is, by far, the most time-consuming part of the entire building process, but, when it is done, your house is done, too. Make yourself at home.
The finished product (right)
|
I и |


Leave a reply