TWO WAYS TO SECURE A TOEKICK
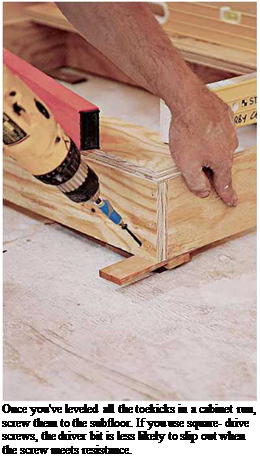
As you install each cabinet, first transfer the stud center marks to the mounting rails on the back of the cabinet. Then drill through the marks, using a bit that’s thinner than the shanks of the mounting screws— or a countersink bit. Drill slowly to avoid splintering the plywood on the inside of the cabinet, or stop the countersink bit just as its point emerges. Then finish drilling from the other side.
 1111
1111
 Setting cabinets with integral toekicks. If
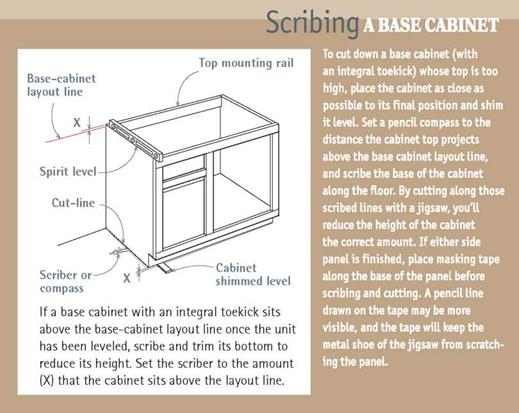
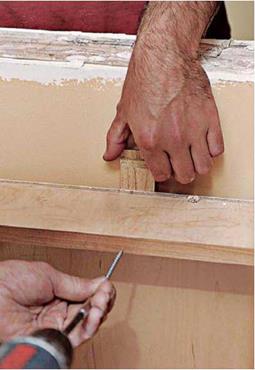
your cabinets have integral (built-in) toekicks, be sure to review the preceding section on rough toekicks. Shimming units with integral kicks is similar, but more difficult. Basically, you’ll shim each cabinet under its sidewalls, front, and back. The difficulty arises because you can’t go back and adjust rear shims once you’ve installed the next cabinet. So take the time to level the top of each base cabinet perfectly. Otherwise, the order in which you install cabinets is the same for either type.
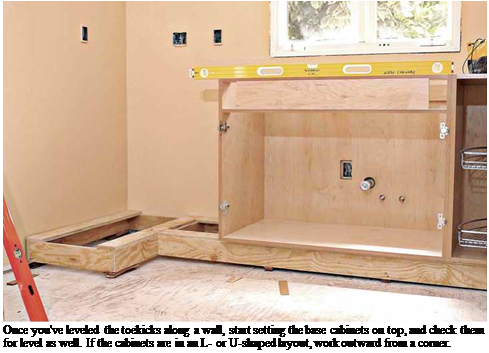
Setting base cabinets. If you’re installing a single run of cabinets along one wall, it really doesn’t matter where you start, except that if there’s a sink cabinet centered under a window, start there. If your cabinet layout is L – or U-shaped, start in a corner because there, where cabinet runs converge in a corner, their tops will need to line up perfectly if the countertop is to be level in all directions. So take pains to be sure that first corner top is at the right height—in relation to the base cabinet layout line—and level in all directions. Once that corner cabinet is perfectly level,
|
|
||
 you have a good shot at extending that level outward as you add cabinets.
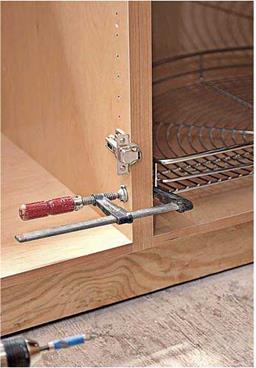
When you’ve leveled the corner cabinet in all directions, you can screw it to the toekick and, through its mounting rails, to the studs behind it. But more often, carpenters prefer to “gang” cabinets together, lining up their tops so they’re level and, using quick-release clamps with padded jaws, aligning and drawing the cabinet edges or face frames together. Once you’ve lined up the cabinet edges and frames, use two wood screws to join them. Drill pilot holes first with a countersink bit so the screw heads will be flush. If cabinet panels are 3з4 in. thick, use 114-in. screws to join them, so the screw points don’t pop through.
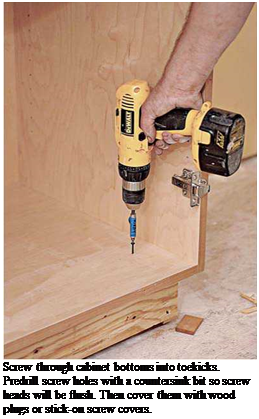
After securing the cabinet edges and frames, check the cabinet tops for level and height one last time. Then, depending on the type of cabinet, screw the cabinet bottoms to the toe – kicks, or screw integral toekicks to the subfloor. Finally, screw the cabinet backs to the studs, through the pilot holes you predrilled. If a wall is wavy, shim low spots behind the mounting rails; otherwise, screws could distort the mounting rails and possibly misalign the cabinet boxes. Screws should sink at least 1 in. into the studs, so use #8 screws that are 212 in. or 3 in. long.
Don’t use drywallscrews because they don’t have much shear strength. If your base cabinets have top and bottom mounting rails, drive two screws per stud to anchor the cabinets—in other words, sink a screw each time a mounting rail crosses a stud. Later, you can use wood-grained, stick-on screw covers to hide the screws.
Setting sink bases. Sink bases with back panels take a bit more work because you must bore or cut through the back panel for pipe stub-outs and
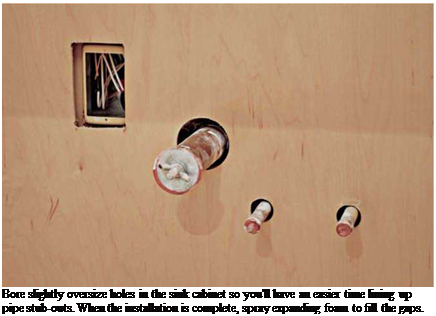
electrical outlets, if any. Perhaps the easiest way to transfer the locations of those utilities to the back of the cabinet is to position the cabinet as close as you can to layout marks on the wall, and then place a spirit level behind it. Holding the level vertically, place it next to each stub-out, plumb the level, and then mark that pipe’s position on the wall and on the cabinet’s back stringer. Pull the sink base away from the wall, measure how far each stub is below the layout line, and measure down an equal amount on the back of the cabinet. Use a slightly oversize hole saw to bore holes, stopping when the saw’s center bit comes through the inside of the cabinet. Finish drilling from the inside of the back panel to avoid splintering it.
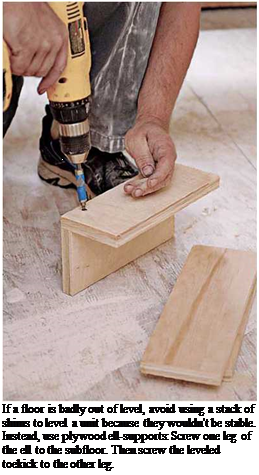
Setting islands. Kitchen islands are installed much the same as other base cabinets, except that they can’t be screwed to studs. Therefore, the rough toekick must be sturdy and well attached to the subfloor. For that reason, use ell-supports to level rough toekicks or integral toekicks and anchor them to the subfloor.
Here, glue and screw the ells to the subfloor after snapping chalklines to show you exactly where the island will sit. Place an ell at least every 18 in. to 24 in. and, to further bolster rough toekicks, add crosspieces at the same interval. You can’t overbuild a kitchen island, especially if you’ve got kids who think cabinets are jungle gyms.


Leave a reply