TIGHTENING NEWEL POSTS
If many of the balusters are loose, check the railing and the newel post: They may not be firmly attached. Or if the upper end of the railing dead ends into a wall on the floor above, the railing may be anchored with a bracket beneath. Make sure this bracket is tight.
If the newel post is shaky, try shimming underneath its base or screwing the post down
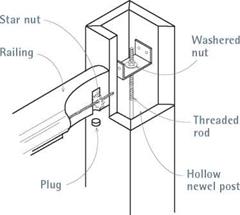
Anatomy of a Hollow Newel Post
|
|
|
|
Unlike modern newel posts, older ones are often hollow and attach to railings in various ways. One common way is a star nut centered in the end of a railing, which is accessed by removing a plug on the underside. The bottom of the post may be screwed to a stringer or held fast by an adjustable rod-and-plate assembly running down the middle of the post.
|
|
|
|
|
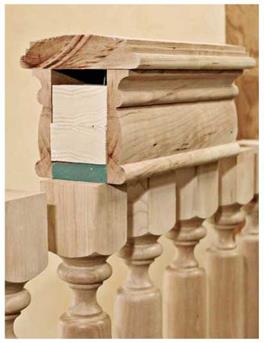
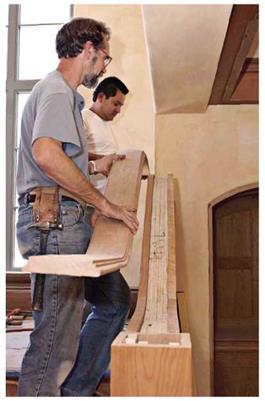
With skirt pieces glued and clamped to both sides of the rough cap, the finish railing cap is test-fitted. |
with predrilled 3-in. Torx screws. If this easy repair doesn’t suffice, see if the internal hardware needs tightening. Quite often newel posts are hollow, with a long, threaded rod inside, as shown in "Anatomy of a Hollow Newel Post,” on p. 173.
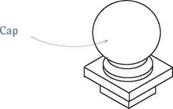
You may be able to tighten the upper end of this rod, concealed by the post cap, by turning a nut against a restraining plate. Because you may have difficulty finding the cap joint under many years of polish and grime, loosen the cap by rapping the side of it with a rubber mallet. The bottom end of the threaded rod often emerges on the underside of the subflooring—if it’s exposed, have a look.
On occasion, newel posts also connect to another plate-and-rod assembly on the inside of the nearest stair carriage. About the only way to get at that assembly (if it exists at all) is to pull up the first tread. Where the railing meets the newel, the railing is held tight by wood joinery or by a double-ended hanger bolt accessible through a plug on the underside of the railing.
Treads crack because they aren’t supported correctly or they weren’t made from good stock. To replace them, you’ll need to pry or cut them out. Prying is preferable but rarely possible, especially if the treads are rabbeted to risers or housed in stringers.
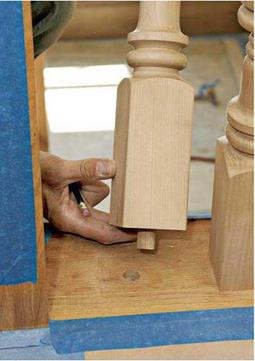
To cut a tread out, first remove the balusters from the step’s open end, saving that end as a template for the new tread. Drill into the middle of the tread and, driving a chisel with the wood grain, split out the old tread. Clean up any old glue or wood fragments. After fabricating the new tread and testing its fit, apply glue to its edges and to the tops of the carriages on which it will sit. To each carriage, screw down the tread with two or three trim-head screws, predrilled to prevent splitting. Reinsert and glue balusters and nosing.


Leave a reply