Laying Out a Tub Back Wall
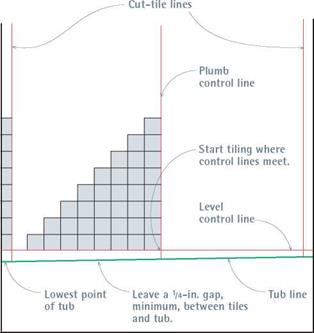 Almost all tubs slope slightly, so use a spirit level to locate the lowest point. From that lowest point, measure up the height of one tile, plus ‘I in., and mark the wall. Draw a level control line through that mark, as shown in the illustration at right, and extend that level line to all three tub walls. Use a story pole to see if you’ll need to cut tiles. If so, lay out tiles so cuts are symmetrical on both ends of the back wall. Draw a plumb line on each end of the wall to indicate where the cut tiles will begin. Finally, through a tile joint along the level control line, draw a plumb control line that roughly bisects the backwall. Start tiling where control lines meet.
TILING A TUB SURROUND
|
![]()
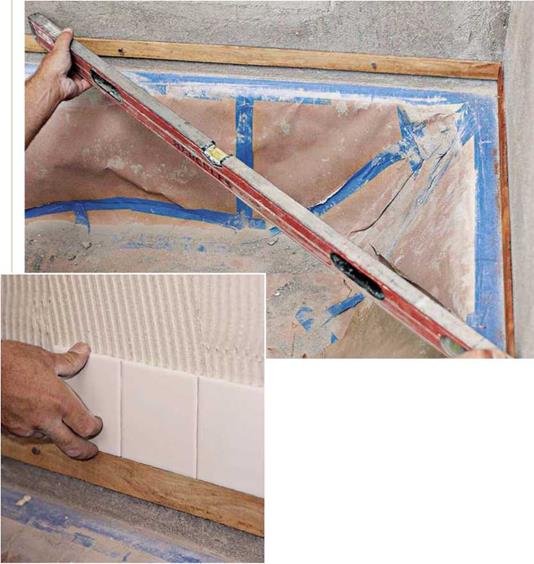
3. The first course of full, uncut tiles should rest on the wooden strips. After you’ve installed tiles on all three walls and the setting-bed has hardened, remove the wood strips and install cut tiles below.
(Steps continue on next page.)
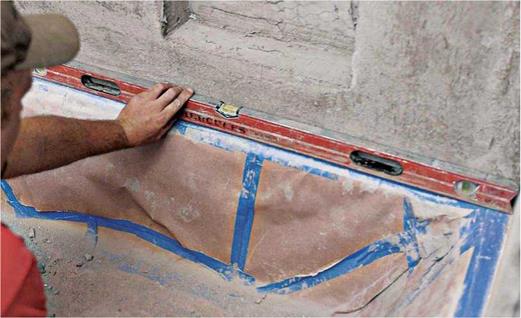
2. At the lowest point of the tub shoulder, measure up one tiling unit (tile width plus one grout-joint width) and mark that onto the wall. Through that mark, draw a level line that extends to all three walls of the surround. Next, nail narrow wooden strips to the underside of that line, as shown.
About the same time you’re sponge-wiping the tile, use a margin trowel or a utility knife to remove grout from the expansion joints and from the ‘/.-in. gap where tile meets the tub. Allow a day for the grout to cure; then seal these gaps with an acrylic or silicone caulk. Tile suppliers sell caulk that’s either sandless or sanded, and color matched to your grout.
 llll
llll
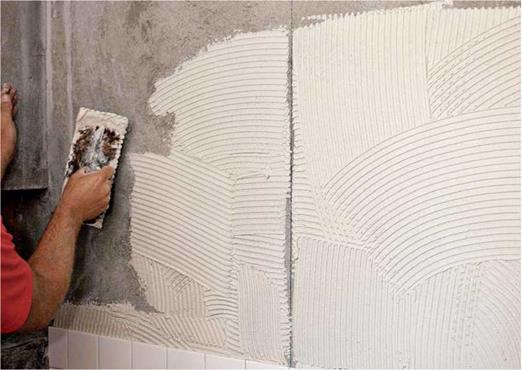
4. typically, tilesetters mark a vertical line to bisect the long, sidewall of a tub. As you trowel on thinset, try not to obscure the line with adhesive. Although this pro is setting a whole wall without interruption, most mortals should set tile a half or quarter wall at a time.
5.
 |
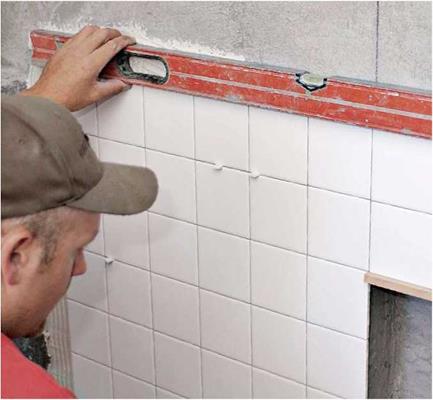 |
Periodically check to see if tile courses are level, inserting plastic shims as needed. Leave them in place until the thinset cures. Note: Because walls aren’t perfectly regular, you’ll often need to use spacers as well as shims. Spacers are uniformly thick; shims are tapered.


Leave a reply