INSTALLING BASE CABINETS
Cabinet installers wrangle about whether it’s easier to install base or wall cabinets first. If you hang the wall units first, you won’t need to lean over the base cabinets as you work. Whereas if you install the bases first, you can brace the bottom of the wall cabinets off the bases and thereby install the uppers single-handedly.
There isn’t one right answer, but the photos on p. 318 make a convincing case for hanging the wall cabinets after installing stone countertops. Above all, be patient. Setting cabinets means endlessly checking and rechecking for level, fussing with shims, and so on. So don’t begrudge the time it takes. You can’t hurry love or cabinets.
Setting rough toekicks. If your cabinets have separate toekicks, install them first, starting at the highest point on the floor—as you did during layout. Make the toekicks as long as possible to minimize joints because joints tend to sag and separate under load. Level the toekicks side to side, front to back, and from section to section. Shimming is an inexact science: As a rule of thumb, shim under the corners and in the middle of a span—roughly every 18 in. to 24 in. A 24-in.-deep base cabinet is typically supported by a 20-in.-deep toekick.
|
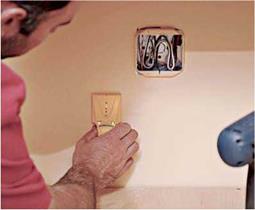
Because you’ll be securing both base and wall cabinets to stud centers, use an electronic stud-finder to help locate them. |
If floors are seriously out of level—say, 1 in. in 8 ft.—construct several ell supports such as the one shown in the top right photo on p. 308. Screw one leg of each ell to the subfloor, level the top of the toekick, and then screw the side of the toekick to the upright leg of each ell. Ells aren’t hard to construct, and they’re far more stable than a 1-in.-high stack of shims. Once you’ve leveled the toekicks, place the base cabinets atop them and see how everything fits together. If this dry run looks good, set aside the cabinets and screw the toekicks to the subfloor.


Leave a reply