FALSE BEAMS
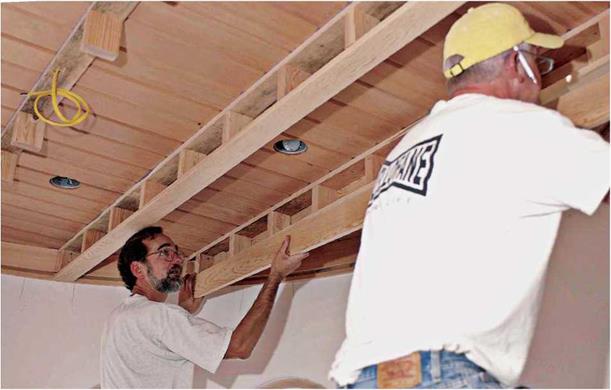
There are several ways to construct false beams. Two are shown here. The first is to make a ladder frame (imagine a ladder set horizontally) clad with finish boards. This type, shown below, runs perpendicular to ceiling joists so its top board can be screwed to them; end-nail "ladder rungs” to the top board before installing it. Once the top board is secured to joists, attach the bottom board and then the sides. A power nailer is a must because the assembly is shaky till all the boards are on.
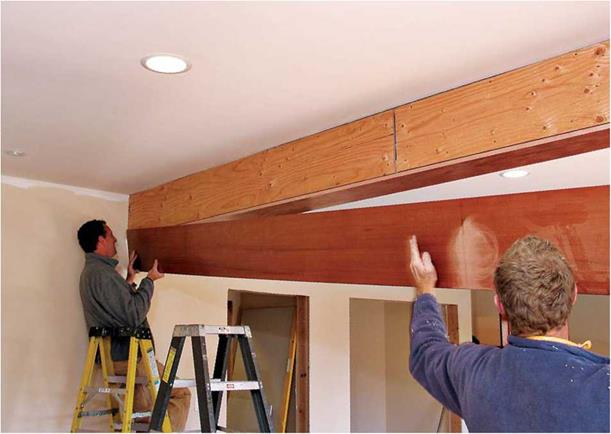
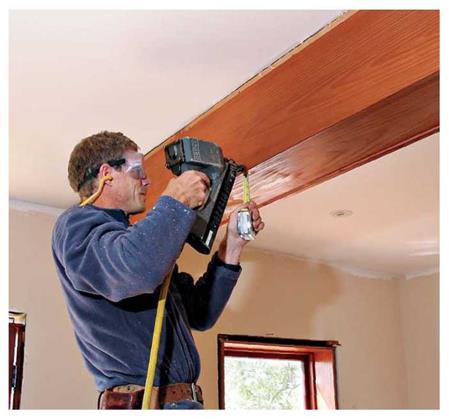
The second type, shown in the photos on the facing page, is more correctly called a box beam because there’s nothing false about the steel I-beam it’s disguising. You can order I-beams with bolt holes predrilled, making it easy to bolt plywood nailing blocks to them. The plywood shown was faced with clear fir on three sides and
stained to simulate redwood. Because the underside of the box was most visible at eye level, the carpenters took pains to create an even reveal along the bottom of the beam. The gaps along the top of the beam were later covered by the crown molding shown in the top photo on p. 429.
In the old days, when raised-panel wainscoting was constructed from solid wood, fancy joinery was required to accommodate the expansion and contraction of the panels. Today, thanks to the stability of MDF panels and readily available stock molding, you can create good-looking wainscoting with simple joinery (see p. 432). Once painted, this new wainscoting will be almost indistinguishable from that built with traditional materials and methods.
Construct the frame rails (horizontal pieces) and stiles (vertical pieces) from clear, straight 1 x4s; if you need more than one board to attain the length you need, use a biscuit joiner (see the

|

BOXING IN A STEEL I-BEAM
To provide nailing surfaces for the sides of the box beam, first bolt plywood strips to the predrilled I-beam. Attach the bottom panel of the box beam first, then the sides.
 Because the underside is the most visible part of the box beam from eye level, measure to be sure the board reveals are consistent. Measuring also tells you exactly where the edge of the bottom board is—so nails don’t miss it. Cover gaps along the ceiling with crown molding.
bottom photo on p. 407) to splice the board ends. Use this tool to strengthen the butt joints between rails and stiles, too. But first, snap chalklines onto the walls to indicate the position of rails and stiles; if any stiles coincide with electrical outlets, it may be easiest to relocate the outlets so that all the panels along a wall have a consistent width.
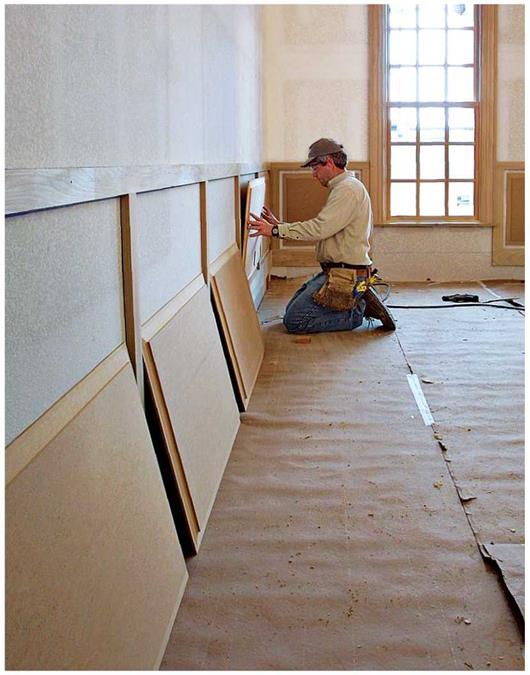
Assemble the frame on the floor. After allowing its glued and biscuited joints to cure, tilt the frame upright, and screw it to wall studs, using 15-gauge finish nails. To avoid stressing the frame joints, have a helper tilt it up and hold it atop spacer blocks as you nail it. The 54-in. MDF
panels are best routed in several passes to avoid frying the router and scorching the panel edges. Once you’re done routing, sand the panel edges lightly and nail them to the wall, leaving an even gap all around, between panel edges and frame elements.
Although you can use any type of stock molding to cover the gaps around the panels, a shaped molding adds visual interest and has a traditional feel—bolection molding has a nice profile and a rabbeted back edge that seats neatly against frame edges. Cap the top of the top rail with molding too, to cover the slight gap between the frame and the wall.
|


Leave a reply