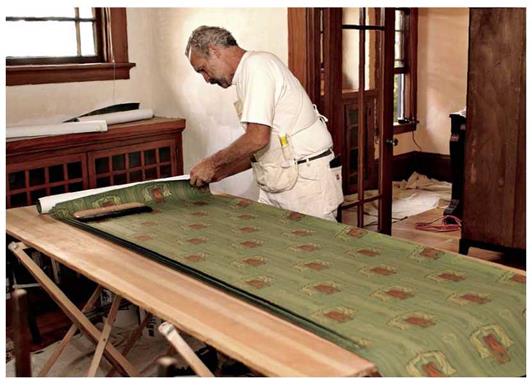
Basic Papering Techniques
О Before you start hanging wallcovering, turn off the electricity to affected outlets, switches, and fixtures, and check with a voltage tester to be sure the power’s off.
Measure out from the door casing, if that’s where you’ll begin, and draw a plumb line that will become the leading edge of the first strip.
If the casing is out of plumb, allow the trailing edge of the strip to overlap the casing enough to be trimmed with a razor knife without creating a space along the casing. If the casing is plumb, simply butt the trailing edge to the casing. As you progress, however, continually check for plumb.
Measure the height of the wall and cut several strips to length, leaving extra at each end for trimming and vertically matching patterns. Cut the first two strips extra long. Slide the first strip up and down the wall until most (or all) of its pattern shows near the ceiling line. Don’t show less than half the pattern. The pattern along the baseboard will be less visible and thus less important.
Place the second strip next to the first, and align the patterns along their edges. From the first two strips, you’ll have a sense of how much waste to allow for pattern matching. (A pattern – repeat interval is often printed on the label packaged with the wallpaper.) Depending on the size of the patterns, each succeeding strip can usually be rough-cut with an inch or two extra at each end and then trimmed after being pasted.
Do the rough-cutting at the table using shears. Do the trimming on the wall using a razor knife. Patterns that run horizontally across the face of a
|


Leave a reply