ATTACHING THE STOOL AND APRON
Lightly sand and prime the stool, including its underside and ends to prevent its absorbing moisture from condensation or driving rains. After the paint is thoroughly dry, apply waterproof glue to the underside of the stool, level it, and nail it to the rough sill using two or three 6d galvanized finish nails. Try not to lean on the only partially supported stool till it’s nailed to the top of the apron, which will steady the stool.
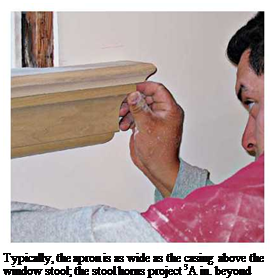
Next cut the apron, which is generally the same casing used for side and head casing, although here its thicker edge is butted to the underside of the stool. The apron should be as

long as the head casing so that it lines up visually with the outside edges of the side casing. If the apron is molded, cope each end to accentuate its profile or miter-cut it and glue on a return. If you’ll be painting the casing, caulk along the underside of the stool to prevent drafts. Then butt the apron to the underside of the stool. Nail up the apron, driving 6d finish nails into the rough opening beneath the sill. Finally, nail the
|
|
|
|
|
|
|
|
|
|
|
|
|
|
|
|
|
|
|
|
![]()
![]()
Windowsills, STOOLS, AND APRONS
Windowsills have both an inner and outer life-one half is interior, and the other is exterior. It makes sense to pitch the outer portion of a sill so it can shed water.
 But in the old days, windowsills were pitched all the way, front to back, which created a uselessly pitched interior section that had to be covered with a stool piece, as shown in "Window Trim," on p. 421. To fit a pitched sill, usually set at 14° to 20°, the underside of a stool must be partially rabbeted at the same angle, so that when the stool is nailed on top of the sill, the top face of the stool will be level. It’s an archaic design but, surprisingly, it survives in some new window designs.
Many modern windows, however, have a sill whose interior portion is flat on top and flush to the insides of the window frame. Consequently, there’s no need for a stool or an apron. Such windows may be "picture framed." That is, the casing can be mitered around all four sides of the window frame.
If your windows have traditional stools and aprons, the trickiest part of casing the windows will be fitting the stools. Typically, a stool’s outer edge almost abuts the inside of the lower window sash (allow a 1/i6-in. space for the thickness of paint), and its interior edge overhangs the apron beneath it. And note that the stool’s "horns" extend 3/4 in. to 1V2 in. beyond the width of the side casings. You can still buy replacement stools for window renovations in older houses.
INSTALLING MITERED JAMB AND HEAD CASING

TIP
If yotlTe installing new or reattaching old door casing or baseboards, wait till the floors are finished. Otherwise, floor sanders and carpet knee kickers can bash the dickens out of trim.
ini
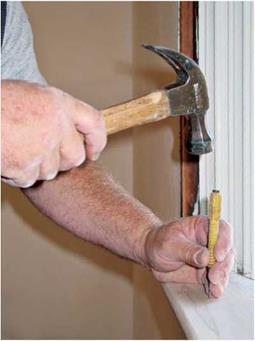
 2. Although many carpenters install both jamb casings before measuring the head casing, this carpenter chose to dry-fit the second jamb and head as a pair, so he could adjust the miter joint in place. An unglued biscuit held the pieces of casing together as he finessed the joint.

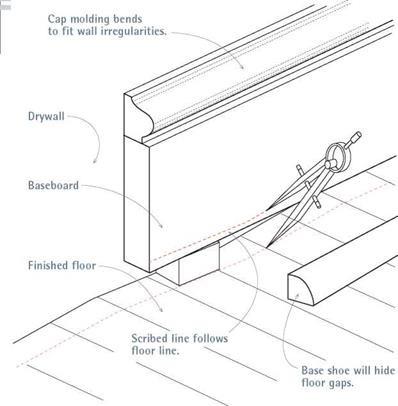

stool to the top of apron, using three or four 6d galvanized finish nails. Set and fill those nails.
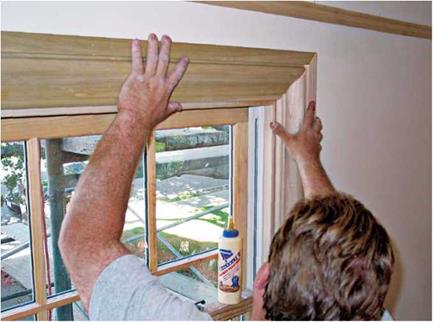
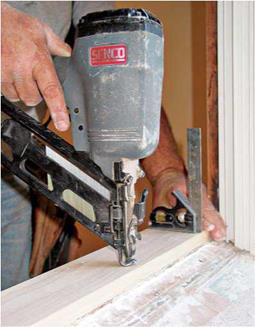
Install the side and head casing in the same order that you would case a door: side casing, head casing, and second side casing. The main difference is that window side casing sits on the stool horns. If you’re casing side-by-side windows with flat trim, you can run a single piece of head casing over both windows and butt the middle and side casings to the underside of the head casing, as shown, in in the top photo on p. 419.


Leave a reply