And Crown Molding
As noted in "The Case for Not Leveling Trim,” on p. 415, baseboard and crown molding should follow floors and ceilings, rather than level lines projected across the walls. If floors and ceilings are level, fine. Otherwise, leveled trim next to out-of-level surfaces is glaringly obvious.
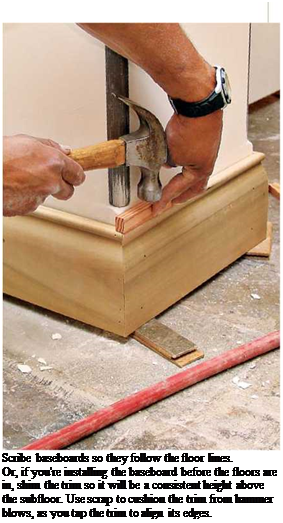
Install the finish floors first, with a slight gap, typically i<2 in., between the wood flooring and the walls so that wood strips or planks can expand and contract seasonally. Baseboards thus cover that gap along the base of the walls. You should also install door casing before baseboards, so that baseboards can butt to side casing or plinth blocks. Back-cutting the baseboard slightly yields a tight butt joint against plinth blocks or casing, even if the trim boards are not perfectly square to each other.
Locating studs beforehand will make installation easier. If walls have been newly drywalled, look along the base of the walls for screws or nails where panels are secured to stud centers. Otherwise, rap the base of walls with your knuckle till you think you’ve found a stud. Then drive in a 6d finish nail to locate the stud exactly. Stud – finders work, but they are less reliable with plaster walls, whose lath nails meander all over the place.
Scribe the bottom of baseboards to follow the contour of the floor, especially if the floors are irregular. But first, shim the baseboard(s) up about 1 in. above the floor, butt one end of the board to a corner or a door casing, and tack the baseboard to a stud or two to keep it upright. Then run the scribe or compass along the bottom to transfer the floor contour to the baseboard.
Cut the scribed line with a fairly rigid jigsaw blade that can cut with the grain; a Bosch T1001D™, with 6 TPI works like a charm.
Baseboard joinery employs basic techniques described earlier. Miter outside corners, cope inside ones, and glue all joints before nailing
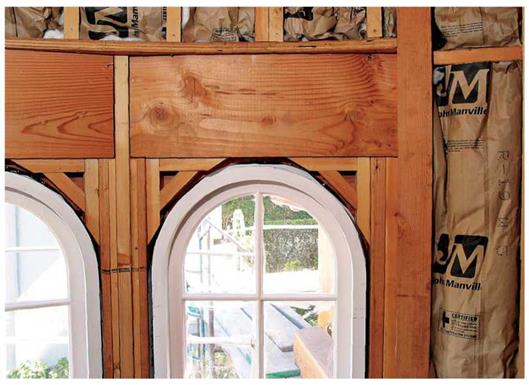
CASING AN ARCHED WINDOW
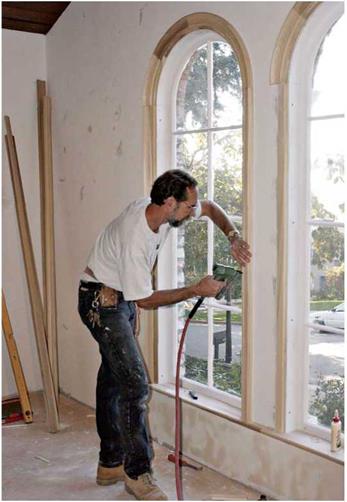
Arched windows require complex framing around the arch so you have something solid to nail finish walls and casing to.
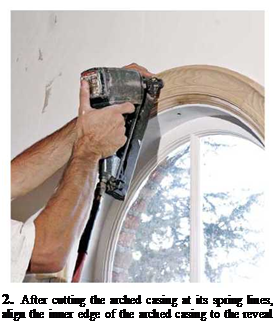 |
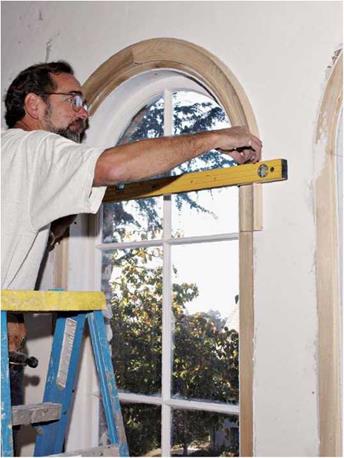
1. After scribing a reveal line along the edge of the arched head jamb, tack a finish nail at the apex of the line, and hang (balance) the arched head casing from it. Then level across the "spring lines" of the casing—the points at which the casing springs into its curve.
|
|
|
|
|
|
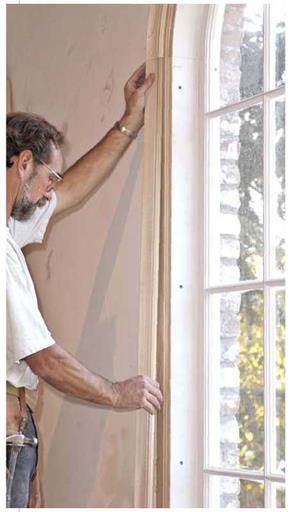
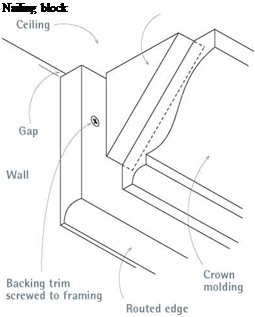 |
 When installing nailing blocks without backing trim, nail the blocks directly to the wall plates. Keep a 1/16-in. space between the back of the molding and the face of the blocks to accommodate wall-ceiling irregularities.

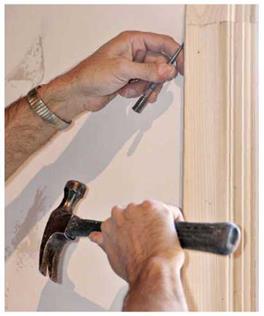
them off. Use two 8d nails (aligned vertically) at every other stud center, and use a single 4d finish nail top and bottom to draw mitered corners tight. Used as baseboard caps, standard moldings, such as quarter-rounds, can hide irregularities between the top of the baseboard and the wall, and they dress up the top of the board. Where baseboards abut door casing and there’s no stud directly behind the end of the baseboard, nail the bottom of the board to the wall plate, and angle-nail the top to the side of the casing or plinth block, using an 18-gauge brad to avoid splitting the trim. Finally, set the nails, fill the holes, and caulk all seams before painting.


Leave a reply