Techniques READING A TAPE MEASURE


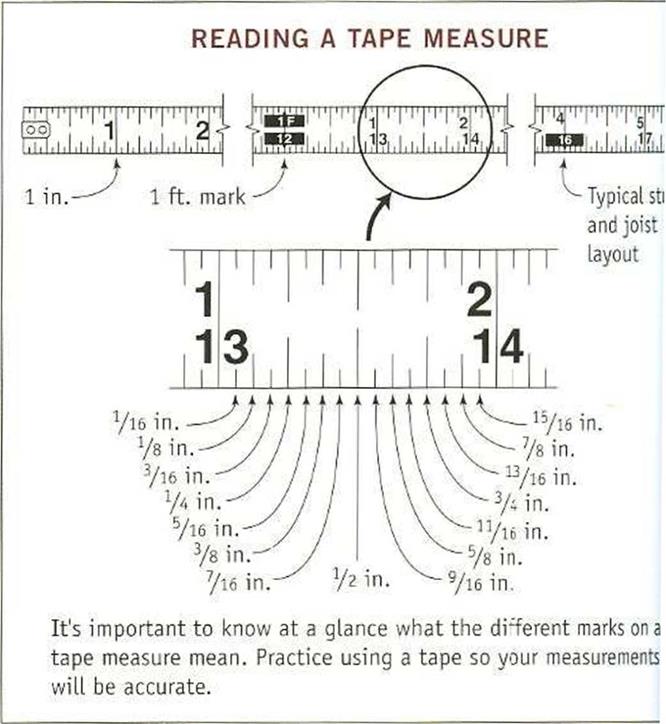
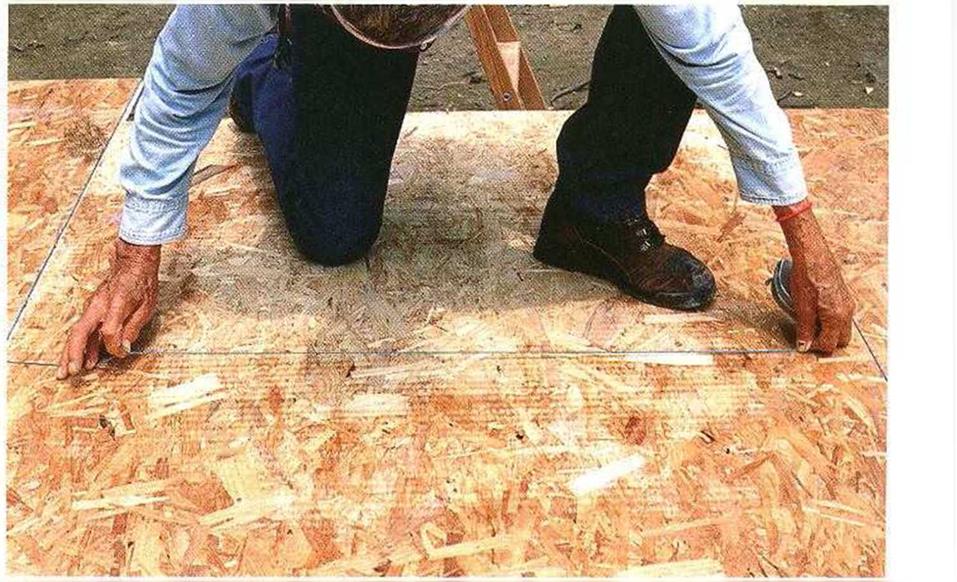
A MEASURING TAPE IS SIMPLY a long ruler in a convenient easy-to-use package. Just like a ruler, a tape is laid out in feet, inches, and fractions of inches. Knowing how to read a tape quickly and accurately is an essential skill for anyone involved in the building trades.
The key to being able to read a tape is learning and understanding all the subdivisions of an inch (see the illustration at right). Each inch is divided into halves, quarters, eighths, and sixteenths. Once you can discern the meaning of all these little marks, you’ll have no problem measuring 13 ft., 9}/is in., or any other odd dimension. Study the drawing and your own tape until you can rattle off accurate readings at a glance.
In addition to feet and inches, a tape also has special marks at 16 in., 32 in., and so on to indicate the layout of most floor joists and wall
studs. Some tapes also have decimal equivalents and a metric conversion scale on the back.


cause rust and friction, which can shorten the tape’s life span.
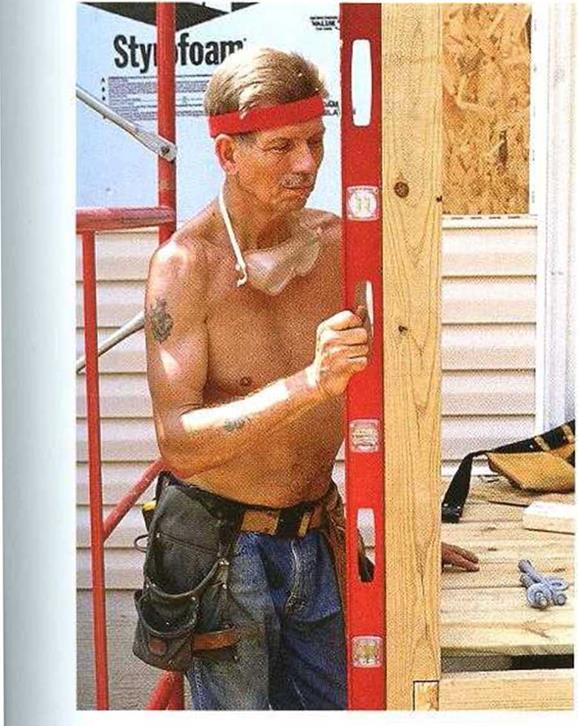
Checking for level (horizontal) and plumb (vertical) are construction tasks that carpenters do every day. both 2-ft. and 4-ft. levels are
4 4
good to have around. The 2-ft. model allows you to get into tighter spaces—to check a header or rough sill for level, for example. A 4-ft. or 6-ft. model provides greater accuracy across longer distances, such as when checking walls for plumb. More so than perhaps any other carpentry tool, a level must be treated with loving care to remain useful (an inaccurate level does you no favors). Check your
levels for accuracy before you put them to work (see the tip at left).
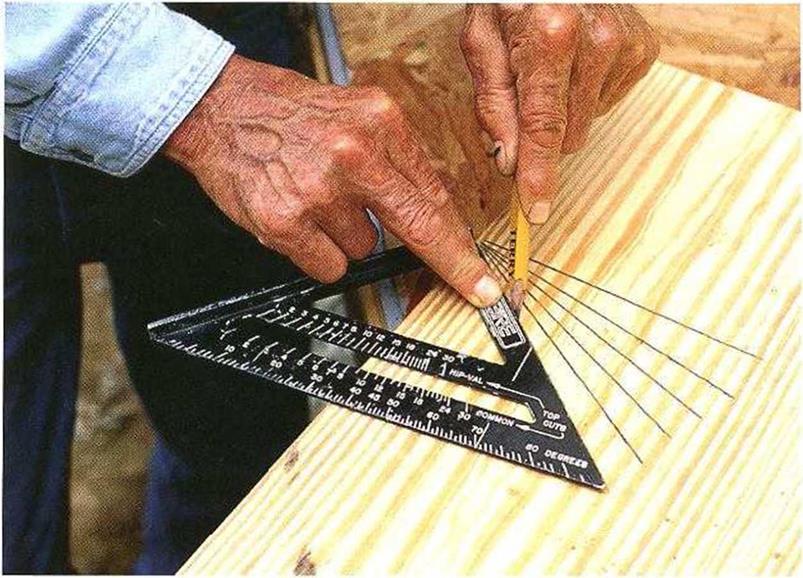
Most things a carpenter builds are either square or rectangular. With a good square or two, you can mark square lines exactly and make square cuts precisely. These days, the most useful square is a small rafter square, often called a Speed square™—the brand name of a popular model (see the top right photo on the facing page). This triangular square fits conveniently inside a nail hag. It’s rugged and easy to use and lets you lay out almost any desired angle, in addition to 45-degree and 90-degree angles.
![]()
|
|
|
|

Once you’ve measured* its hire lo mark. A carpenters pencil and a lumber crayon, or keel, are the two most common marking tools you’ll need. A carpenter’s pencil is flat (so it won’t roll away if you set it down), and it’s less apt to break than a regular pencil. Keel marks easily where pencils can’t—on materials such as tarpaper, housewrap, and concrete. It’s waterproof, loo.
A chalkline is also essential. The first chalkline 1 used was simply a string pulled through a solid chunk of chalk. Today’s chalklines come in cases or reels that hold both a string and a supply of powdered chalk. You pull the chalk-covered string out of the case, snap your line, and then rewind the string inside the case, where it becomes covered in chalk again, ready for the next line. The chalk comes in many colors, including a few neon shades.

 Chalk that leaves a permanent line is good for working in rainy weather.
Carpenters can be a bit touchy about their hammers. You may have more luck borrowing a carpenters pickup truck than a favorite hammer. These days, most framers west of the Mississippi prefer a 21-oz. hammer with a serrated face and a 16-in.- or 18-in.-long wooden handle. My preference is the well-balanced Dalluge® hammer. Women friends in the trade tell me they like the Stiletto®, a 14-oz.
framing hammer made of titanium with a steel face. East of the Mississippi, Ї see carpenters mostly using smooth-faced hammers with metal or fiberglass handles.
Hammer faces and weights vary greatly (see the top photo on the facing page). The best advice I can give is to select a professional – grade hammer that feels good to you. Definitely check out a hammer in person before you buy it. It should match your pnysical


Leave a reply