Techniques MAKING A PLUNGE CUT

SOMETIMES IT’S NECESSARY to cut a hole in the middle of a board or a panel. You can do this with your circular saw if you know how to make a plunge cut. (Don’t attempt this unless you’re an experienced circular-saw user.) Start by leaning the saw forward over the cut line. Rest the front edge of the saw base on the wood, and hold the blade about 1 in. from the surface. Use the lever on the blade guard to lift the guard and expose the blade. Make sure that the blade is aligned over the cut line. Start the saw and use the front edge of the base as the pivot point. Lower the blade into the wood, using both hands to control the saw and complete the cut. When you are finished, turn off the saw and let the blade stop spinning before pulling it out. Another way to make a plunge cut is to loosen the lever that controls
the cutting depth and raise the blade completely above the board. Set the saw base in position over the cut line, loosen the depth adjustment lock, and slowly lower the blade into the material.

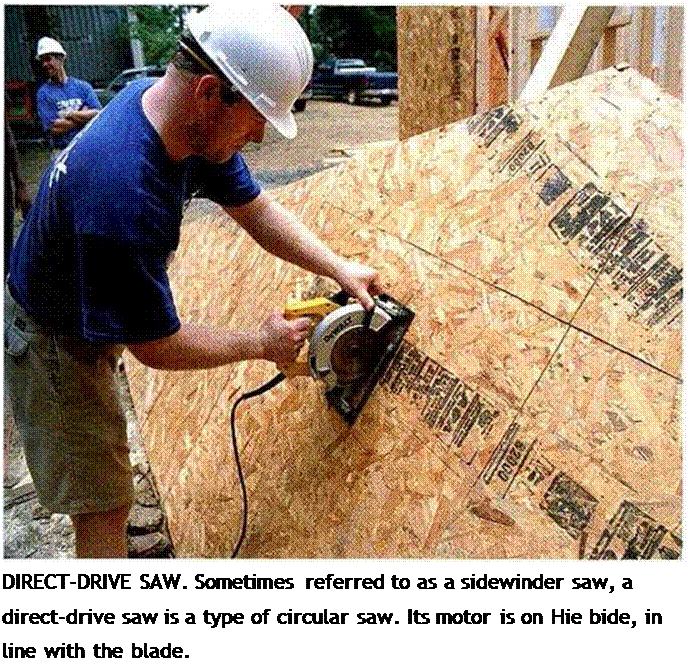
![]() WORM-DRIVE SAW. Larger and heavier than a sidewinder saw, a worm-drive saw has its motor in front of the blade.
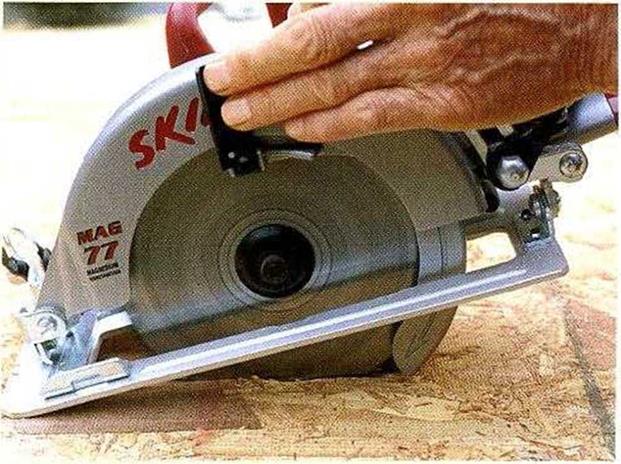
WORM-DRIVE SAW. Larger and heavier than a sidewinder saw, a worm-drive saw has its motor in front of the blade.


![]()


a Make sure the blade guard works (reelу before using the tool.
ж Use the right blade for the job, and replace dull blade with a new one. Carbide-tipped blades are best for most wood-cutting work.
^ To reduce friction when culling, apply paste wax lo both sides of the blade, or spray it with silicone.
^ Adjust the saw s cutting depth according to
the thickness of the material. If vou are cut-
/
ting /: in.-thick material, set the culling
depth at no more than >- in. (see the photo at left). The less amount of blade that’s exposed, the less potential for injury should something go wrong.
ж Always unplug your saw when changing blades and adjusting the cutting depth or angle.
a. Make sure the stock is adequately supported With proper support, the cut won’t bind on the blade and the cut-off end will fall free.
a To begin a cut, place the saw base on the stock with the blade about 1 in. from the edge of the wood, aligned with the cut line. Hold the saw with both hands, pull the switch, and slowly push the blade into the wood, following the cut line. Go slowly, guiding the saw, and let it do the work. Eventually, you will learn to cut with one hand on the saw and the other hand on the material.
a Don’t try to hold a short or small piece with one hand while guiding the saw with the other. Instead, use a clamp to secure the workpiece while you make the cut.
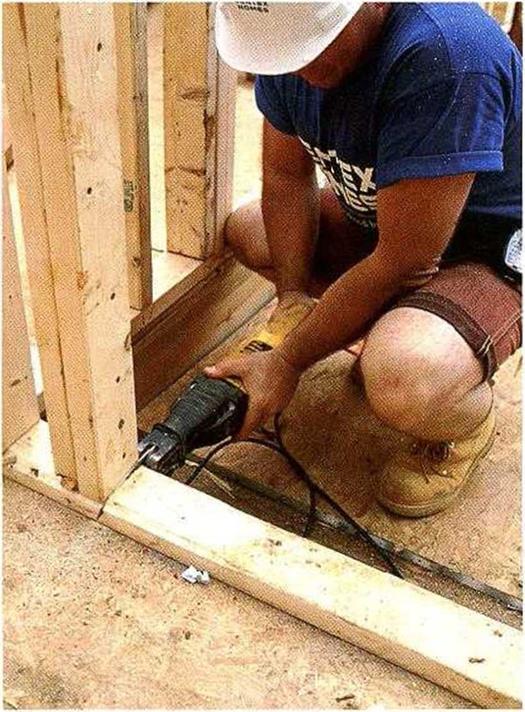
Another frequently used tool is the reciprocating saw, also called a sahersaw or a SawzalD— the name given to Milwaukee’s popular saw (see the photo at left). This tool allows you to cut in tight places and make curved cuts. Different blades are available for cutting through wood, metal, plaster, and plastic. For general use, I buy 6-in. bimetal blades, which cut through both wood and metal.
The power-miter saw (generally referred to as a chopsaw) has revolutionized finish carpentry іust as the circular saw revolutionized
4 *
rough-framing carpentry. With a chopsaw, you can make precise square and angled cuts in framing lumber, door and window casings,
and baseboard trim. These saws are rugged and easy to use. When equipped with a fine blade, thev can make glass-smooth cuts.
An electric drill is a versatile tool on any job site. It’s capable of boring holes in all sorts of material and can also be used for driving screws and mixing paint or dry-wall compound. Most carpenters have at least two drills on a jobsite. A corded drill is best for mixing paint and drywall compound and boring holes in concrete, framing lumber, and metal.
A cordless drill-driver is great for driving screws and light-duty boring.
 Whether corded or cordless, a drill is usually described by the maximum capacity of its


Leave a reply