STEP4 Attach the Sills
Some important carpentry work is about to begin. Whether you are building on a concrete slab, over a crawl space, or over a full basement, the first wooden member that is laid down is called a sill, mudsill, or sole plate.
T his sill is commonly a pressure-treated 2×4 or 2×6 attached directly to the foundation with anchor bolts embedded in the concrete. Occasionally, it is attached with hardened concrete nails or steel pins shot through the sill and into the concrete by a powder – actuated nailer.
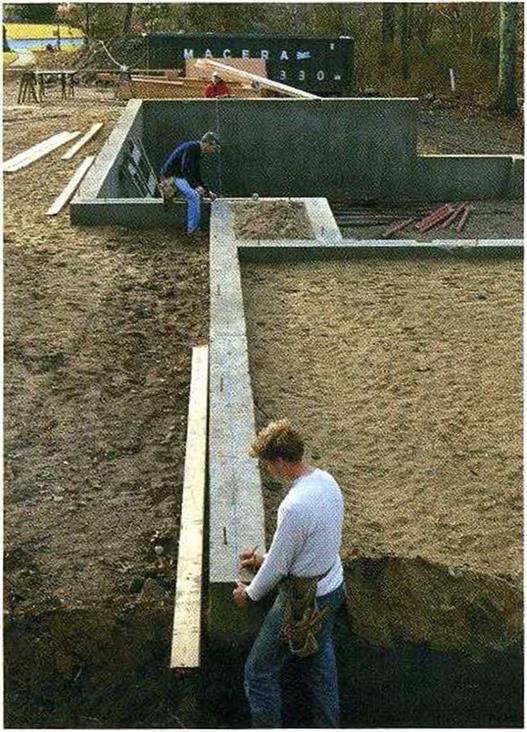
![STEP4 Attach the Sills Подпись: SNAP CHALKLINES TO LAY OUT THE SILL. The line shows where the sill's inside edge rests. If the foundation isn't perfectly square, adjust the line's position so that the sills will be. [Photo by Roe A. Osborn, courtesy Fine Homebuilding magazine, The Taunton Press, Inc.]](/img/1312/image214_1.gif)
 Most codes require that anchor bolts be located I ft. from each corner of the foundation, 1 ft. from the ends of each sill plate, and a maximum of 6 ft. o. c. everywhere else. These are minimum requirements. Builders living in earthquake or high-wind areas often use %-in.-dia. anchor holts rather than /Tin. bolts and reduce the spacing to 4 ft. o. c. or less. As mentioned in chapter l, its important to check with the local building inspector to ensure that the house you’re building meets or exceeds code.
Unfortunately, you can’t assume that your foundation is straight, parallel, square, and level.


Leave a reply