STEP 6 Raise the Walls


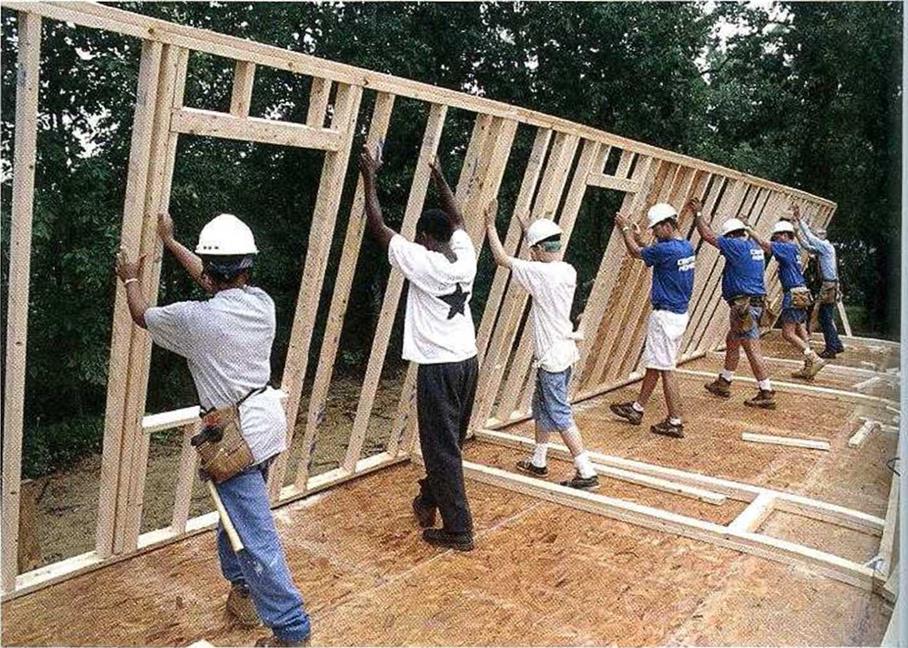
As with barn raisings of yore, it takes a few warm bodies to raise framed walls. Let one person be the team leader and encourage everyone to work together (see the photo below). Remind people to lift with their legs, not with their backs. In many areas, builders put a heavy bead of caulk or a roll of foam
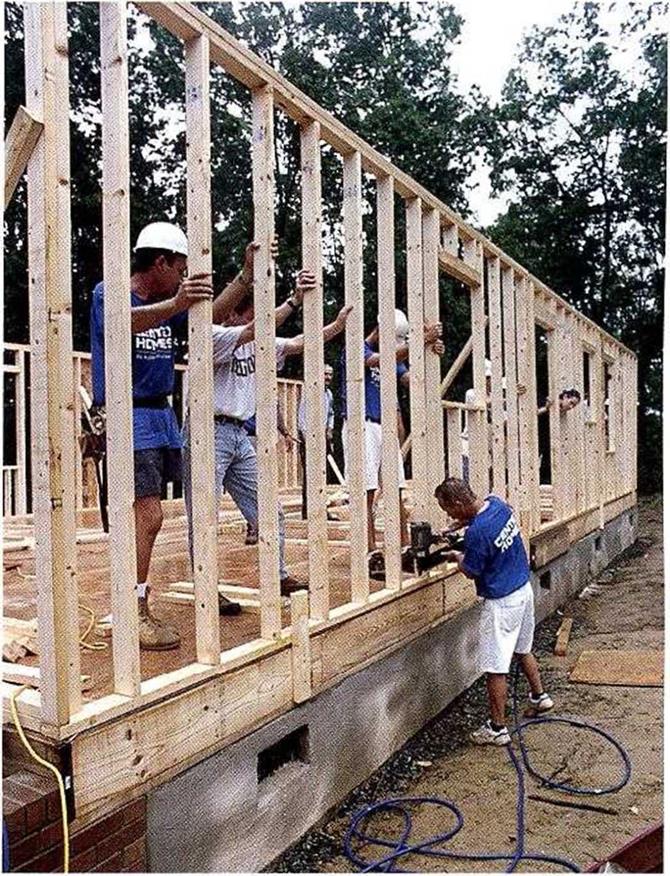
(polystyrene) on the floor or slab under the bottom plate before raising a wall. This helps keep out cold air as well as any bugs that may want to migrate inside. To ensure that the wall wont slip over the outside edge of the build – ingas it’s being raised, nail pieces of 2x stock to the rim joist so they stick up a few inches above the floor to catch and hold the bottom plate (see the top photo at right ). On a slab, bolts hold the bottom plate in place.
Raise exterior through walls first
Start with one of the exterior through walls. Make sure there is no debris beneath the plates before nailing the walls to the floor. If the wall is flat on the deck, stick the claw of a hammer into the double top plate, lift the wall up a bit, and put a 2x block under the wall.
This way you can get your fingers under the wall to lift it. Keeping your back straight, use your legs to lift the wall to your waist, then take it overhead using your arms and upper body. Continue to raise the wall by pushing on the studs until it is fully upright. Once the wall is upright, hold it steady—especially if theres a good wind blowing—until the wall braces are nailed in place.
After the wall is in position, nail a stud to each end as a temporary brace, extending it diagonally from about 6 ft. up on the corner stud down to the rim joist. Drive a couple of 16d nails into each end of the brace. On long walls, nail other braces in the middle from a jtuddown to the subfloor. Make sure these temporary braces will hold the wall until the butt walls are built and raised against it.


 Use a sledgehammer to move the wall until itisright on the chalkline and flush at the ends with the correct marks on the subfloor. After the wall is in position, nail through the bottom plate and into the subfloor, using one
 embedded in framing lumber. Don l nail in donrwavs, Ьіч-aiise you’ll be cutting out the plate later when you set the door frame.
When working on a slab, lever the bottom plate into position over the bolts. S ip the end of a 2×4 under the bottom plate to use as a lever. While one person works the 2×4 lever, other crew members can move the bottom plate in or out to align the holes with the installation bolts. In some areas, bottom plates are attached to the slab with concrete nails. In other areas, steel hurricane straps are used to tie wall framing to the floor framing and foundation (see the photo at left). Now is the time to make sure that these framing connectors are nailed to the wall frame.


Leave a reply