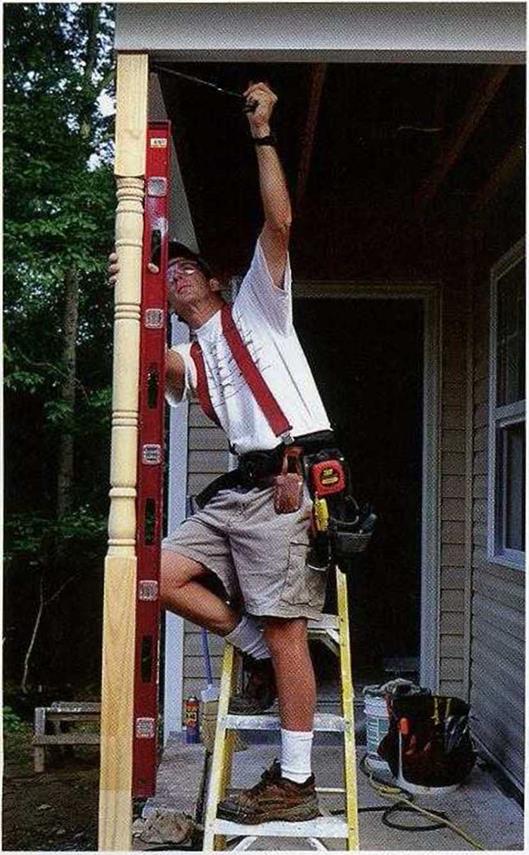
STEP 3 Install the Foundation and Floor Framing
Concrete piers and FT posts work well for supporting the front of the porch. In some areas, code may require that concrete porch piers be set on concrete footings, so check with your building department. For a deck that’s 6 ft. wide by 16 ft. long, set three piers (16 in. square by 12 in. deep), one on each corner and one in the middle (see the top illustration at right). Shorter decks can be built with a concrete pier on each corner; longer decks need more piers. I like to use precast piers that have steel post anchors set in them. The anchors hold the posts in place and resist wind uplift. Check your house plans for porch width and set the piers so they are inline with the ledger board and square with the building.
Next, measure the length for the posts that will extend from the piers to support the floor framing. You can do this with a 6-ft. level or with a shorter level attached to a straightedge (see the bottom illustration at right). Lay the rim joist (or a scrap board of the same size) on top of each pier and set the level or straightedge on the ledger, extending it directly out over the pier. The distance between the rim joist on the pier and the level or straightedge is the post’s length. Cut those posts from PT 4x4s; make them Vi in. short (be consistent) so that the deck will slope away from the house just a bit.
Cut the two end beams (girders) first, using PT 4×6 lumber or doubled 2x6s, as shown in the top illustration at right. For a deck that is 6 ft. wide, cut the two end beams at 5 ft. 8 in. The ledger and rim joist will add 3 in. to the overall width. Those beams connect to the ledger by a metal framing connector and rest, with 2 in. bearing, on the end posts. Connect any beams falling between in the same manner, but run them long over the tops of their
|
|

![]()
![]()
 posts. Stretch a chalkline from the ends of the two end beams across the interior beams and snap a line. Cutting the interior beams to length in this manner ensures a straight rim joist in the front.
Next, cut the rim joist to length. On a rectangular deck, the rim joist is the same length as the ledger. If you have a long deck and use several pieces of rim, make sure they break over a post. The rim rests on the posts and is nailed into each beam with two 16d galvanized nails. Toenail both the beam and the rim to the post. Then reinforce the beam – post-rim joist connections with metal framing connectors. You can nail a flat, gusset-type connector over the joint between a post and the rim joist and use right-angled connectors on the inside.
Before installing the joists between beams, make sure the post-and-beam assembly is parallel and square with the house and all the posts are plumb. Brace the porch frame so it
will remain square until the stairs are attached and the decking is screwed in place. When cutting and installing joists, I recommend using joist hangers to ensure that all joist-to – beam connections are strong. The joist spacing you use depends on the decking material you plan to install. A 24-in. o. c. spacing is usually adequate for 1 А-in.-thick PT decking boards. For 5/4 (lM-in.-thick) PT decking, use
16- in. o. c. spacing. If you use any of the synthetic decking material that’s becoming more popular these days, follow the manufacturer’s recommendations for joist spacing.
I taught night school at a community college for 20 or so years. My students were apprentice carpenters learning how to build houses. Often, students were hesitant to take on the task of building stairs because of the presumed difficulty. It came as a surprise to most of them that building stairs—especially a simple, straight flight of stairs—is actually quite easy. If you can do some basic math and know how to use a framing square and a circular saw, you can build stairs. Although stair-building principles are the same everywhere, different states (and towns or cities) sometimes use different codes, so check to see which code requirements apply in vour area.
The accepted standards for a typical stairway call for a rise of about 7 in. and a run, or tread width, of 11 in. When calculating the number of risers in a stairway, aim to stay as close as possible to those figures. If you have a pocket calculator handy, this calculation is easy to do.
First, determine exactly how high each riser will be. This is calculated based on the total rise, which is measured from finish floor to

|
|


Leave a reply