STEP 2 Install the Ceiling Panels
It’s best to drywall the ceiling before you do the walls. This way, the top edges of the wall panels can butt up against the ceiling panels, supporting them along the edges. The long
edges of ceiling panels run perpendicular to the joists or joist chords. In bedrooms and other small rooms, you’ll probably be able to cover the full length of the ceiling with 12-ft. panels. If the ceiling is more that 12 ft. long, stagger the end joints where the panels butt together, just as you do on floor and roof sheathing panels. Try not to have a drywall joint land on an electrical or heat outlet, because this makes it harder to tape and hide the seam.
Measuring and cutting drywall panels
If you watch professional drywall installers measure and cut panels, you’U be impressed with the speed and accuracy of their work. Although you may not achieve speed right away, accuracy is possible from the start if you use some of the tips explained below. And with accurate cuts, you’ll have a much easier time mudding and taping the panels.
MAKE STRAIGHT CUTS. Instead of cutting a panel to the exact dimensions you measure on a wall or ceiling, cut it % in. short. This leaves a %-in. gap on both sides of the panel, allowing you to fit the piece without binding on neighboring walls or panels. Make a straight cut by scoring along the cut line; snap the cut open so the panel folds back on itself and slice through the resulting crease on the back.
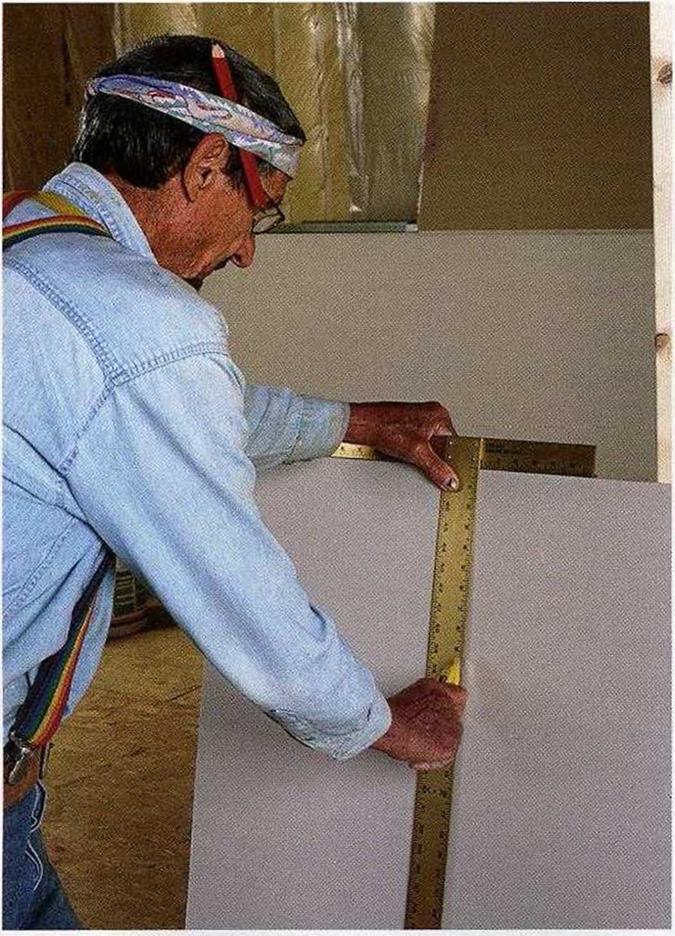
Mark and cut on the “good” side of the panel. Use a sharp utility knife to score the sheet along the cut line. If you have a drywall T-square and need to make a square cut, guide the knife against the edge of the square (see the photo at left on p. 218). Take care not to let the knife slip and cut the hand that’s holding the T-square. Just cut through the paper
|
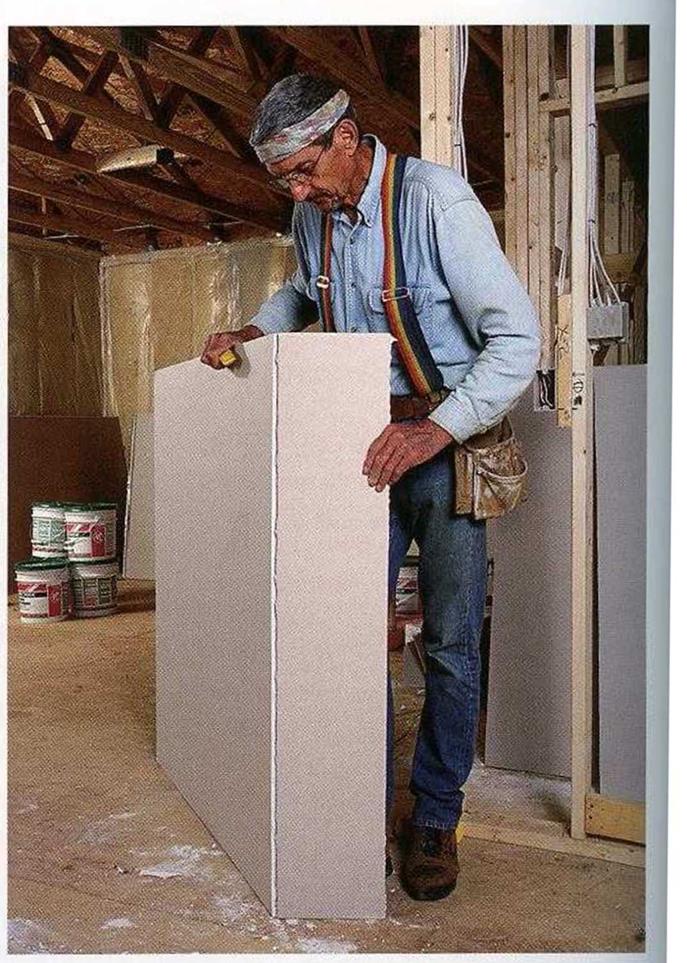
Once scored, the drywall breaks right along the cut line (see the photo at right). Cut the piece free by slicing along the crease on the back.

and slightly into the gypsum core—about % in. or so. There’s no need to force the blade deep into the panel.
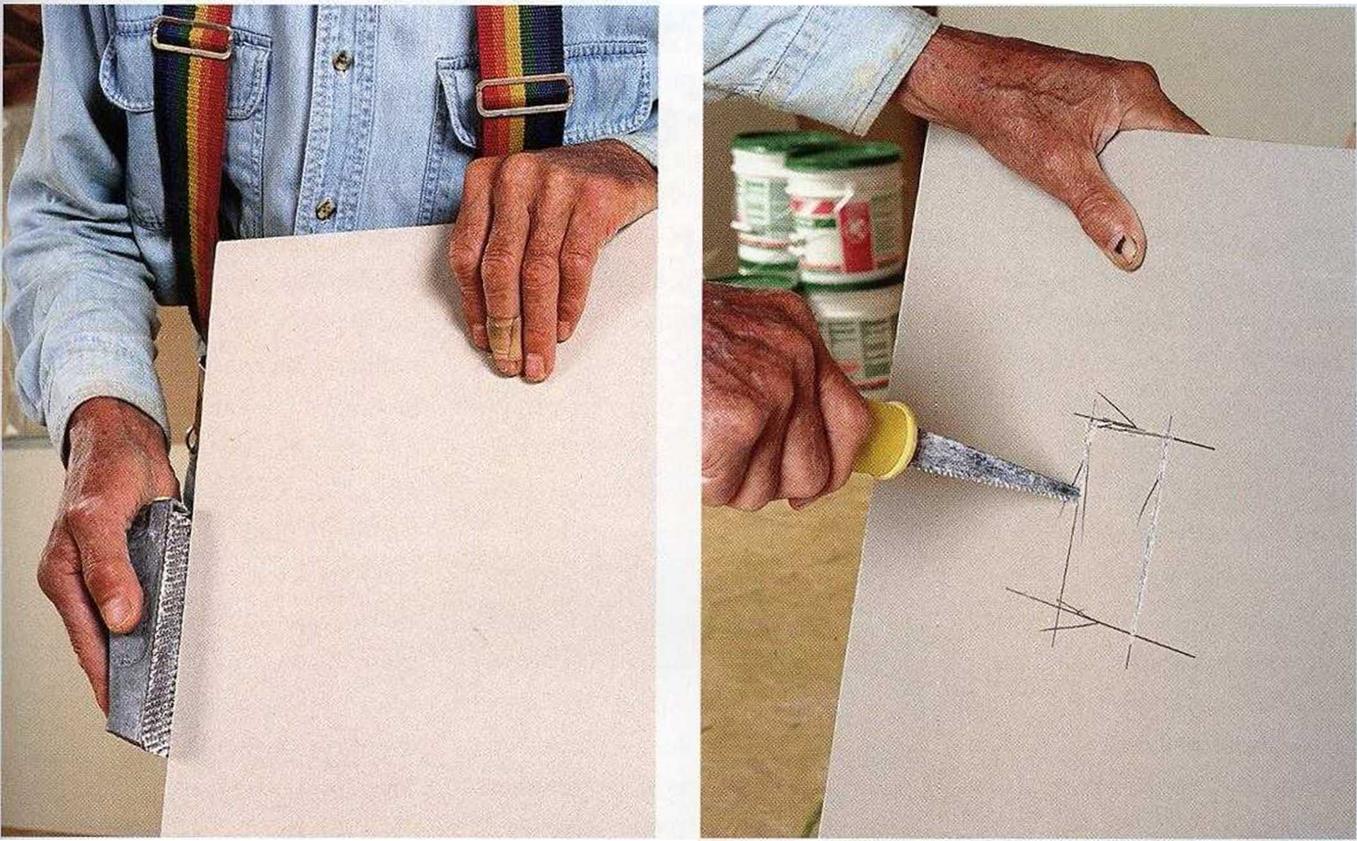
Once the panel has been scored, snap it away from the cut, as shown in the photo above right. Running a utility knife along the crease on the back of the panel usually separates the pieces. If they’re not quite free, bend the cut piece forward and separate the two pieces. If the cut edges are rough or uneven, smooth them with a Surform rasp (see the top left photo on the facing page).
CUT ACCURATE HOLES IN PANELS. Holes for electrical outlet boxes, heating vents, and pipes must be laid out and cut accurately. Take your measurements from a wall, ceiling, floor, or sheet of drywall already in place. I like to transfer these measurements to the drywall panel with a T-square. For electrical outlets and heating vents, use a T-square to outline the hole, then make the cut with a small dry – wall saw. Plunge the point of the saw into the panel from the “good” side and saw along the cut line (see the top right photo on the facing page). The finished cut should be within % in. of the outlet.
|
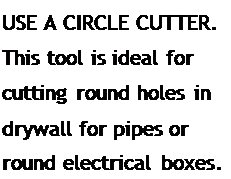
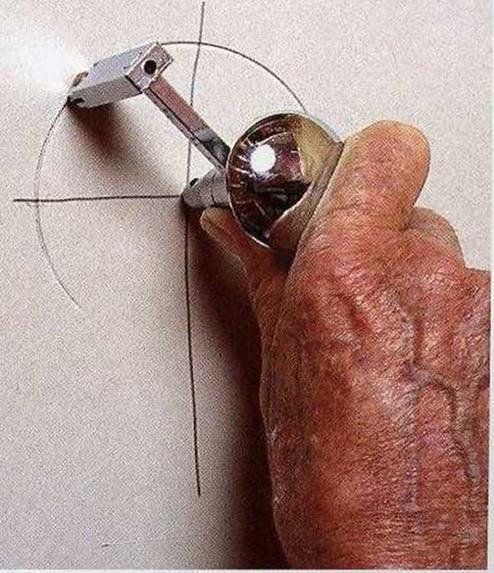
For a dryer vent or a round electrical outlet, measure and mark the center of the cut. Then use a compass or another round electrical box as a template to outline the hole. To make the cut, use a small drywall saw, a utility knife, or a circle-cutting tool made specifically for this job (see the bottom photo at right).
 Another method for marking the location of an electrical box, regardless of its shape, is to rub the face of the box with chalk or keel, place the sheet in position on the wall, and press the sheet against the outlet. The chalk will show you where to cut. Cut gently so you can avoid tearing the paper facing on the “good” side.


Leave a reply