Sharing a Vision

IT IS IMPORTANT TO HAVE a decent place to live. Most of us don’t want to live in a mansion. We only want a clean, safe place where we can live and raise our children. A decent house uplifts our spirits and provides dignity and hope for the future.
It is hard for many people to realize what it’s like to live in a moldy, leaky house with rat holes in the wall and plumbing that’s inadequate or nonexistent. Yet that is the condition of millions of people living around the world today. Poor housing is not just somewhere else, livery city in this country has its share.
Habitat for Humanity has a goal of eliminating poor housing by working
with families who need a hand up. There is no magic wand to wave that will produce a new home. Decent housing is built because people like you and me roll up our sleeves, pick up our hammers, and start building. What we may not be able to do alone can be accomplished when we work together. Lots of sweat, a little skill, and a shared vision get the job done.
During this process of working together, we build much more than houses. We meet all kinds of interesting people and develop close friendships as we work side by side, take breaks together, and share stories.


ensure that less-experienced workers are able to contribute meaningfully and feel good about the work they are doing.
Display patience, understanding, and openness
People of all ages and abilities come to Habitat job sites wanting to work. Try to give them work that they can do successfully, so that more than just a house is built. Sometimes it’s easy to get along with your coworkers; at other times, it’s quite challenging. You’ll find this to be true on a Habitat project, on your own construction site, and in every situation in life. We all know what it’s like to work with people who are arrogant, have an attitude, or are
unwilling to listen and learn. We also know what’s it’s like to work with people who treat us as equals, listen to us, show patience when we are trying to learn a new skill, and praise our efforts even when we fall short of expectations. fry to be the latter, and have patience with the former.
The checklist on the following pages contains most of the major steps involved in building a small house. Naturally, there will always be unforeseen or site-specific steps, but this list should serve as a fairly thorough guide to building a house, from raw idea to move-in day.
a Look for land and determine whether you
4
can build on it.
a Acquire a piece of land.
a Survey vour land to confirm the boundaries.
a Buy or draw up plans or acquire plans through Habitat (see Resources on p. 278),
a Obtain permits from the building depart ment and other departments, if necessary.
a Contact subcontractors for the foundation, plumbing, electrical, heating, lumber, and material companies. Get bids on work and materials. Select subcontractors and suppliers. Schedule work and deliveries.
a Take out liability insurance.
a Contact the gas, electric, and telephone companies to locate on-site utilities.
a Prepare the site.
a Bring in temporary electrical power.
a Trench and prepare for concrete footings and a foundation or slab.
a Before pouring concrete, lay down a gravel bed and install a plastic moisture barrier, if necessary.
a Call the building department to schedule an inspection of the concrete foundation footing and reinforcing steel.
a Have the footings and then the foundation or slab poured.
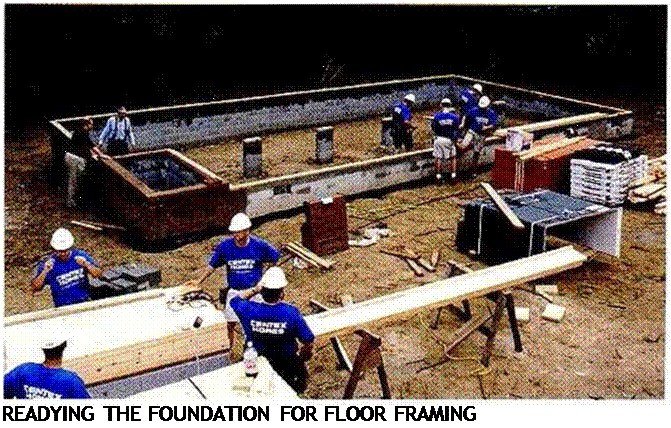
a Have the floor framing and sheathing materials delivered.
a Frame the subfloor.
a Install the rough plumbing (water, gas, and waste lines) and heating pipes.
a Call the building department for the floor
joist framing, rough plumbing, and heating inspections.
-a Sheathe the floor.
a Have the wall framing and wall sheathing materials delivered.
a Place chalklines on the floor to show the wall locations.
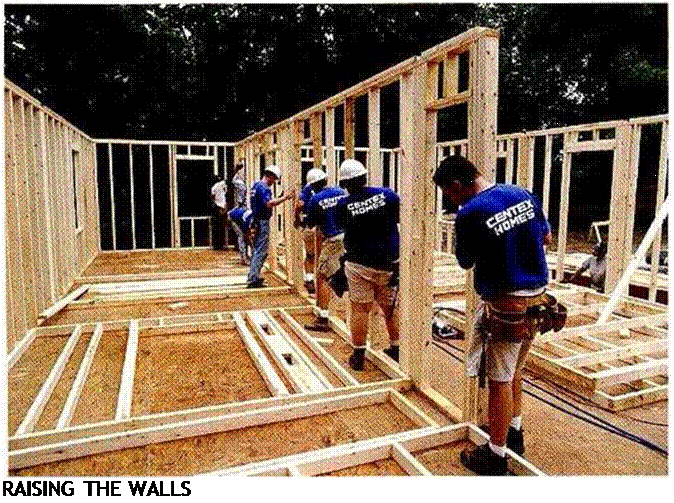
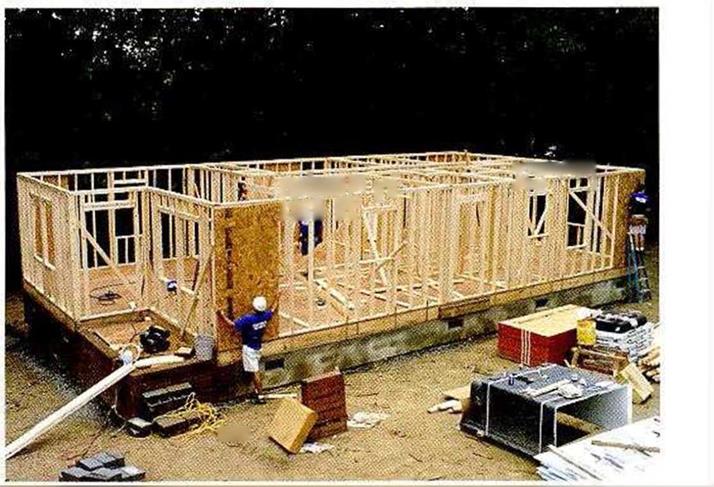
a Plate the walls, then cut and locate the headers. Frame and erect the walls.
a Brace the walls straight and plumb.
a Place the shower-tub units in the bathrooms; cover them to protect the fiberglass.
a Sheathe the walls, if necessary.
a – Have materials delivered for the exterior porch, deck, and stairs. Build the porch, deck, and stairs. After they’re built, cover the decks and stairs with scraps of OSB to protect them until the job is finished.
a Order the roof trusses at least two weeks in advance of your anticipated need.
ж Have the roof sheathing, fascia, and trusses delivered.
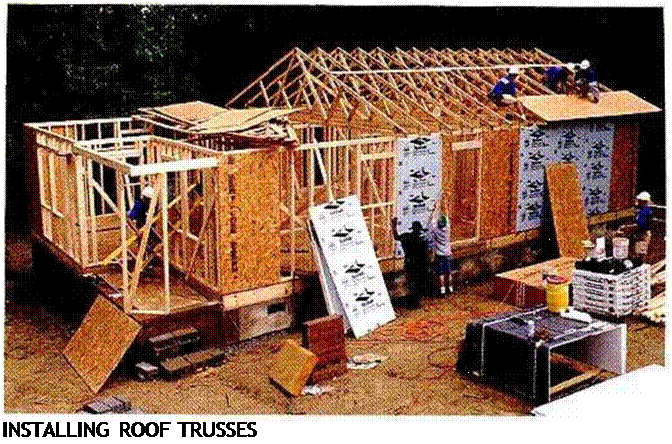
^ Install the trusses.
^ Install the fascia or gutter board and the barge rafters.
^ Install the roof sheathing on the trusses and the felt underlay on the sheathing.
a If required, have the roof sheathing inspected.
^ Call the plumber to put vent and exhaust pipes through the roof.
^ Shingle the roof. Install the ridge vent.
Doors, windows, siding, and paint
ж Order the windows and exterior doors two to three weeks before your anticipated need.
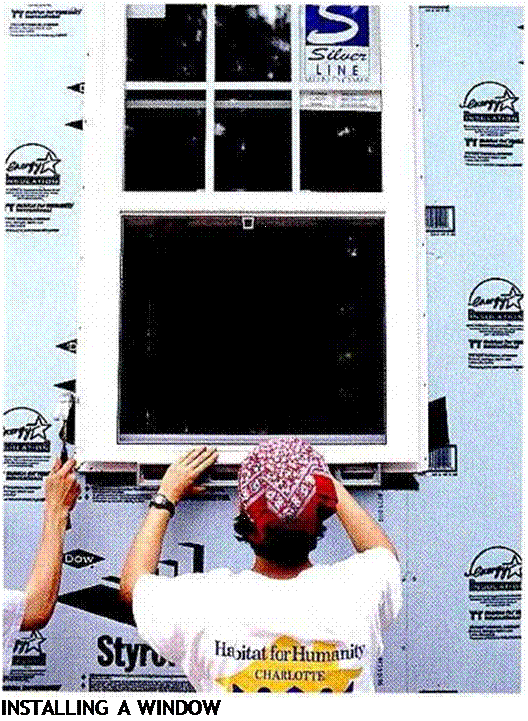
a Plumb the trimmers and install the windows and doors.
a Install the housewrap and exterior vapor barrier where needed.
 |
 |
|
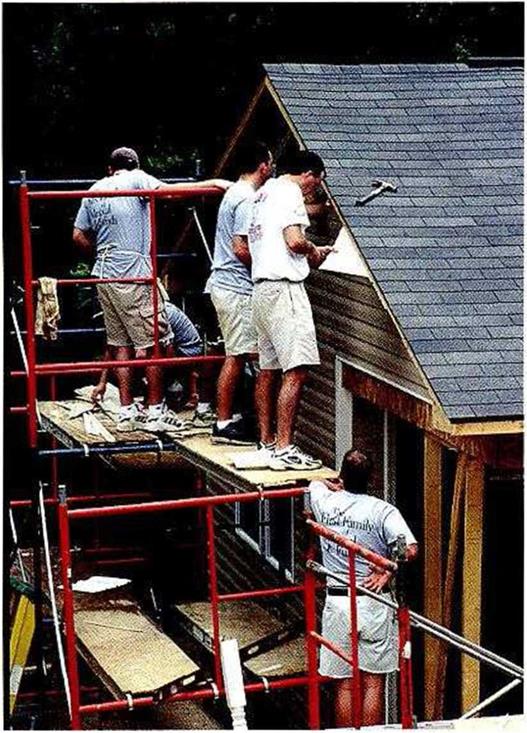
 ^ Have the siding and trim delivered; cover them with plastic for protection. Prime both sides of the wood siding and trim (if using). Install ihe siding.

 |
 a Paint the exterior.
a Install the cutters.
a Install the rough electrical, heating and/or cooling ductwork, and gas lines.
a Install the cables for the telephone, television, and doorbell.
a Schedule and have inspections for the rough framing and the electrical, plumbing, and heating systems.
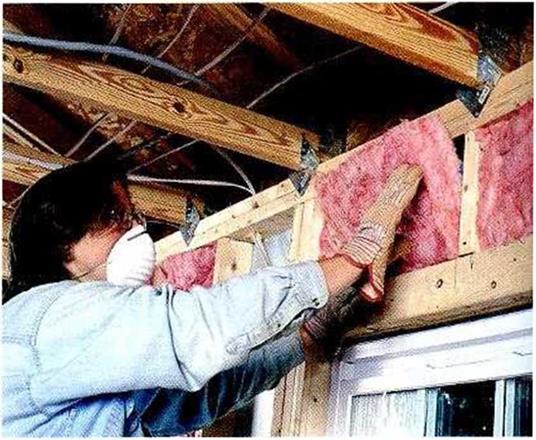
a Insulate the walls, ceilings, and floors.
a Install the interior vapor barrier where needed.
a Schedule the insulation and vapor barrier inspections.
|
FINISHING VINYL-SIDING WORK |
a Have the drywall delivered. Install drywall on the walls and ceilings.
^ Schedule and have the drywall nailing (or screw) inspection.
a Tape and finish the drywall.
^ Paint the interior trim and walls.
^ Install the underlayment for the vinyl floor covering.
a Put down the vinyl floors.
ж Install all remaining finish floors (wood, tile, etc.) except for carpeting.
Protect the floors until the construction is completed and all major appliances are installed.
|
INSTALLING FIBERGLASS ВАТТ INSULATION |
^ Install the cabinets and countertops.
a Order prehung interior doors two weeks before your anticipated need. Install the doors.
^ Have the trim—door and window casings, baseboards, windowsills, aprons, and closet shelves and poles—delivered. Install the trim.
^ Prime, paint, and finish-coat the doors and trim. Touch up where necessary.
|
NAILING UP DRYWALL |
a Install the finish plumbing and the electrical and heating units.
a Install the door locks.
a Install the medicine cabinet, towel bars, closet poles, and other hardware and fixtures.
a Lay wall-to-wall carpeting.
a Complete the work on the driveway and walkways (where applicable).
a Put on the house number. Set up the mailbox.
a Grade around the house sc the ground slopes and drains water away from the house.
a Landscape. Plant trees, grass, shrubs, and flowers.

 a Schedule the final inspection.
|
INSTALLING AN INTERIOR PREHUNG DOOR |






Leave a reply