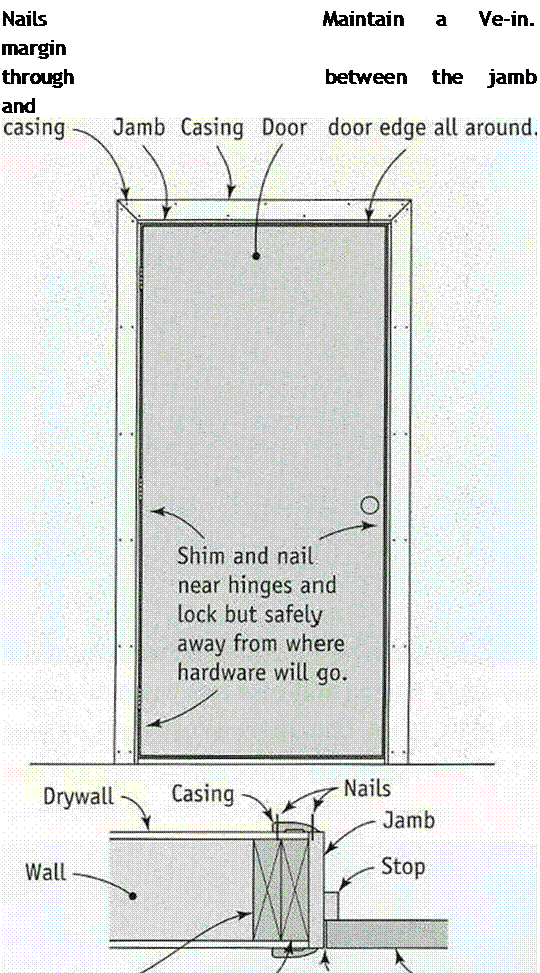
SETTING A PREHUNG DOOR


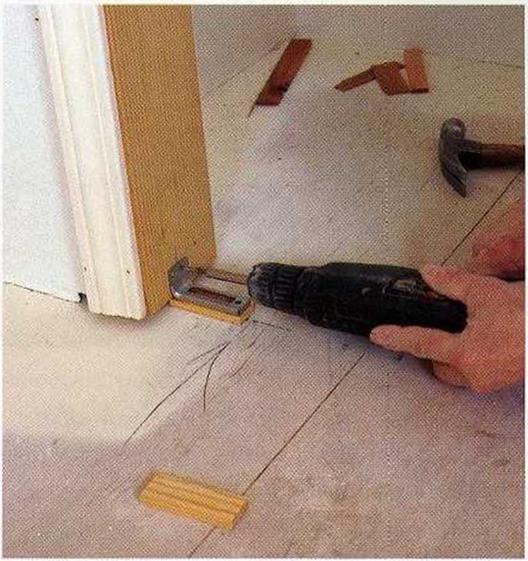
![SETTING A PREHUNG DOOR Подпись: MAKE A BLOCK FOR THE BRACKET. Set the bracket that supports the bottom pivot of a bifold door on a small block. This block will later be covered with carpet. [Photo by Charles Miller, courtesy Fine Homebuilding magazine, ф The Taunton Press, Inc.]](/img/1312/image912.gif)
the hinge and jamb and into the trimmer.
This step helps anchor the hinges and hinge – side jamb to the wall framing.
Throughout the process, continually check the door to see that it opens and closes with ease and that the jamb sides cross-sight, as described in the sidebar on p. 245. If a problem develops, its best to find out along the way, rather than after the last nail has been driven home. If you’re driving nails by hand, use a nail set to set them below the surface of the wood so they can be hidden with putty.
Install bifold and bypass doors
Bifold doors work well in small areas, such as closets and laundries. They are supported by top and bottom pivots or guided by an overhead track. I find bifold and bypass doors easy to install, but the less expensive versions are not very durable. Many of the cheaper models have fittings that just can’t take serious use. Good hardware costs more up front but may save you from having to replace the entire unit prematurely.
Step-by-step installation instructions come in every bifold and bypass door package. Once the trimmers and header have been wrapped in drywall, the opening for a bifold should be the size of the doors. A 3/0 bifold door is installed in a 36-in.-wide opening. The opening for bypass doors should be 1 in. less than the size of the doors. For example, a 5/0 bypass door needs a 59-in.-wide opening.
If the floor will be carpeted, nail a plywood block (usually about / in. or % in. thick) under the brackets that support the bottom pivot of bifold doors (see the photo at right). If you are working on a slab, drill holes in the concrete and set sleeves in the holes. Then glue the block in place and screw it into the holes. The carpet will cover the block. A similar block needs to be placed in the center of bypass doors to hold the bottom door guide.

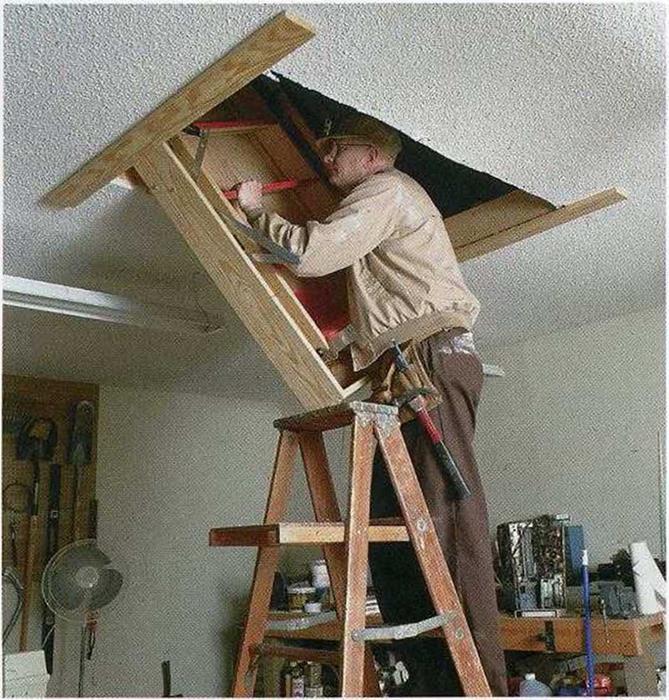
![SETTING A PREHUNG DOOR Подпись: A DROP-DOWN STAIRCASE PROVIDES EASY ACCESS. Installing a factory-made folding staircase lets you gain convenient access to attic space. [Photo by Jefferson Kolle, courtesy Fine Homebuilding magazine, s The Taunton Press, Inc.]](/img/1312/image914.gif)


Leave a reply