Install the baseboard trim
Before installing baseboards, use a putty knife first to clean any excess joint compound from the corners. Then clearly mark (or re-mark) the location of the studs on the floor. If the gap between the bottom edge of the drywall and the floor is greater than 1 in., take the time to fill it with strips of ^-in.-thick OSB or plywood. Otherwise, the bottom part of the trim can easily be canted inward during installation. If you 11 be nailing the baseboard by hand, protect your knees with a pair of kneepads.
Right-handed people generally prefer to install baseboard counterclockwise (right to left), starting at a door. This makes it easier for righties to cut a coped joint. Lefties tend to install baseboard clockwise for the same reason. Set baseboard right on vinyl or wood flooring, but hold it up about Zi in. if you plan to install carpeting later so that you can slip the carpet under it. When working in rooms that will later be carpeted, use small blocks of OSB as temporary supports under baseboards as you nail them to the wall.
To get my trim skills up to speed, I like to start running baseboard in a closet. Try making a rough plan of each room on scrap paper and record the measured length of each wall. Drywall is often left a bit rough near the floor line, so its hard to measure accurately at that point. Hold the tape off the floor a couple of inches to get a more accurate measurement. This will save you time walking back and forth to the chopsaw with a new measurement each time you want to make a cut.
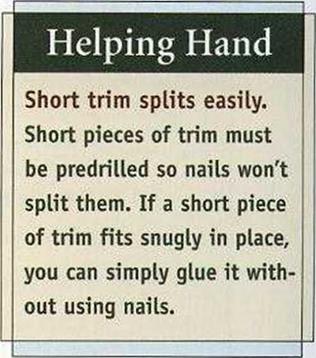
The first piece right inside the door is measured to length from the door casing to the wall and cut square on each end. Often, that piece is quite short (2 in. or so). If it fits snugly in place, you may not need to nail it. Instead, spread some glue on the back and just press it into position. The next piece of trim will hold the short one until the glue sets. Use 6d finishing nails for lA-in.-thick trim and 8d nails for %-in.-thick trim. Space the nails about 16 in. apart, and drive them into either the bottom plate or the studs. Driving each nail should pull the trim tightly against the wall.


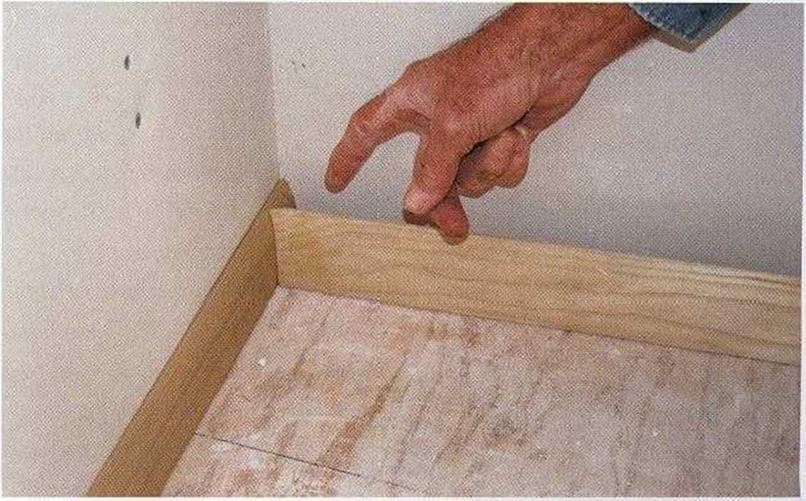
![Install the baseboard trim Подпись: INSIDE BASEBOARD CORNERS ARE COPED. The coped cut fits the profile of the trim piece that runs into the corner. [Photo * The Taunton Press, Inc.]](/img/1312/image956.gif) The second piece of baseboard is coped to fit against the first piece and cut square to butt against the next wall. On the end that will mate with the short piece of baseboard, cut a 45-degree miter that is long on the back (so you can see the cut surface). Now use a coping saw to cut the outline of the profile left in the exposed end grain (see the sidebar on the facing page). The cope-cut end will fit snugly against the first piece of baseboard (see the photo below).
The second piece of baseboard is coped to fit against the first piece and cut square to butt against the next wall. On the end that will mate with the short piece of baseboard, cut a 45-degree miter that is long on the back (so you can see the cut surface). Now use a coping saw to cut the outline of the profile left in the exposed end grain (see the sidebar on the facing page). The cope-cut end will fit snugly against the first piece of baseboard (see the photo below).
|
|
|
|
|
|


Leave a reply