. FROM PLANS TO PLATES
![]() —4-
—4-
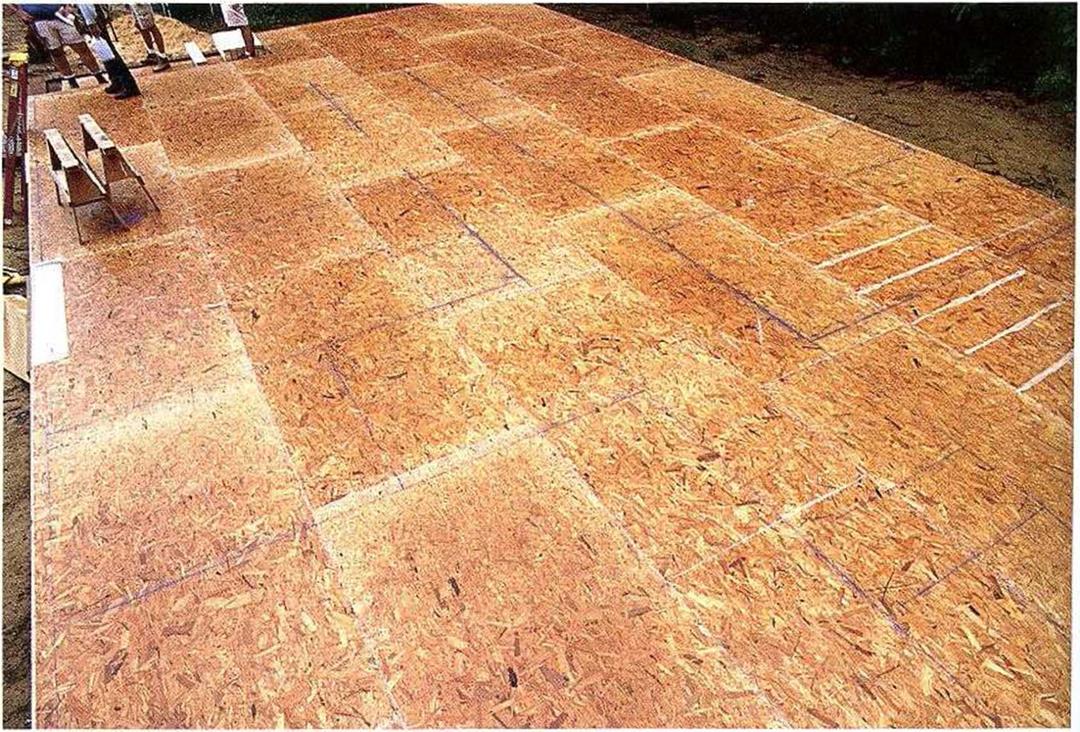
Chalklines are snapped on the floor to show the location of all the walls. The top and botzom plates will be tacked to the deck along those lines.

plates temporarily tacked together on the sub – floor, you can mark up the plates to identify exactly where each stud, king stud, header, and trimmer is located. If you haven’t already done so, take the time to familiarize yourself with the various parts that go into a wood-frame wall (see the illustration on p. 84).
Three marking tools are essential: a chalkline, keel, and a carpenter’s pencil. A chalkline and an ample supply of chalk allow you to snap exterior and interior wall layout lines on the
4
sublloor or slab (see the photo on p. 78). It’s not necessary to mark two lines for a wall; instead, use a carpenter’s crayon, or keel, to mark an “X" on the side of the line that will be
LAYOUT STARTS WITH SNAPPED LINES.
 The floor deck is clear, but not for long. Snapped chalklines identify where the walls will be located.


covered by the wall plates. Keel is also useful for labeling parts, writing cripple sizes on headers, and indicating door and window – openings.
To make a snapped line easier to find, use a pencil or keel to make a crow s foot, or a large “V” mark, with the point centered on the line. If you snap a line in error, wipe it away with your foot or at least draw a wavy line through it before snapping a line in the correct place. Use a carpenter’s pencil to make stud layout lines on the plates. Try to keep all markings clear and simple, and avoid complicating things unnecessarily. The object is to get all the information you need off the plan and onto the floor in an understandable format.


Leave a reply