Apply the second and third coats
Drvwall compound must be applied in several thin coats because thick applications tend to shrink and crack. Also, thin coats can be feathered or tapered very gradually so that they’re invisible (or nearly so) after the dry – wall surface is painted. Before applying the second coat, remove any lumps, high spots, or ridges of hardened compound left from the first coat. This can be done with a drywall knife or a pole sander. Be careful not to oversand, or you could damage the paper face of the drywalk
Apply topping compound over the dimples around the fasteners, just as you did with the first coat. Be even more careful as you level the compound, and use a 10-in. or 12-in. knife. Along seams, apply topping compound with a 5-in. knife, then use a 12-in. knife to remove the excess (see the photo at right). Again, take your time. The second coat should conceal the tape. Using a wider knife, feather the mud away from the center of the joints to make them harder to detect. This is especially important at butt joints. It takes some practice to get this coat right. Go over the joints more than once, if necessary, pulling the knife with a steady, even pressure to leave a smooth surface.
The same can be done along inside corners, using a 5-in. knife to mud and smooth one side of the corner at a time. This takes some skill, because it’s difficult to keep the knife from marking the finished side as you mud the opposite side. For this reason, some tapers like to use a different procedure. They apply mud on one edge at a time, smooth it, and then let it dry. Once one side of the corner is dry, they return and do the other side.
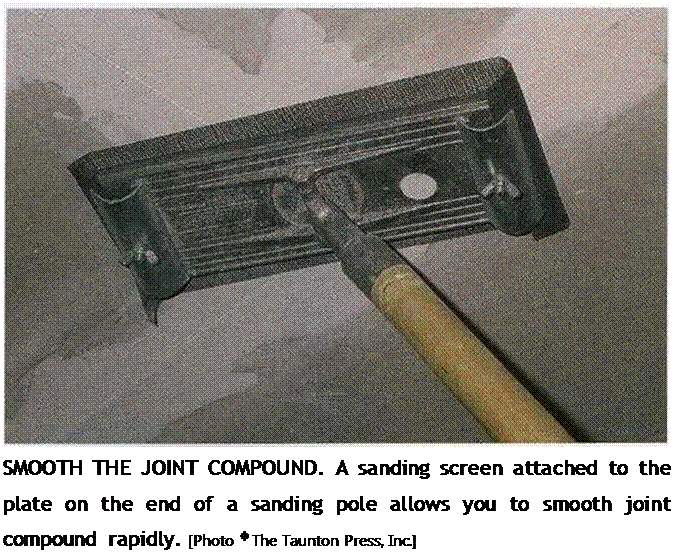
Before applying the third coat of compound, lightly sand the second coat. Hit the corners, dimples, and seams with a 120-grit
screen on a sanding pole to remove any bumps, trowel marks, or ridges. The third coat should be little more than a light application of topping compound to hide any imperfections and feather the seams a bit wider. To make the topping compound easier to manipulate, thin it with a little water.
Some tapers are so good that almost no sanding is required to make their drywall applications look nearly perfect. When I drywall, I can expect to spend some time with the sanding pole (see the photo on p. 232). Before you get started, make sure you have a good dust mask that seals well, because sanding drywall produces a lot of fine dust that can irritate your eyes and lungs. Goggles will help keep the dust out of your eyes. Use a 120-grit screen on the block at the end of the pole sander, and push the sander gently along the

![]()
![]()
 seams and corners with steady, even pressure. The key word for beginners is “gently.” Its easy to get carried away, sanding through the mud and exposing the tape or damaging the dry – walPs paper face. If you do, apply another coat of compound to those areas and sand again after the compound has dried.
A final, light sanding can be done with a 150-grit screen, some hand-held sandpaper, or even a damp sponge. Sandpaper folded into a “V” allows you to smooth out imperfections in inside corners by putting pressure on one side or the other or right in the center, as necessary. At this point, some folks like to apply another coat to give a texture to the walls before painting.
STEP 6 Paint the Ceilings and Walls
Our prairie home seldom, if ever, had any paint on the exterior. The siding became as grained and leathery as the faces of the inhabitants. Indoors, we sometimes used a dry powder, called Kalsomine, that we mixed with water and used to paint the ceilings and walls. Kalsomine came in different colors, which added a bit to our rooms and to our lives.
After I left home, it seemed that the only interior paint color in existence was Navajo White. For years, the interior of every house we built was painted this off-white color.
It was a breath of fresh air to see all the bright colors that exploded in the late ’60s and early 70s. From bland to bright to subtle pastels and now back to Navajo White— so much for progress.


Leave a reply