Step 10-Install Nail-Flange Windows
a. Check plans for correct window.
b. Check window opening for protrusions (nails, wood splinters, etc.) that might hold window away from edge.
c. Install window flashing. (See “Window Flashing Installation," Chapter 6.)
d. Set window in opening, making sure window is right side up.
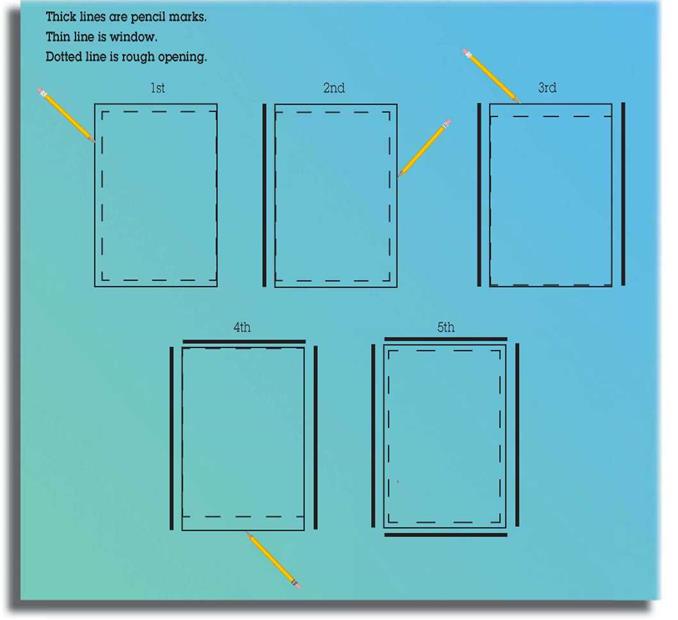
e. Slide window to each end of opening, and draw a line on the sheathing or flashing with a pencil along the edge of window. (Draw lines before caulking window.)
f. Center window in marks you have just drawn.
g. Nail window sides and bottoms, using appropriate nails.
h. Do not nail top of window.

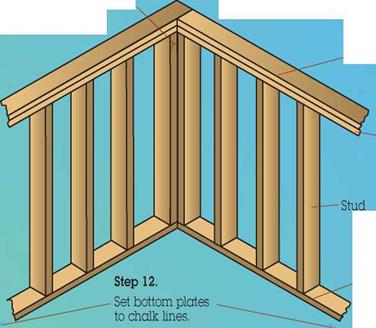
12: Set bottom plate. 13: Set double plate. 14: Set reveal.

![]()


![]()


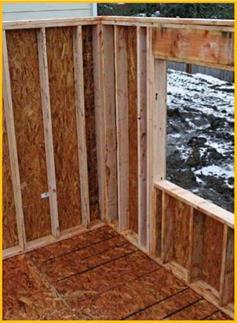
Nail the end stud to set the reveal* in the middle of the wall where the two walls join. The reveal in the middle of the wall should be the same as the top and bottom reveal.
Step 13.
Set double plate.
Make sure top plates are down tight to studs.


Leave a reply