FRAMING
This chapter illustrates the basic sequence for floor framing. Straight cuts and tight nailing make for a neat and professional job. Pay particular attention to the corners. It is important that they stay square and plumb up from the walls below, so the building does not gain or lose in size. Also pay close attention to laying the first sheet of subfloor sheathing. If it is laid straight and square, the entire subfloor will go down easily and you can avoid making extra cuts.
If you make a sloppy start on the first sheet, you’ll struggle to make each sheet fit, you’ll waste valuable time, and you won’t be proud of the results.
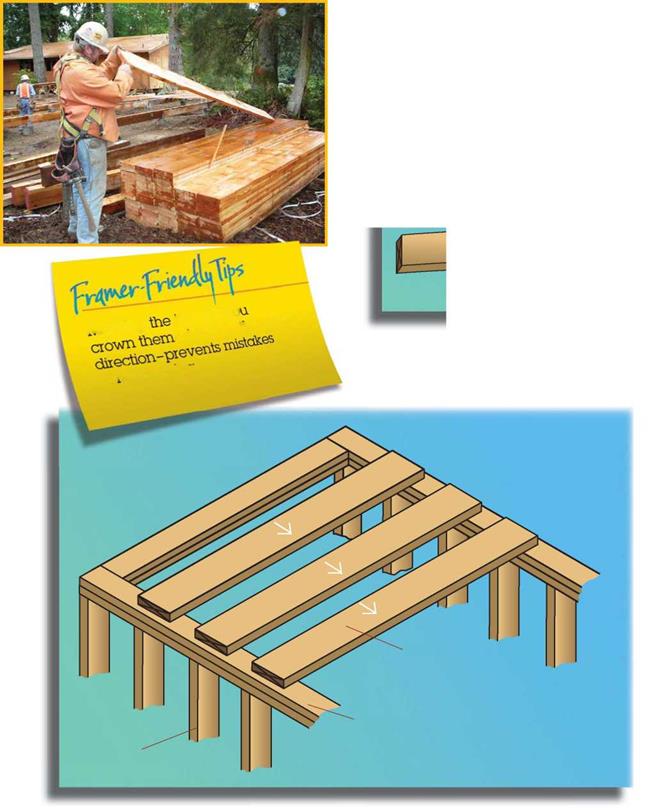
Spread joists so crowns are in the same direction. The crown is the highest point of a curved piece of lumber.
If the joists are resting on a foundation instead of a stud wall, then a sill plate, or mudsill, would be attached to the foundation, and the joists would rest on the plate or sill.
|
_ showing te1® |
|
|
|
|
|
|
|
|
|
|
|
|
|


Leave a reply