FRAMING
There are many ways to frame walls, but it is always good to follow an organized sequence. This 16-step sequence has been developed over years of framing. Following these steps will help you and your crew work efficiently and eliminate errors. It will also ensure consistency from framer to framer. For example, if you have to leave a wall in the middle of framing it to go to another task, another framer can easily pick up where you left off and proceed without having to check every nail to see what you have done.
Keep in mind, walls must be square, plumb, and level. Measure accurately, cut straight, and nail tight.
Rake walls (sometimes referred to as gable end walls) typically start at the height of the standard wall and go up to the ridge of the roof. The challenge of building a rake wall is figuring the heights of the studs and making sure the wall is built square. Lifting the assembled rake wall into place can also be a challenge. This chapter will cover four ways to figure stud heights and build rake walls efficiently— using methods that will make your work easier.
^eadeisosc
\qv g° ^
S-Wr»,
![]()

 ачіш
ачіш
![]()
![]()

 The steps outlined in the next pages follow the process of framing and sheathing the exterior walls in a horizontal position. The fully framed and sheathed wall is then lifted into position by using special lifting jacks or muscle power.
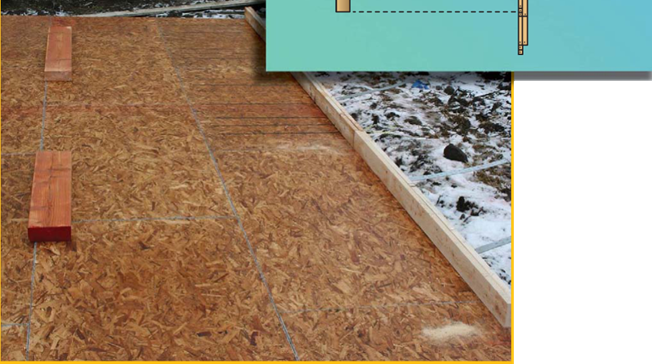
Spread headers in location close to where they will be framed.


Leave a reply