WALLS AN! CE I..IN SS
The first house I helped build was in 1948, on the high plains of western Nebraska. It was a precut house, shipped by rail and brought to the job site on a large wagon pulled by a team of horses. Every piece of wood—wall plates, studs, headers, cripple studs, sills, braces, and joists—was wrapped and labeled in color-coded bundles. Putting the house together was like putting together a three-dimensional jigsaw puzzle.
Houses are still puzzles. All the different pieces have to be laid out, cut, and nailed together to create the frame. The sheathed floor or concrete slab acts as the "table" on which all the puzzle pieces are assembled. But puzzles go together easier when you have an idea of what the finished product will look like. So before pounding the first nail, study the plans thoroughly and develop a picture of the house in your mind.
LAYING OUT WALLS
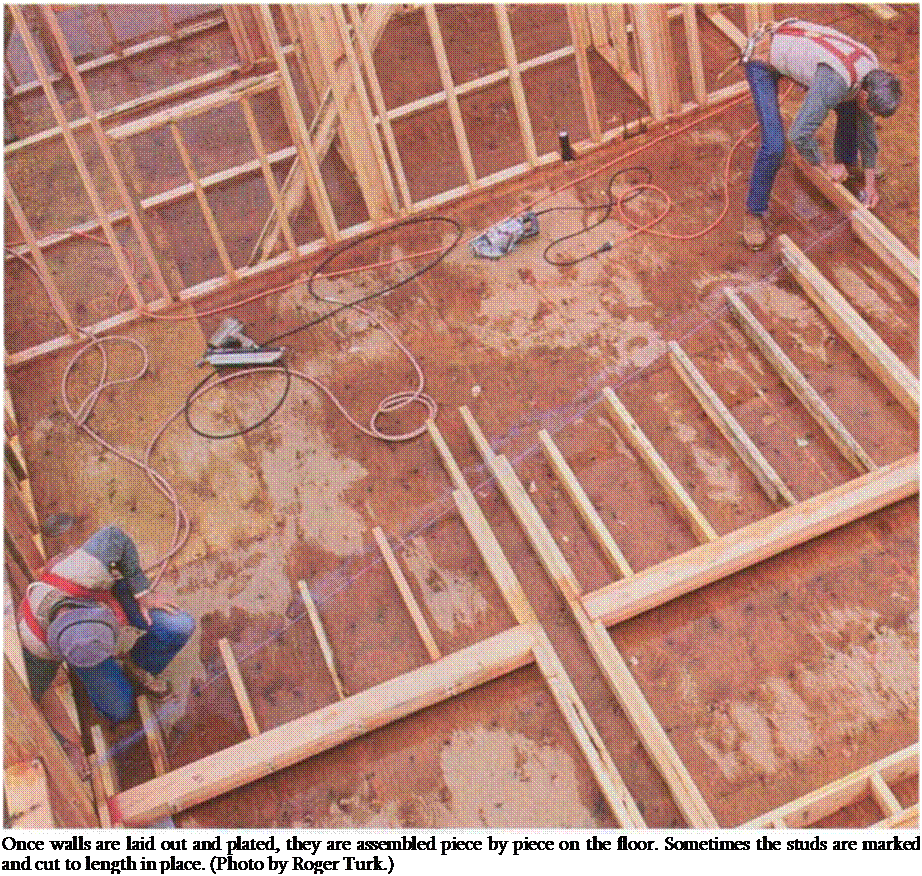
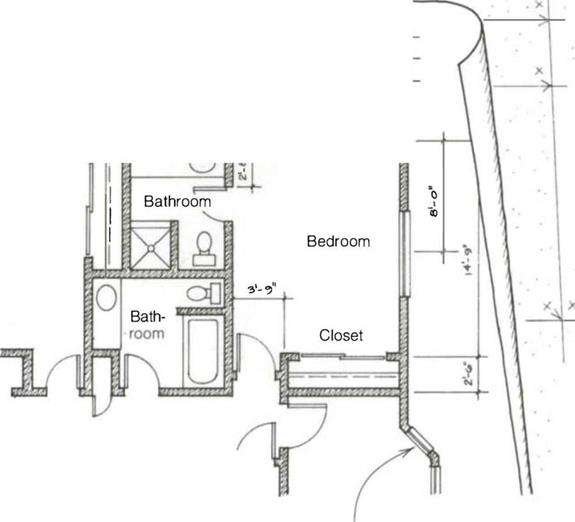
Framing walls is a challenging task for a beginning carpenter (see the photo on the facing page). The first steps—laying out the location of every wall and snapping chalklines to transfer the floor-plan dimensions to the slab or subfloor—are critical (see the drawing on p. 104). Once the house is framed, these wall – layout lines become bedrooms, bathrooms, and kitchens. If walls are out of square or not parallel, cabinets won’t fit properly, floor tiles will have to be cut, and even the roof ridge may run downhill. At this point, accuracy is more important than speed.
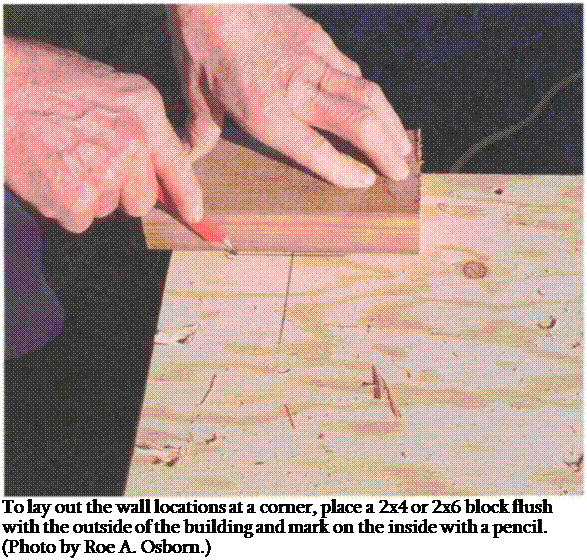
Before you get out your tape measure or chalkline, sweep the floor to get the deck clean for the layout. Start by snapping the location of two long exterior walls that are at right angles to each other. Get these two long walls laid out right, and you can measure the location of all the other walls off them. Once you pick a wall, measure in ЗУ2 in. for 2×4 construction or 5У2 in. for 2×6 construction. Then mark the slab or subfloor with a carpenter’s pencil or keel exactly where the wall will stand. Or you can lay a short piece of 2×4 or 2×6 at both ends and mark the inside (see the photo on p. 105). Connect these two marks with a chalkline. Keep it all clear and simple; don’t complicate the puzzle.
After snapping a chalkline for the first wall, lay out the perpendicular wall.
Be sure to check that the walls are perpendicular, especially if you’re working on concrete. Don’t trust that a slab is square. Instead, use the 6-8-10 method (see p. 87) to check for accuracy.

As you lay out the remaining exterior walls, note that their dimensions are often given from outside to outside. Look closely to see whether a measurement is from outside to outside, outside to center, center to center, or wall to wall.
You don’t have to strive for total perfection when building the house frame. It’s okay to leave walls a tiny bit out of parallel (like A in. in 12 ft.). But walls out of parallel by V2 in. in 12 ft., for example, need adjusting. To do this, go to one end of the floor or slab and measure in
|
Bathroom xI ‘ / Jf— X – 2*C, Я |
|
|
|
|
|
|
|
|
|
|
|
|
|
|
|
|
|

Keep a close eye on the plan as you lay out first exterior walls and then interior walls. For instance, if the plan shows an interior wall is 12 ft. 7 in. from the outside of an exterior wall, remember to add 13/4 in. to the dimension of the interior walls, which will be 12 ft. 8% in. from outside to outside.

35/s in. at both corners. This increases the width by Va in. Then go to the other end and measure in 33/s in. at each corner. This narrows the width by Va in. The walls are now parallel. At this point, there is no need to pay attention to door or window locations.


Leave a reply