Trick of the trade
When doing finish work (particularly when remodeling an older structure), carpenters often run up against crooked floors, walls, and ceilings. I’ve found that when things are out of plumb or level, it’s best to build parallel to that. The eye can see two lines that go away from each other much easier than it can see plumb or level. So, for example, if a window opening is out of plumb and can’t be fixed, and if surrounding trim is parallel to the out-of-plumb
opening, go ahead and set the window slightly out of plumb too. This way the side of the window will at least run parallel with the opening and be pleasing to the eye. This is particularly true when placing a new window next to an existing window or door that isn’t exactly plumb. If the new window is perfectly plumb and level and the old one isn’t, then both of them will read as crooked.
Window flashing details


dow, move inside and seal the gap between the window frame and the wood framing with nonexpanding foam. Don’t use expanding foam, which can bow trimmers and frames out of shape. Then open and close the window a few times to make sure it works with ease.
Setting exterior and interior doors
We’ve all lived in houses that have doors that stick, locks that are misaligned, and hinges that creak. After years of use, doors and windows that open and close with ease indicate that the folks who built the house knew and cared about what they were doing.
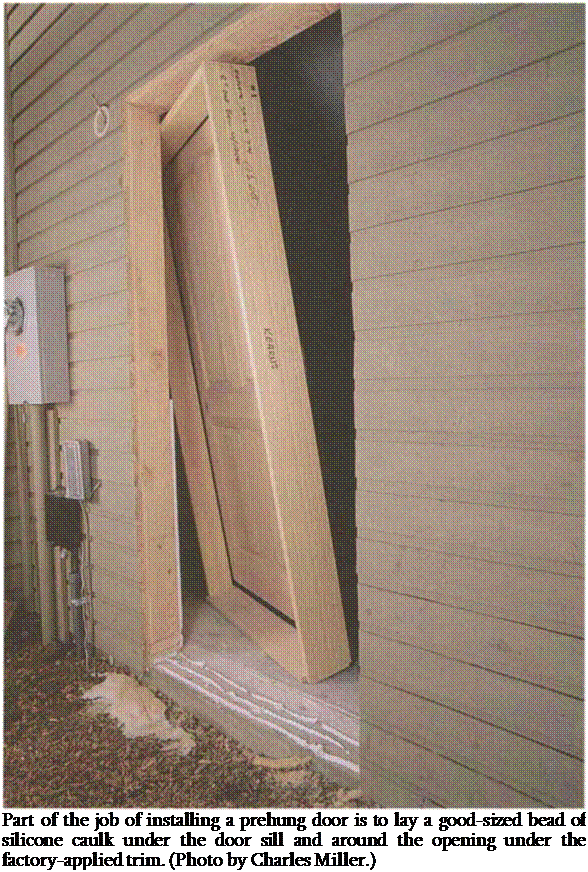
The majority of doors used these days are prehung and are installed much the same way as windows (see the sidebar on p. 178). Both doors and windows can be ordered with jambs wide enough for 2×4 or 2×6 walls (see the photo at right) and are usually available with factory – applied trim. Begin installing one of these units by stapling strips of felt paper around the opening. Then apply a good-sized bead of silicone caulk under the door sill and around the opening under the factory-applied trim.
An easy place for rot to develop is under the door sill, so take extra precautions to seal this area. I get several calls a year from people who want their rotted sill or floor replaced. Lay down a couple of layers of felt paper, lapping them up the trimmers and down over the outside edge. Do the same with some 10-in. metal flashing, cutting it into place with tin snips.
With the door placed in its opening, check to see if the sill is resting flat on the floor. If the floor isn’t level, the low jamb side will have to be shimmed so that the door won’t hit the head jamb when closed. I like to cut a long, thin shim under the sill so it will have good bearing.
Take time to ensure that the door will open and close with ease. On prehung doors, there should be about a Vs-in. gap between the door and the jamb head and sides. On exterior doors, the weatherstrip should seal at the bottom without binding.
1. Check to see that the floor is level and the trimmers are plumb.
2. Apply felt paper and caulk to exterior doors to prevent leaks.
3. Set the door frame in the opening. If the floor isn’t level, pick up a jamb leg so that the door won’t stick on the jamb head when closed.
4. Check to see that door jamb edges are flush with the face of the drywall.
5. Check that there is about a Vs-in. gap between the jambs and the door and that the door opens and closes freely.
6. Nail the hinge side first, directly to the plumb trimmer.
7. Nail the lock side to the trimmer; shim where necessary.
8. Nail through the door casings into the exterior wall.
9. Cross-sight so that jamb sides are parallel.
|


Leave a reply