OTHER USEFUL POWER TOOLS
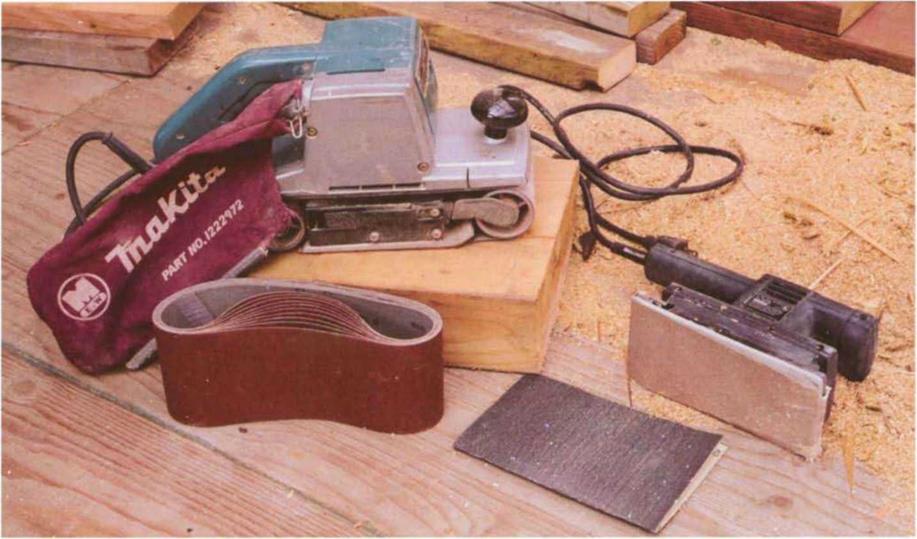
Although not often used by frame carpenters, two other power tools worth mentioning are routers and sanders. These tools are typically used for finish work, like preparing a bookcase for stain or paint, which makes them more suitable for trim and finish carpenters.
Routers are classified according to the largest-diameter bit shank that the collet (or chuck) can handle. Common sizes are Уд in., 3/s in., and У2 in. The most powerful routers have З-plus HP motors and can make big cuts through heavy stock in a single pass.
Equipped with the right bit, the router can be adapted to a number of carpentry jobs. You can cut grooves and notches, round over edges, trim materials (like plastic laminate), and make moldings with a router. With the right attachment, you can cut perfect circles and even mortise doors for hinges.
For all its usefulness, though, a router can be a frightening tool. Its motor is directly connected to an unguarded bit, which protrudes from a base plate. The motor can spin the bit up to 25,000 revolutions per minute (rpm) or faster and makes more noise than a roomful of rock musicians. Because of the noise and the fact that the bit is exposed, I always wear ear protection and safety glasses
|
Carpenters learn to work without sawhorses, but there are times when a good pair of horses can save your back or help you work overhead. Stock placed on sawhorses allows you to cut, drill, or shape materials without having to bend over. For a temporary workstation, top a pair of horses with a sheet of plywood. Planks placed across horses make a good scaffold.
There are many different styles of sawhorses.
Some are works of art suitable for a living room, and others are simple structures. Here are plans and instructions for a strong sawhorse that can be made in just a few minutes.
Measure and cut the 8-ft. 2×4 into two 48-in.-long pieces. Then measure and cut four 30-in.-long legs from the 12-ft. 1×6.
Begin assembly with the crosspiece of the sawhorse. Turn one 2×4 on edge, center another 2×4 flat on the first so that they form a T, and nail them together with four 16d nails.
Next, position the end of a 1×6 leg flush with the top of the crosspiece (see the drawing on the facing page) and about 2 in. from the end. Nail the legs (or use 1 Уг-іп. drywall screws) with two 8d nails into both pieces of the T. Do the same with the remaining three legs, then set the sawhorse upright.
Nail the 48-in.-long 1×4 to the top of the crosspiece with two or three 8d nails. Countersink these nail heads with a nailset so you won’t hit them with a saw blade when you are cutting on the sawhorse.
Now take a plywood square and hold it against the legs on one side of the sawhorse. Make sure the top of the plywood is flush to the bottom of the crosspiece, then trace the outline of the legs onto the plywood. Repeat with the other piece of plywood on the other side of the sawhorse. These pieces brace the legs of the sawhorse.
Cut both plywood pieces along the lines you traced. Use several 8d nails or 1[4]/2-in. drywall screws to attach the plywood pieces to the legs, one on each end and flush with the bottom of the crosspiece. (You may have to predrill small pilot holes to keep the nails or screws from splitting the wood.)
when I’m working with a router. And I’m always extremely aware of where my hands are.


Leave a reply