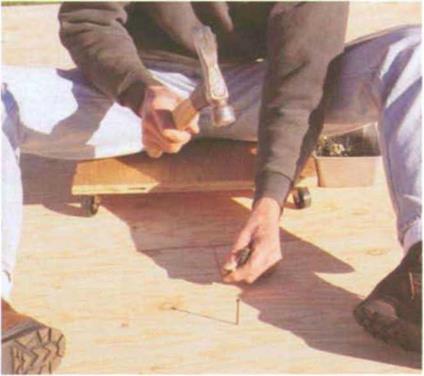
Nail buggy

 A nail buggy is a good tool when you have to nail subfloor by hand. Better to nail sitting on your bottom than crawling on your knees. Cut a 20-in. circle or square from 3A-in. plywood. Buy three or four good wheels at least 2 in. in diameter and screw them to the bottom of the plywood. Attach a bread pan to the side to hold nails. Now, like an Olympic swimmer doing laps, you can sit on the buggy and push yourself backward as you nail down subfloor. Just don’t roll off the edge of the floor.


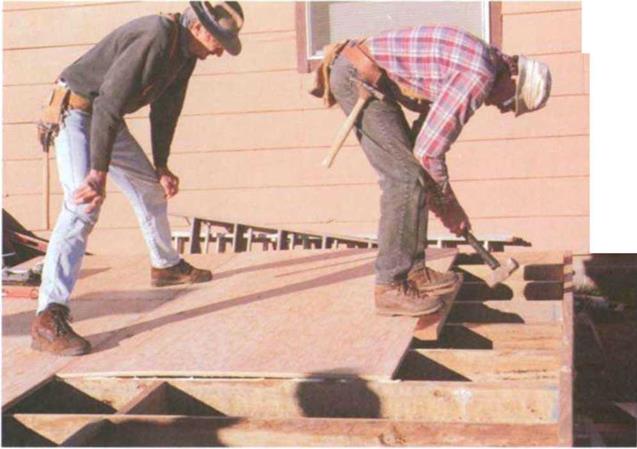
from damage) and hits it with a sledgehammer (see the photo at right). A couple of licks should bring the two sheets together.
Once you have all the sheets tacked in place, you can move around the floor driving nails to secure the sheathing to the joists firmly. (A nail buggy will make this job easier; see the sidebar above.)
A typical nailing schedule would be to drive 8d nails 4 in. o. c. on the perimeter (around the outside), б in. o. c. near joints, and 12 in. o. c. in the field (in the middle of the sheets). You may want to use ring-shank nails for better holding power.
Drive the nails straight into the center of the joists. While some carpenters snap a chalkline as a nailing guide across each sheet, try nailing by eye. When you feel that you have missed a joist, stop, pull the nail, and drive another.


Leave a reply