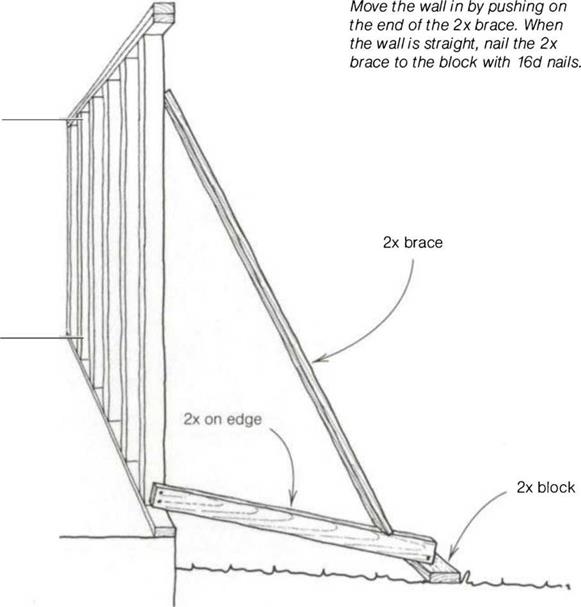
Moving a wall in

SHEATHING THE WALL
Anyone who has witnessed the damage caused by an earthquake or high wind knows the importance of properly installed interior and exterior wall sheathing (shear walls). In the serious 1992 Northridge quake near Los Angeles, shear walls saved many buildings—and many lives.
Wall sheathing provides strong lateral (horizontal) and vertical strength. It helps hold buildings together. It also helps make a house windproof, which is espe
cially important if you live where cold winds are a reality. The most common sheathing materials are exterior-grade plywood and OSB.
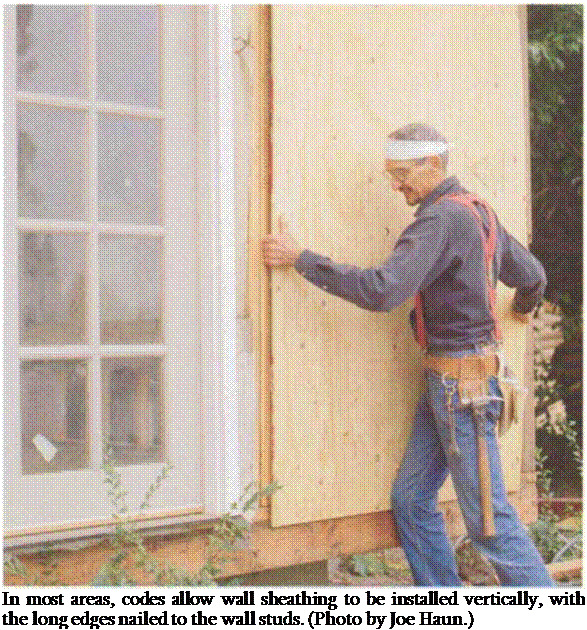
Most building codes allow wall sheathing to be installed vertically (see the photo on the facing page), with the long edges nailed to the wall studs. It’s okay to install panels horizontally, but be sure to nail in 2x blocking between the studs at the panel joints. The shear strength of a wall panel is weakened unless it is nailed to the wall on all four sides.
 Normally, shear panels aren’t the final, or finish, wall covering, so they don’t have to be installed perfectly. Once these rough panels are nailed in place and inspected by the building department, they’ll be covered with stucco, finish plywood panels, shingles, clapboards, or even metal or vinyl siding. Before sheathing any wall, exterior or interior, check the plans to see what is required. Often, shear panels need to be longer than the standard 8 ft. so they can extend from the pressure-treated foundation sill, across the rim joist and wall studs, and nail into the plates at the top of the wall. This type of construction ties the entire frame together and gives the house added structural stability.
When sheathing the outside of a building, begin at a corner. If the stud layout is correct, the edge of the first panel should fall on a stud 4 ft. from the corner. Check to see that the corner is plumb. If the first panel is set straight and plumb, all those that follow will be easier to install.
Rough sheathing doesn’t have to be absolutely flush with the corner of the framing, and in fact may be set as much as 3/4 in. away from the corner, since it will be covered by housewrap, finish siding, and trim. But the sheathing does need to break on the center of a stud 4 ft. from the corner. If it doesn’t break on the center of a stud, you can rip the sheet to fit, move the wall stud, or put in an extra stud so there is proper backing for edge nailing the plywood.
Remember the formula 4-6-12 when fastening sheathing, which is the typical nailing schedule using 8d nails (see the drawing on p. 131). Around door and window openings, nail only into the king studs and leave the trimmers free until it’s time to set the frames. It’s always a
good idea to check with your local building department if you have questions about the nailing schedule.
If you are using a pneumatic nailer, set the air pressure so that nails are driven flush with the surface of the panel.
Nails driven too deep break the skin of the sheathing and weaken the shear strength of the panel. Many codes also require that you use full-headed nails rather than the clipped heads that are driven by many pneumatic nailers.
In humid climates, leave a Vs-in. gap between panels to allow for expansion. When you come to windows and doors, you can sheathe right over them and cut


Leave a reply