Laying out the ridge board
Rafters cover the joint between ridge sections
Ridge board ripped to width of barge rafter in overhang ‘
 2×8 common rafter

every 1 б о. c. or 24 in. о. с. If more than one board will be used to make up the ridge, cut the boards so that each joint falls in the center of a pair of rafters. Be sure to align the layout of the ridge board to that of the joists so that the rafters and joists tie together at the plate line. If both are spaced 16 in. o. c., every rafter will tie into a joist (see the drawing on p. 142). If the joists are 1 б in. o. c. and the rafters are 24 in. o. c., a rafter will tie into every fourth joist.
Some builders like to let the ridge board extend out into the overhang and catch the ends of the barge rafters (see the drawing on the facing page). If you do this, rip the overhang part of the ridge board down to the actual size of the rafters because this section of the roof is exposed. Determine this length by measuring the face of the ridge plumb cut. For example, a 2×6 cut on an angle will be more than SV2 in. along the length of the cut.
Now comes the fun part. Nailing the rafters in place to the ridge board and to the wall plates and joists quickly gives the building frame a finished look. On most buildings, there is no need to preset the ridge at a predetermined height. Ridges are sort of like shoes. They go where they go. Setting rafters in place easily determines ridge height.
Begin by pulling up a straight, gable-end rafter. While one person holds the rafter at the ridge board, the other toenails the bottom end to the wall plate with 16d nails—one on each side of the rafter. Repeat this process with the opposing rafter. To hold them steady, tack a 1x brace from the rafters back to a joist.
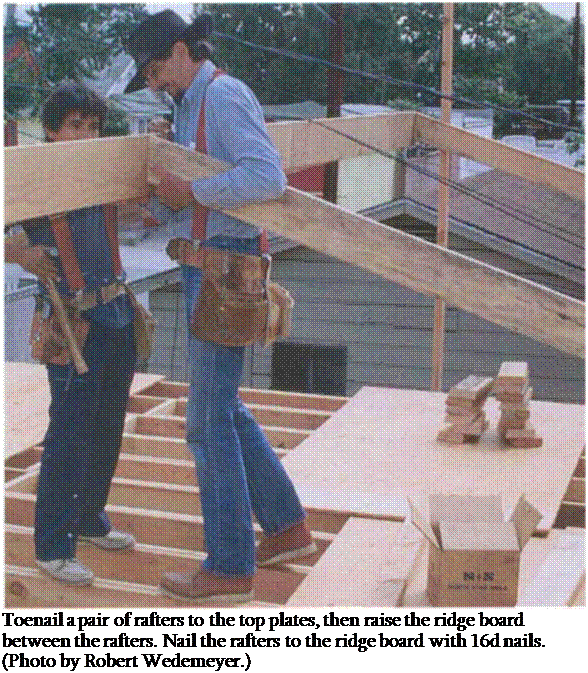
Now move to the opposite end of the first ridge section and toenail another rafter pair in the same way. Next, pull the ridge board up between the two pairs of rafters (see the photo above).
Drive two 16d nails straight through the ridge into the end of the first rafter, then angle two more through the ridge into the opposing rafter. I try not to nail in the top of any rafter, which helps me avoid dulling my sawblade later when I cut sheathing on the roof.
At this point, nail a 2×4 leg under the ridge board to a wall plate at both ends. These legs need to be the same length.
If they aren’t, it may mean that the walls are slightly out of parallel. Pull the nails out of the rafter pair at the top plate on the high end of the ridge and slide the rafters out a bit until the ridge rests on the 2x leg.
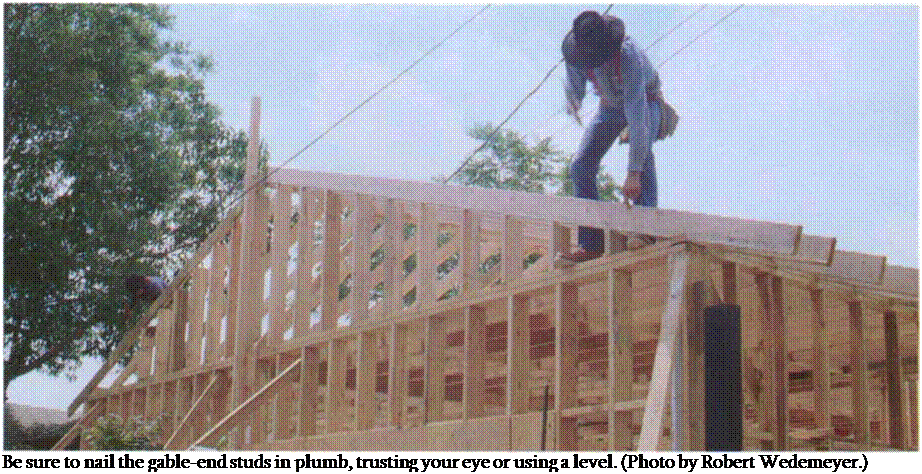
Just as you did on the truss roof, nail a long 2×4 on edge to the side of the building. Push the end rafters against the upright and install a 2×4 sway brace extending from the top plate to the ridge board at a 45° angle. Nail it between the layout lines at the ridge board so that it won’t be in the way of a rafter.
After the initial ridge section is in place, raise the remaining sections in the same way, installing the minimum number of rafter pairs and support legs to hold them in place. At the opposite end, raise another 2x against the building and mark the ridge for length, plumb with the end of the building. Unless the ridge board runs out into the overhang, make the cut and nail in the second pair of straight, gable-end rafters.
With the entire ridge board in place, nail in the rest of the rafters and complete the roof frame. Nail each rafter into the ridge board with two 16d nails, then nail
rafters to the ceiling joists with three 16d nails. The rafter should be toenailed to the wall with two 16d nails. Nail in several rafters on one side and then switch and do the same on the other side. Switch back and forth, or you may get too much weight on one side and cause the ridge board to bow.


Leave a reply