Interior walls
Once the exterior wall lines are accurately in place, you can measure off them to get the location of interior walls. Just keep an eye on the plans to get the dimensions right.
Laying out the long interior walls next makes it easier to locate and mark all the short, 2×4 walls that make up closets and bathrooms. Watch the floor plan. It may show that an interior bedroom wall is 12 ft. 7 in. from the outside of the building to the center of the 2×4 wall. Because half of ЗУ2 in. is 13A in., add 13/д in. to 12 ft. 7 in. to get the overall dimension of this wall, which is 12 ft.
83/д in. from outside to outside.
Measure in this distance from the outside of the exterior wall of the slab or floor deck, mark it, and place an X to the inside of the mark, as shown in the drawing on the facing page. Do this at both ends of the wall and connect the marks with a chalkline. The location of the X is important because it indicates the exact location of the wall. Placing the X on the wrong side of the mark can be disastrous. Imagine the excitement of a plumber, for example, trying to install a bathtub in a room that is ЗУ2 in. too narrow.
You might find that plans don’t always have the exact measurements you need. For example, floor plans might show a 60-in. dimension in a bathroom to accommodate a standard-size bathtub.
In reality, what is needed is 601Л in. so that the tub will actually fit without having to carve up the walls. And because
of the size of plumbing drains and vents, it’s best to build bathroom walls out of 2x6s to accommodate the plumbing.
PLATING
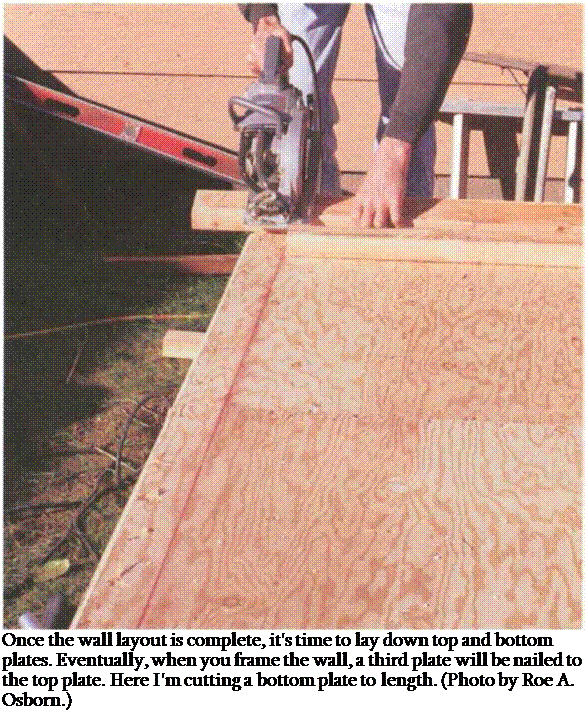
Once you’re finished with the wall – layout chalklines, you can begin to lay down the top and bottom plates. Eventually, when you frame the wall, a third plate will be nailed to the top plate to hold the walls together. At times, when doing remodeling work, I have opened up a wall to find that only a single top plate was used. This allowed the walls to separate, opening up cracks in the plaster and siding, because they were not tied together with the double top plate.
Pick long, straight stock for plates, which makes it easier to keep walls straight once they’re raised upright.
Plate the long outside walls (called
 through walls) first. Shorter walls that intersect the through walls are called butt walls. These can be plated once the through walls are in place. Get the long borders of a house in place, and the shorter inside pieces fit together easier.
Remember that top and bottom wall plates are placed flush with the chalklines on the X side of the marks made on the deck. But these plates need to be cut accurately or the walls won’t end up square and plumb. Again, begin with the outside walls. Lay down a long 2x plate on the chalkline, cut it to length,
and tack it in place with two or three 8d nails. Run your plates continuously, ignoring door and window openings.
The bottom plate in doorways will be cut out later.
Plating on a concrete slab requires a slightly different approach than plating on a wooden floor system. Slabs normally have anchor bolts located around the perimeter to hold the exterior walls in place. On interior walls, the plates are held in position by a hardened screw or nail or by actually shooting a steel pin through them into the concrete. However you do it, you can’t easily tack the plates in place like you can on a wooden deck. Just position the bottom plate on the line and tack the top plate to it.
Don’t forget to use pressure-treated wood for plates that are in direct contact with concrete. Anyone who has done remodeling work can tell stories of termite-ridden sills or plates made of untreated lumber. If termites get by the sills or plates, they start eating toward the attic. That’s why, in Hawaii (home to the mother of all termites), entire frames are often made of treated wood.
Where there are anchor bolts, their location can be marked on the plate in the same manner as with sill plates (see Chapter 4).


Leave a reply