Installing casing
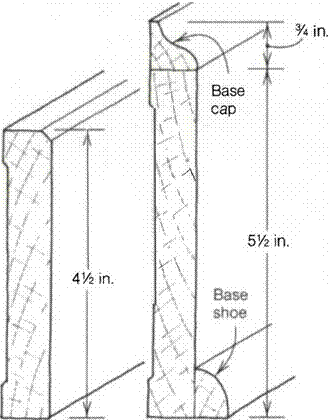
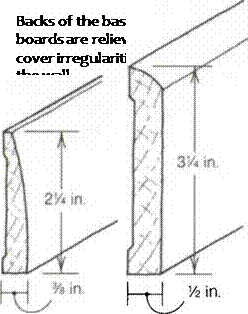
Casing hides the joint between the dry – wall and door jamb or window surround It comes in many styles, from 1 x square – edged stock in varying widths to milled casings (see the drawing above). When casing doors, I buy 14-ft. lengths to cut down on waste. Sometimes door casing is available in 7-ft. piecesthat have a 45° miter already cut on one end. Like exterior casings, doors and windows can be either picture-framed (with 45° miters at the corners) or wider trim can
 |
be butt jointed. I generally nail casing back from the edge of the jamb about 3/i6 in. to leave a reveal.
Reveals make life easier for a carpenter. When wood pieces are nailed flush, they absorb moisture or dry out, moving back and forth in the process, so that flush pieces seldom stay flush. Carpenters learned long ago to step casings back from the door edge 3/ie in. or so. This creates an attractive shadow line and makes it hard to see variations.
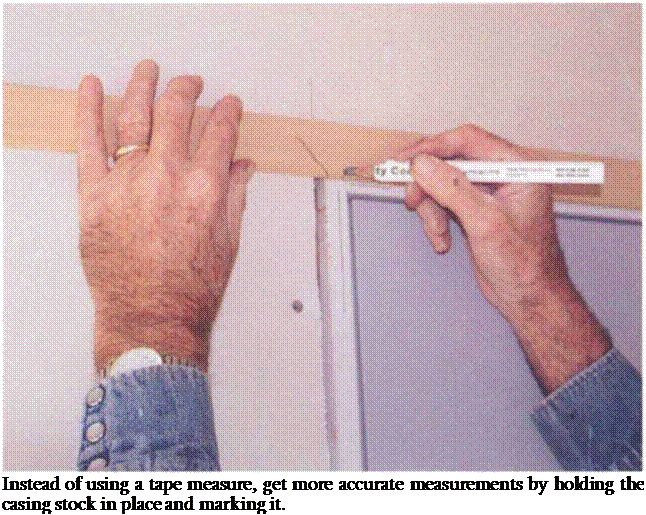
Install the side casings first. The short point of the miter should stop 3/ie in. past the top of the inside edge of the head door jamb or window surround. Rather than use a tape measure, hold and mark the casing stock in place (see the photo above). Mark the 3/ie-in. reveal from the inside edge of the jamb in several places and nail the casing into the wall and the jamb with a pair of 6d
finish nails about every 1 б in. Don’t drive these nails home like a 16d framing nail, but letthem stick up (proud) slightly above the face of the wood, setting them later with a nailset so they can be hidden with putty in preparation for painting. Or you can use an air nailer that drives and sets finish nails. If you are using hardwood casing, you may have to predrill to avoid splits.
Once the side pieces are in place, it’s easy to find the length of the top piece. Cut a miter on one end of the top piece and match it to the miters on the side pieces to see if the cut is accurate. Then hold it in place to mark the location of the second miter. Before nailing it in place, a dab of glue in the joints will make for a long-lasting miter joint.
A window apron, usually made from casing material, is nailed under the stool to hide the joint between drywall and sill. Measure across the window casing
 |
 |
from outside to outside to get the length of the apron. There are several ways to finish off the end of aprons.
You can cut them square or give them a 15° back cut and nail them directly below the windowsill.


Leave a reply