FINISH DETAILS

Once there is a completed house shell, it’s time to turn attention to the finishing details. Of course, much of this work—installing plumbing, heating, and electrical systems, roofing, and drywall, for example—is outside the scope of this book. But there is still plenty of carpentry work to do. In frame carpentry, it often doesn’t matter if there are small gaps left here and there as the house is built. These gaps will all be covered "in the finish," as we say. What matters is that the house frame is square, level, straight, and plumb.
But more is needed when you start doing the finish work. I think it helps to approach finish carpentry with a different mindset than with frame carpentry. The work you do as a finish carpenter will be seen daily for the life of a building. Setting windows and hanging doors, adding exterior trim and siding, and trimming the interior all need to be done with care and precision.
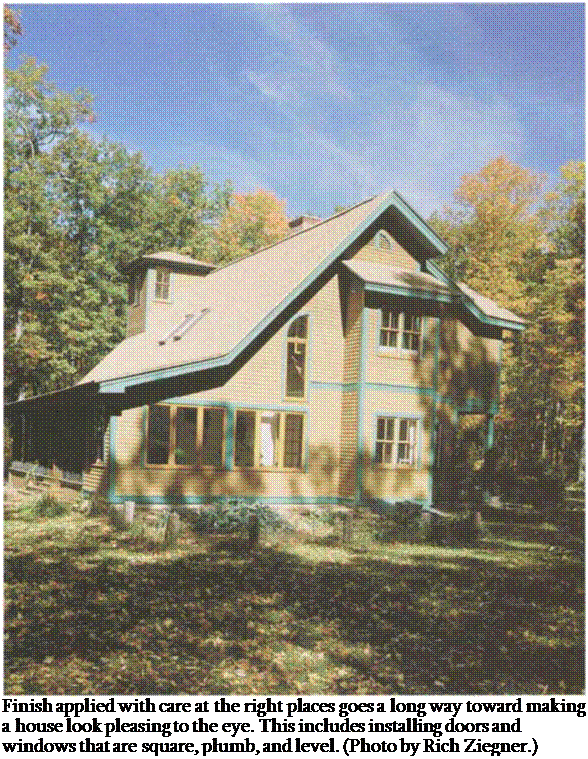
A finish carpenter’s job is to make his work look pleasing to the eye. With practice, you can learn to split a pencil line with a sawcut—back cutting when necessary—so that exposed joints fit tightly. Doors and windows need to be set square, plumb, and level in their rough openings so that they work prop-
 erly and don’t allow moisture or air to penetrate the building envelope. Let’s start with windows.
The majority of windows used today are aluminum or vinyl clad, and most have flanges that nail to the exterior wall and holdthe frame in the opening. Wood windows with prefit casings are almost as easy to install.
Before fitting windows in place, do everything you canto prevent leakage and water damage. On the West Coast, we staple б-in.-wide strips of felt or building paper over the housewrap around the window. These act as one line of defense against moisture. In wetter parts of the country, these strips are added over the flange, after the window is installed (see the drawing on p. 176). Cut strips of 1 5-lb. felt paper about 1 ft. longer than the height and width of the window. Staple one strip at the bottom of the rough opening and one strip along each side, lapping them over the bottom piece. Staple the top piece on after the window is set.
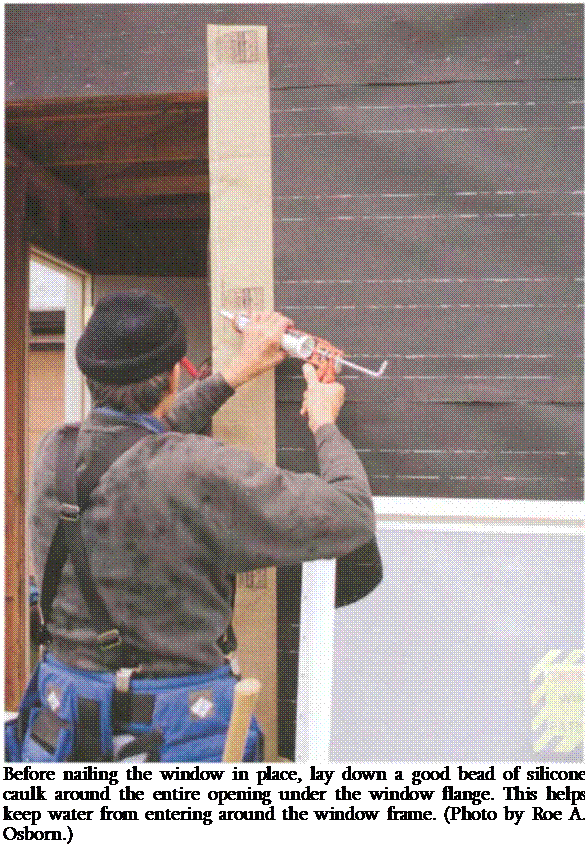
Next, lay down a good bead of caulk on the felt paper (see the photo at right), under where the window flange will be nailed. Squeeze out an extra-heavy bead at the top of the window to bed that flange in waterproof caulking. Even though this can be messy and take time, it’s worth the extra effort because water leaking around the windows of a completed house can cause serious damage over time.
Temporarily lay a piece of Win. plywood on the sill to bring the top of the window up to the correct height, then set the window in the rough opening with the aid of a helper (see the photo on p. 174). While one person holds the frame in place, the partner goes inside to check that the frame is centered in
the opening, the sill is level, and the jambs are plumb. There should be about Win. clearance between the window and the rough framing all around. This gap will be covered later by window jambs or drywall. When windows are being set close together, make sure that they are level in their opening and with each other. Often, top and bottom trim runs straight across from window to
1. Check the rough opening for square, plumb, and level.
2. Apply felt paper and caulk to seal the window opening against air and leaks.
3. Use a story pole to mark and maintain uniform height of every window frame in the house.
4. Set the window frame in the opening and check the head for height and level and the side for plumb.
5. Check the window-frame diagonals for square before final attachment.
6. Nail or screw the window securely in place.
7. Open and close the window to see that it works with ease.
|
|
window, so any misalignments show up like weeds among the flowers in a garden.
In Chapter 5, I mentioned how I nail wall sheathing into the king studs with no nails in the trimmers so that when the windows are being set, it’s easy to adjust the trimmers to fit the frame if necessary. When setting wooden windows, pull the trimmers tight against the window frame on both sides. Frames nailed directly to the jambs make for good, solid construction and eliminate the need for shims.
Most windows that have nailing flanges can be held in place at each corner with 1-in. roofing nails, 8d nails, or drywall screws. But larger windows need more support. Drive another couple of nails into the flange between each corner. When setting wood windows, drive 6d nails through the jamb into the trimmer,
or drive 8d to 16d galvanized finish nails through the casings into the exterior wall frame. These nails are usually set below the surface with a nailset, and the holes are filled before painting. More and more carpenters are now securing windows with screws using a cordless screwdriver.
On the inside, wood windows need to be held straight and tight against the jamb with finish nails. Long wood windows will need to have the head jamb nailed to the header and the sill blocked level at the bottom.
With the window in place, run another bead of caulk along the flange at the top before stapling on the last strip of felt paper (see the photo above). If there is housewrap, make a slit in the house – wrap, across the top and above the window, then tuck this last piece of felt into the slit. To further air-seal the win-


Leave a reply