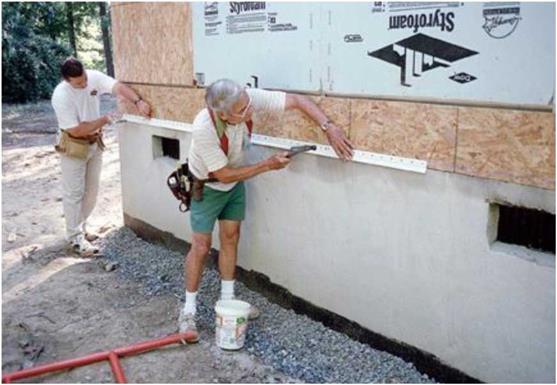
STEP 5 INSTALL THE STARTER STRIPS AND THE TRIM FOR VINYL SIDING
The most important thing to keep in mind as you’re installing vinyl siding is that it expands and contracts significantly with temperature changes. All siding components and installation details are designed to cope with this temperature-induced movement. Review the installation information discussed throughout this chapter. Make sure you comply with the manufacturer’s instructions that come with the siding. It’s also smart to check with builders
 |
 |
in your area for any local wisdom. This is the best way to avoid the bulges, buckles, and tears that can result from incorrect installation. Most vinyl siding should not be nailed firmly against sheathing. The installation slots in the siding, starter strips, and other vinyl components are there for a reason. Keep the nail heads proud of the vinyl so that the vinyl can move.
The tools you need to install vinyl siding are mostly tools you probably already own, but there are a few others you’ll need to either buy or make (see the sidebar on p. 166). These tools are also handy for the sheet-metal work we’ll tackle later in the chapter.


Leave a reply