STEP 5 BUILD MIDSPAN SUPPORT FOR JOISTS
Unless you are building on a slab, you’ll probably need to provide midspan support for the floor joists. Without additional support somewhere between the sills, the joists can be overspanned, resulting in a finished floor that sags or feels bouncy. A friend once took me through
|
his 18th-century home in rural Connecticut. The beautiful, hand-hewn floor joists in the basement were fascinating—dry, free from rot and termites—but far overspanned. Upstairs, it felt like walking on ocean waves. Clearly, what was needed was some support to keep the joists from sagging and bouncing in the middle.
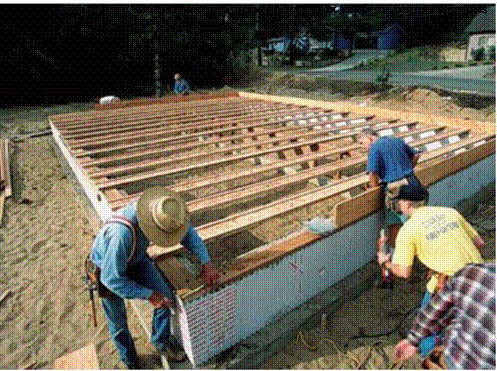
Codes require a minimum of 18 in. between the earth and the joists in a crawl space. These days, two systems are commonly used to provide midspan support for the joists: crib walls (also called pony walls) and post-and-girder systems. A crib wall is just a shortened version of a regular stud wall and is supported along a continuous concrete footing. With a post-and-girder system, a solid or built-up girder (also called a beam) is supported by posts every 6 ft. or so, depending on code. The girder usually fits into a recess or pocket where it meets the foundation wall. Joined to the girder by metal connectors or plywood gussets, the posts bear on concrete piers (see the illustration on p. 48).
In both these systems, the joists rest on and are nailed to the top support member.
 The width of the joists and the length of the span determine how much support is needed. With 2×6 joists, for example, posts and girders are often placed every 6 ft. With 2 x12s or
 |
 |
 |
|
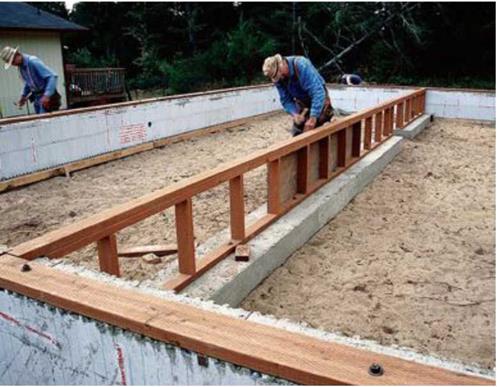
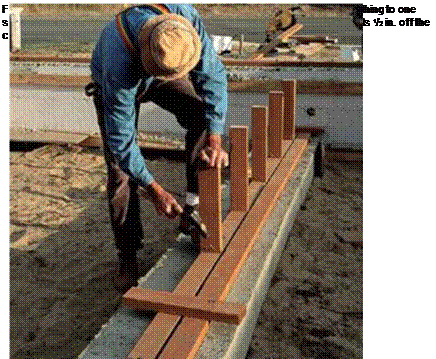
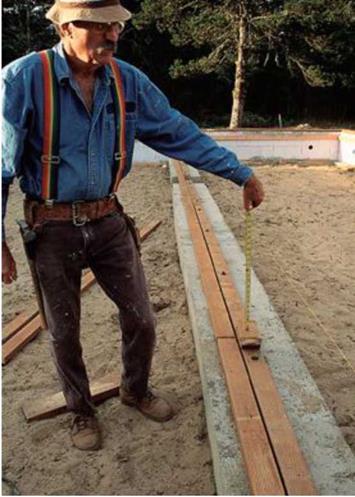
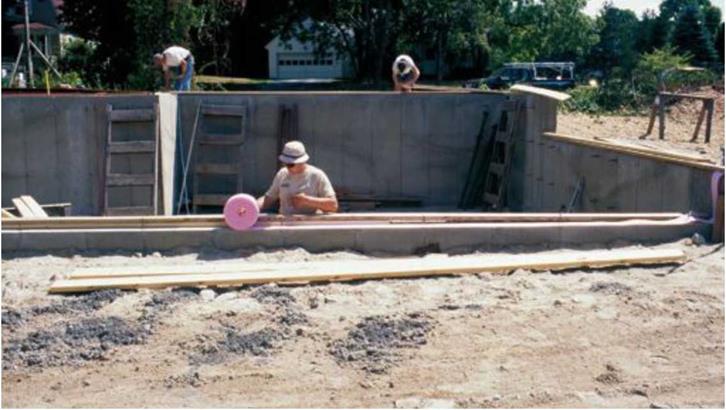
Build a crib wall. It’s best to use PT wood in underfloor areas. Crib walls (also referred to as pony walls) are short, stud-framed walls and can provide midspan support for joists that extend over a crawl space. After bolting the wall’s bottom plate to the footing, stretch a line over the sills to measure the length of the crib wall’s studs (see the photo above). Place two pieces of top plate stock on the wall’s bottom plate and measure up to the line. Toenail the studs to the bottom plate, spacing them 16 in. o. c. or 24 in. o. c. depending on your code requirements (see the photo below). [Photos © Memo Jasso]
![]()
 Wait to carpet over concrete. Make sure you let a concrete slab dry out well (for several months) before laying carpet on it. If you don’t, the carpet adhesive may not hold properly and your carpet could rot, possibly posing a health hazard.

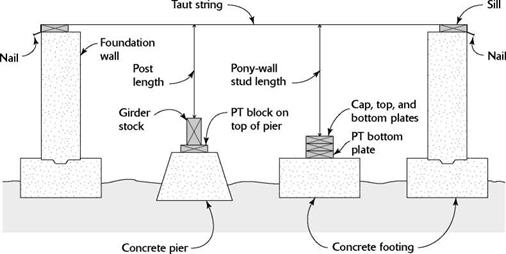
Stretch a string tightly from one sill to another. For the post length, measure from a piece of girder stock to the taut string. To find the stud lengths for a pony wall, measure from the top of a stack of three wall plates to the string.
engineered I-joists, only one support in the center may be needed.
Just in case a moisture or termite problem develops in the future, I like to build crib walls with pressure-treated wood. To determine the length of the crib wall’s studs, first bolt the wall’s bottom plate to the footing. Then tightly stretch a string above the crib wall’s bottom plate and across the mudsills installed on the stem walls. Set two pieces of top plate stock on the bottom plate. The distance between the top plate stock and the string is the length of the crib wall’s studs (see the top right photo on the facing page).
Toenail the studs to the bottom plate, spacing them 24 in. o. c. but leaving a 30-in.-wide opening somewhere in the wall so that plumbers, electricians, and others can get from one side of the crawl space to the other. When toenailing the studs to the crib wall’s bottom plate, you can drive either four 8d toenails or three 16d nails per stud. If you’re using a pneumatic nailer,
make sure you follow the safety guidelines explained in the sidebar on p. 65.
Once the crib wall’s studs are in place, nail on the two top plates. Drive a pair of 16d nails through the first plate into the top of each stud. Secure the double top plate with a single 16d nail at each stud location, and toenail the plate’s ends to the sill on the foundation wall at each end of the house. I like to sheathe sections of a crib wall with pressure-treated plywood (my first choice) or OSB to provide good lateral bracing (see the bottom left photo on the facing page). Be sure not to sheathe over the crawl-through opening you framed in the wall. As an alternative to sheathing a crib wall, you can stiffen it with 2x diagonal braces nailed to the top and bottom plates and across at least one stud.
Build a post-and-girder system
Posts used to construct a post-and-girder system can be anchored directly to a metal post base that is set in the concrete footing. You can also use a precast pier with a metal strap that


Leave a reply