STEP 5 ADD DRYWALL BACKING
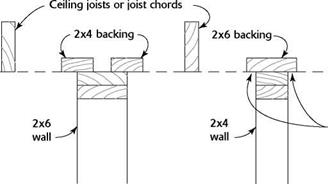
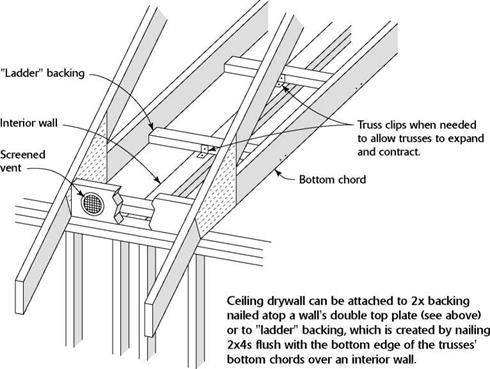
At this point, you need to add backing (sometimes called deadwood) to walls that run parallel to the joist chords. The backing provides a nailing base for ceiling drywall (see the illustration on p. 127). It’s easier to put the backing in now rather than after the roof is complete and hampered by sheathing. This is a good place to use knotty, crooked 2x stock. Nail the stock, one 16d nail every 16 in., to the double top plate of parallel walls so that the 2x backing overhangs the double top plate by at least 1 in. on both sides. Some builders use drywall clips instead of solid backing, but I like to fasten nails
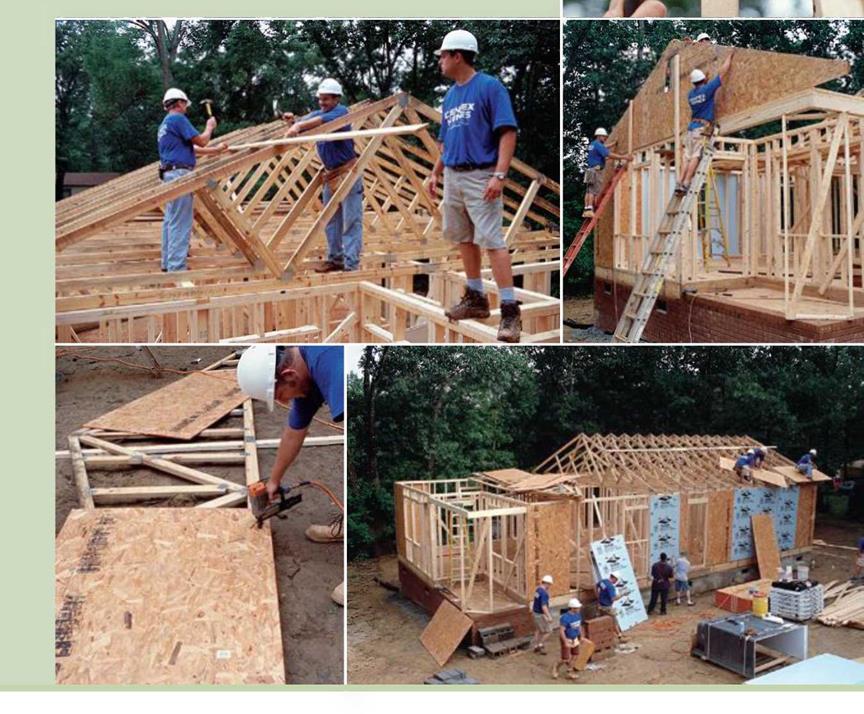
Doing carpentry on the ground is easier than doing carpentry on top of the house. You really have to watch your step.
We handle the trusses carefully.
Plenty of bracing is required to tie the trusses together and to the rest of the house.
 When the trusses are up, you can see what the completed house will look like.

INSTALLING BACKING FOR DRYWALL
|


into something solid. (Details on drywall installation are covered in Chapter 9.)


Leave a reply