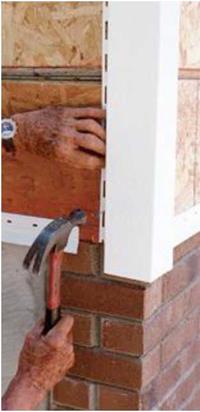
Starter strips
The installation of vinyl siding begins with different trim elements: starter strips, inside corners, outside corners, J-channel, and so on. The various trim details are designed to hide or interlock with siding ends and edges. As with other homebuilding phases, if you get started right, the next steps follow more smoothly. The critical first step is to put on a straight and level
starter strip right above the top of the concrete foundation wall or slab (see the photo above). This strip can usually be installed by nailing through the sheathing and into the bottom of the mudsill or sole plate. The strip’s bottom edge can then extend about 1 in. over the concrete.
With a house that is covered with housewrap, it is not always easy to see where to nail the starter strip. One way to establish the exact height of the strip is to measure down from the underside of the joist chords on the roof trusses and mark the proper height at various points around the house. This will ensure that the starter strip is level and equidistant from the top plates. Connect these points with a chalkline all around the house.
On long walls, keep the line from sagging in the middle by having someone hold the line to a height mark near the middle of the wall, then snap the chalkline from the center to both corners.
 To secure the starter strip, drive nails in the center of the installation slots, spacing them every 12 in. to 14 in. Leave at least /4 in. to lA in. of expansion room between sections of starter strip


Leave a reply