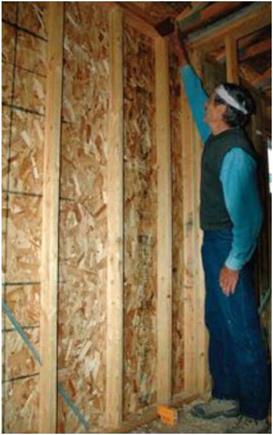
Plumb the exterior walls first
Hold a level or plumb stick in a corner to see whether the bubble is centered in the vial. If not, the wall must be moved laterally. Sometimes a wall can be moved a bit with a bodily shove. If you can push the wall plumb, install a temporary 2x diagonal brace to keep it that way (see the photo above). If you need
more force, use a push stick, as shown in the top photo on the facing page. Cut a push stick from a 1×4 or 1×6, making it about 116 in. long for an 8 ft. wall. Use the natural flex in the push stick to exert force on the wall. Position the top of the stick under the top plate and against a stud. Diagonally extend the stick down to the floor, as parallel as possible to the wall. Bend the stick down, holding the bottom end against the floor with one foot. Now pull the middle of the stick up. As the board straightens, the wall moves.
After the wall is plumb, finish nailing in the metal braces or use temporary 2x stud braces nailed at an angle to hold the wall plumb until it is sheathed. When the exterior walls are plumb, proceed to the interior walls. You can’t straighten a wall until the walls that butt into it have been plumbed.
|
A small laser can be used to accurately plumb walls. [Photo by Don Charles Blom] |


Leave a reply