Plumb and brace the trusses
When bracing trusses, take time to read and follow the directions from the engineering company. These, along with local building codes, must be followed to guarantee that the house will have a strong and stable roof. Most simple gable-truss roofs are easy to brace.
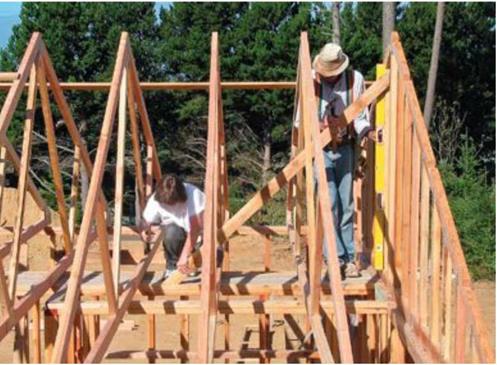
After four to six trusses have been installed, plumb the gable-end truss and begin bracing the roof. Use a level to plumb the end truss, then install a diagonal 2×4 sway brace from the double top (cap) plate of the exterior wall (where the gable-end truss is installed) to an inboard truss (see the photo on p. 124). The brace should extend at a 45-degree angle from the top plate and be nailed to the top chord (or rafter) or the webbing of an inboard truss.


![]() If the gable-end rafter is plumb, the rafters tied to it at 24 in. o. c. should also be plumb.
If the gable-end rafter is plumb, the rafters tied to it at 24 in. o. c. should also be plumb.
When all of the trusses have been installed, nail in a sway brace at the other end of the roof. On longer roofs, use additional diagonal sway braces near the center of the house to further strengthen the roof. These are important braces. In a high wind, they will help keep your roof intact.
The next step is to stabilize the joist chords by nailing a long board (a 1x or 2x will do) on top of each joist chord near the center of the span. You can move this bracing to one side or the other if you need to accommodate an opening for attic access, storage space, or room for a heating unit. Frequently a forced air heating unit will be set in this area. Nail this long brace to each chord with two 8d (for 1x stock) or 16d (for 2x stock) nails (see the bottom photo on the facing page). Additional 2×4 braces are often nailed at 45-degree angles across the underside of the rafter chords or webbing from the plate line to the ridge (see the top photo on the facing page). Nail these braces into each chord with two 16d nails. This provides lateral stability to the entire roof.


Leave a reply