Install the stringers and treads
If you’ve done the stair layout and cutting correctly, the stringers should fit against the rim joist (or beam), with the level cut or cleat for the top tread located 71/2 in. down from the top of the deck framing. Snap or mark a line at that level on the rim joist so you can make sure the stringers are aligned.
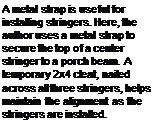
There are several ways to secure the stringers to a deck beam or rim joist. Sometimes the stringer butts against a post, so it can simply be nailed to the post and to the beam or rim joist. In other situations, a metal strap can be nailed to the bottom of the stringer, then to the beam or rim joist (see the bottom photo on the facing page). Still another option is to fasten a PT plywood hanger board to the top plumb-cut edge of each stringer, then nail the board to the beam or rim joist (see the illustration on p. 190).
For a set of 36-in.-wide closed-stringer stairs, cut a hanger board 14 in. high and 39 in. wide, then nail it flush with the top of the deck’s
|
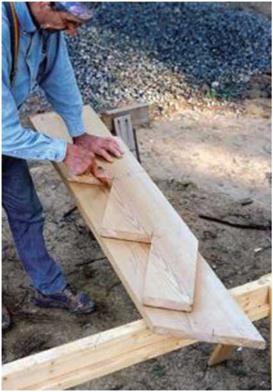
Use one stringer to make another. Use a completed stringer as a pattern to lay out a new one. |


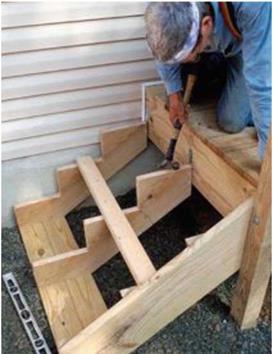
 2×6 rim joist. Then measure down 71/2 in. from the top of the rim joist, mark the board on each end, and strike a line across it at that height. Drive 8d galvanized nails through the back of the hanger board and into the stringers below the 2x 6 rim, making sure the top of the upper cleats on both outboard stringers and the top notch on the interior stringers land on the line you snapped on the hanger board. To stiffen the top of the stairs, cut and install PT 2×4 blocking between the stringers.
Next, cut a 36-in.-long PT 2×4 kicker board and nail it into the notch of the middle stringer and to the outside stringers. The kicker board can be fastened to the concrete landing or base with hardened nails, steel pins, or concrete anchors.


Leave a reply