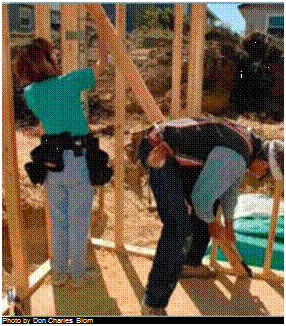
GOING UP
The wall-framing phase of a homebuilding project is an exciting one. Piles of lumber scattered around a flat platform are soon assembled into a complex skeleton that defines the shape and size of a home’s interior spaces. For the first time, it’s possible to experience the look and feel of a new house. We’re still a long way from move-in, but the completed frame is a dramatic step forward.
Framing walls requires an abundance of energy, good teamwork, and real presence of mind. As you’ll see on the following pages, it takes quite a few steps to get the walls up and ready for roof trusses. Wall locations must be chalked out on the slab or subfloor; plates must be scattered; headers, rough sills, cripples, and trimmers must be cut; plates must be marked; and the pieces must be nailed together. After the walls are nailed together, they must be raised, braced, connected, plumbed, lined, and sheathed. It all happens fast, though, and before you know it, there’s a house standing where there wasn’t one before.

 As a novice carpenter, I was often afraid that I would make a huge mistake while doing wall layouts. Transferring measurements from the building plans to the floor sheathing or slab seemed like a precise and unforgiving science, the principles of which I didn’t fully understand. I knew that once the house was framed, the wall-layout lines would be real spaces—bedrooms, bathrooms, and kitchens—so accuracy seemed critical. After laying out a few houses, however, I learned that, as with most other aspects of carpentry, wall layout just needs to be close—normally within 1/4 in. tolerance—not accurate to a machinist’s or scientist’s tolerances. After I realized that, I was able to relax and get on with the work.


Leave a reply