CUTTING SQUARE WITHOUT A SQUARE
One of the most important skills a carpenter learns over the years is training and trusting his or her eye. And one of the best ways to develop this capability is to cut square by eye. Instead of using a square to mark a 90- degree cutoff line on a board, simply make a quick pencil mark for length on the board, line up a circular saw, and make the cut. Over the course of framing a floor or a wall, this method can save you plenty of time.
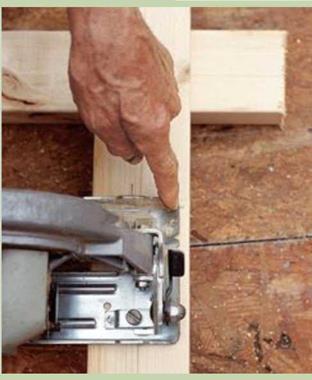
If you’re comfortable using a circular saw, it’s not difficult to master this technique. Position the saw with the blade aligned on the cutoff mark and the front of the saw’s base parallel with the edge of the board. As you make the cut, keep the base parallel with the board’s edge. Practice a few times on scrap, check each cut, and adjust the angle of the cut until you’ve got it right. In time, you’ll develop a “feel" for square.
Make square cuts by eye. To make a square cut, put the blade on the cut line and keep the front edge of the saw base parallel with the board.
This is an easy way to spot layout mistakes. Take the time to check the framing against the details shown on the plans. Corrections are much easier to make now than after the floor sheathing is installed. Enjoy the moment. Joists on edge are beautiful in their own right, clearly and unmistakably showing the promise of a new building.
STEP 7 INSTALL EXTRA JOISTS AND BLOCKING
Until recently, extra joists were often required under walls that ran parallel to the joists, because they helped support the roof structure. Most houses built these days use roof trusses, however, which are engineered to span from outside wall to outside wall without the need for interior support. There usually isn’t a need to install extra joists under walls, though some local codes still require them. Check with your town or city building department to make sure.


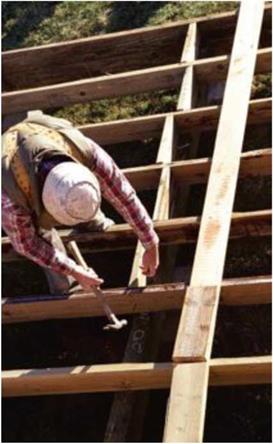
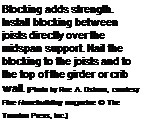
 Similarly, wood or metal bridging is no longer required. Installed in crossed pairs between


Leave a reply