Techniques USING A HAMMER

![]()


JUST LIKE HITTING A SOLID-LINE DRIVE or
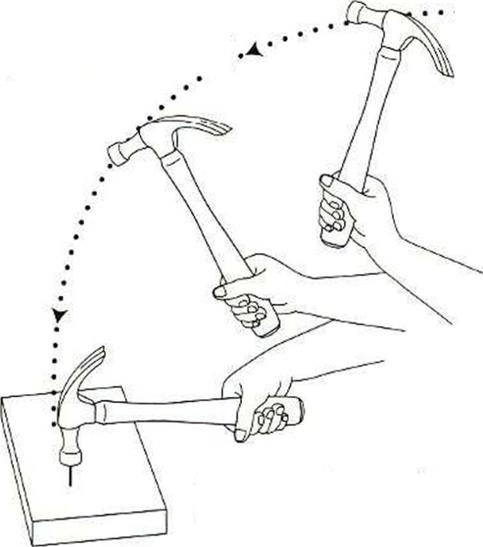
delivering a blazing tennis serve, driving nails quickly and accurately takes time and practice to master. Like most athletic endeavors, efficient nailing has at least as much to do with rhythm and coordination as it does with power and force. Learn to nail using your entire body; make a fluid shoulder, elbow, and forearm movement that ends with a decisive snap of the wrist (see the illustration at right). Practice your technique. Grasp the handle near the end with an easy, firm grip, making sure your thumb is wrapped around it. Buy a box of 8d or 16d framing nails, find a hunk of wood, and start driving nails. In time, you’ll be amazed at the speed and force with which you can drive nails.
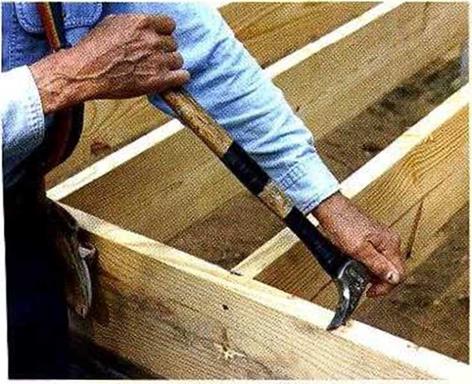
When pulling nails with a wooden-handled hammer, hook the nail and push the hammer to one side and then the other, rather than straight
back (see the photo at left). Otherwise, you could break the handle right at the hammer’s head. To pull nails with a metal-handled hammer, you can lever the hammer sideways or backward. To increase your leverage, put a block under the head of the hammer.
 і
і
Helping Hand
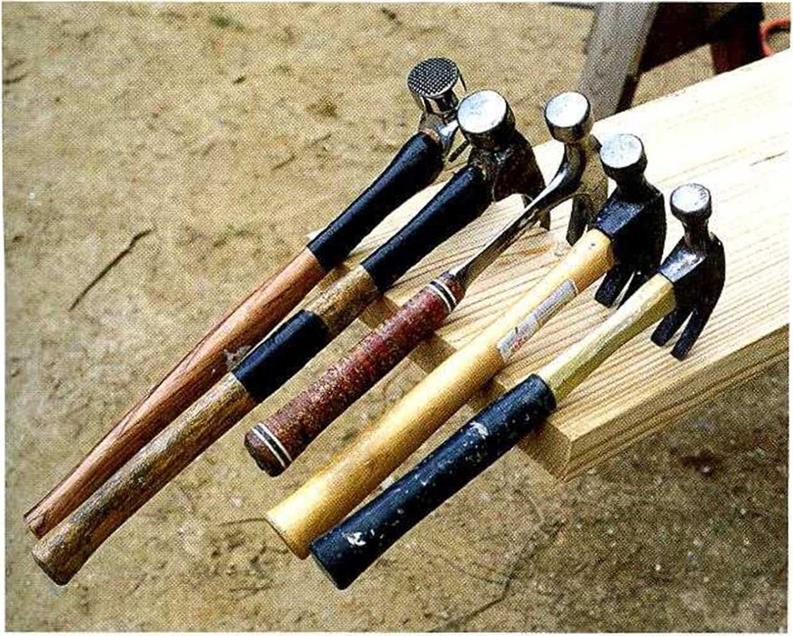
Shrink-wrap strengthens a wooden handle. Available from electrical suppliers, plastic shrink-wrap can add strength to a wooden hammer handle right where it counts—where the handle meets the head. Slip a 6-in.-long piece of the plastic wrap onto the handle, then shrink it in place with a hair dryer.
strength, feel well balanced, and be comfortable in vour hand. When I brine a new ham – mer home, I usually reinforce the upper part of the wooden handle by wrapping it with electrical tape.
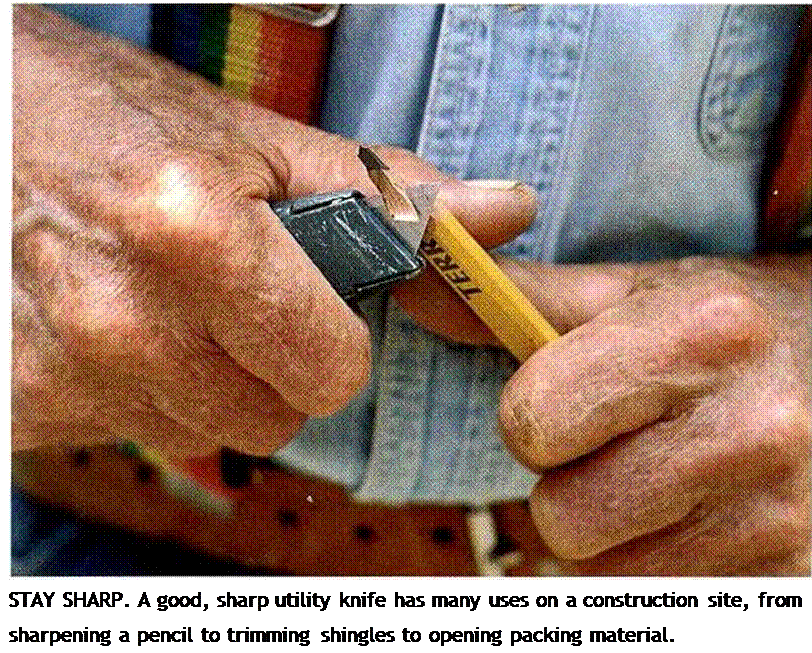
A few more essential tools round out a carpenter’s basic, must have kit. Perhaps foremost on this list is a utility knife. On the job site, a utility knife may be used to open packages or cut building paper, fiberglass insulation, shingles, vinyl, or drywall. You’ll also need it several times a day to sharpen a carpenter’s pencil (see the photo at right). 1 recommend using a knife with a retractable, replaceable blade and a handle with space inside to hold several replacement blades.
When a blade becomes dull, replace it or restore its edge with a whetstone. A dull blade doesn’t cut as neatly and is dangerous because of the extra force required to make it cut.
You’ll need a good pair of tinsnips to cut steel packaging bands around lumber. Snips are also essential when working with aluminum cladding and vinyl siding. Be careful
when using these cutting tools. Accidents with utilitv knives are common.
These prying tools really come in handy during new construction and remodeling work. Your hammer’s claw vvi 1 generally work fine for removing exposed nails. When a nail is buried, though, a cat’s paw is the tool to use. With a couple of hammer blows, you can sink


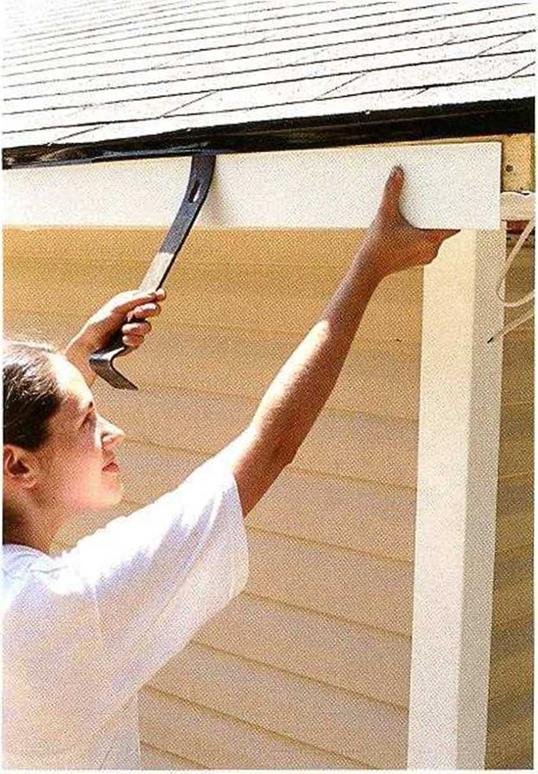 the cat’s paw into a board, grab the head of a nail, and lever it above the surface. From there, your hammer takes over to completely remove the nail.
A flat bar can also be used to pull nails, or it can be used as a prybar. In new construction, I often use a flat bar to separate boards that have been temporarily nailed together and to slip aluminum or vinyl trim under a drip edge (see the photo above).
Once you have a few tools, you’ll need to carry them with you as you frame walls and install siding or shingles. It doesn’t work well to carry a measuring tape in your jeans and to fish nails from a shirt pocket. Fifty years ago, when I started working as a carpenter, we wore white carpenter’s overalls with a lot of little pockets for nails and tools. Those soon gave way to cloth aprons, which were replaced by heavy leather aprons with a wide leaner bclt. Today, nylon pouches seem to be taking over, and for good reason: The best versions are lighter than leather and just as durable.
As with tools, the selection of tool belts,
pouches, and holders can be confusing. There are good bell and pouch systems for both men and women. Inexpensive versions are available for novice and occasional builders.
If you’re serious about construction work, consider some of the tool belt systems that allow you to add pouches and holders as you need them.
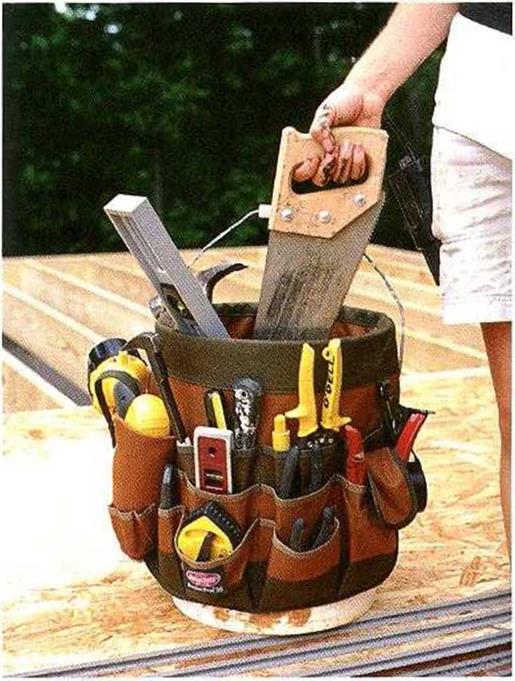
For larger items, or for tools that are used only occasionally, the traditional carpenter’s toolbox has given way to the carpenter’s tool bucket (see the photo below). This is іust a 5-gal. bucket fitted with a bag insert that
allows vou to carry manv individual tools. For
/ * і
organizing specialized tools (collections of drill bits, chisels, or screwdrivers, for example), inexpensive storage boxes in many sizes are available from supply stores. Label the boxes so you know what’s inside.
|
CREATE A TOTE FOR TOOLS. Fitted with a pouch – covered canvas or nylon insert, a 5-gal. plastic bucket replaces an old-fashioned carpenter’s toolbox. |


Leave a reply