MAKING A STORY POLE

![]() The best way to obtain accurate lengths for cripples and trimmers is to make a story pole. As the name suggests, this straight length of wood (I use a 2×4) tells a story. In this case, it’s the description of a wall layout, with the locations of sills and headers for windows and doors providing the measurements for cutting cripples and trimmers. With a story pole, you do all the measuring once, double-check everything, then use the pole as a reference for the entire layout. Instead of repeatedly measuring cripples and trimmers with a tape measure, you simply transfer the layout marks from the story pole.
The best way to obtain accurate lengths for cripples and trimmers is to make a story pole. As the name suggests, this straight length of wood (I use a 2×4) tells a story. In this case, it’s the description of a wall layout, with the locations of sills and headers for windows and doors providing the measurements for cutting cripples and trimmers. With a story pole, you do all the measuring once, double-check everything, then use the pole as a reference for the entire layout. Instead of repeatedly measuring cripples and trimmers with a tape measure, you simply transfer the layout marks from the story pole.
To make a story pole, select a straight stud and nail a short scrap of 2×4 on one end to act as the bottom plate. Then, measuring upward from the base of the bottom plate, clearly mark the underside of the header at 6 ft. 10 in. (assuming that is the header height). Measure upward another 1У2 in. for a single flat header, 3У2 in. for a 4×4 header, and 5V2 in. for a 4×6 header, making clear marks across the story pole. The distances remaining above the header layout lines are the lengths of the top cripples. Remember that headers for pocket and bifold doors may be higher, so their cripples will be shorter. Label the layout lines on your story pole to avoid confusion.
To locate windowsills, measure the window height down from the bottom of the header. Measure down another 1У2 in. for a single 2x rough sill. The amount remaining is the length of the bottom cripples. The trimmer lengths are measured from the bottom plate to the bottom of the header.
the way in which headers will be constructed. A good way to carry around this information is with a story pole, as explained in the sidebar above. Recording wall-building information on a story pole reduces the chance of error and speeds the entire framing process.
Determine dimensions for stud length and header height
Stud length, header height, and other “standard” dimensions vary somewhat from region to region. Find out what is standard in your area. Out west, where I’m accustomed to
framing, we use a stud that is 921/4 in. long. Headers for doors and windows are usually held 6 ft. 10 in. off the subfloor. Check the height in your region, though—in some places, the standard is 6 ft. 10V2 in. Headers for pocket doors and closet bifold doors may need to be higher to allow room for an overhead track. Door and window sizes are noted on the plans with designations such as 3/0 x 6/8 (36 in. by 80 in.) or 5/0 x 4/0 (60 in. by 48 in.). Carpenters will say, “There’s a three-oh by six-eight door,” or “We’ve got a five-oh by four-oh window going in this wall.” The first measurement is the width, the


 On the other hand, bifold doors require a header 4


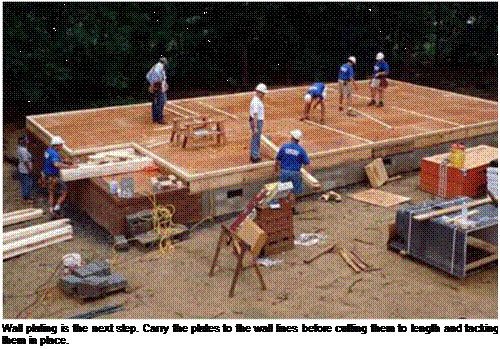
 When possible, tack top plates directly on top of bottom plates.
 Select straight plates. Check 2x plate lumber for bow and twist and select only the straightest boards for plates. This makes for strong, straight walls.




 Select the right chalk.

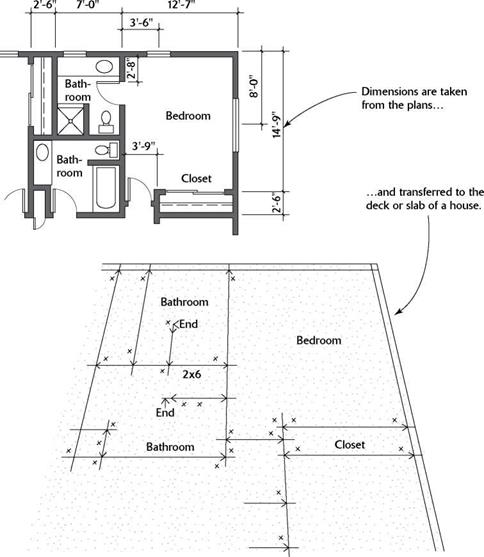
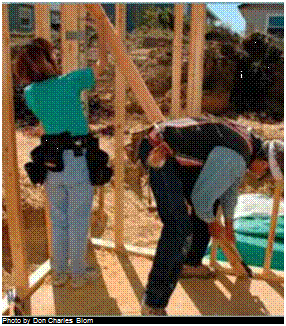 As a novice carpenter, I was often afraid that I would make a huge mistake while doing wall layouts. Transferring measurements from the building plans to the floor sheathing or slab seemed like a precise and unforgiving science, the principles of which I didn’t fully understand. I knew that once the house was framed, the wall-layout lines would be real spaces—bedrooms, bathrooms, and kitchens—so accuracy seemed critical. After laying out a few houses, however, I learned that, as with most other aspects of carpentry, wall layout just needs to be close—normally within 1/4 in. tolerance—not accurate to a machinist’s or scientist’s tolerances. After I realized that, I was able to relax and get on with the work.
![FITTING SHEATHING Подпись: Modify cabinets for wheelchair access. Lower countertops and desk-type openings can make the kitchen much more accessible. [Photo by Steve Culpepper, courtesy Fine Homebuilding magazine © The Taunton Press, Inc.]](/img/1312/image249_0.gif)

