ADHERING AND SEAMING THE FLOORING
Some flooring materials are adhered only along the edges (perimeter bond), whereas others are completely glued down (full-spread adhesion). Flooring secured by full-spread adhesion is less likely to migrate or stretch and hence is more durable. Follow the installation instructions that come with your flooring. Be sure your supplier provides the manufacturer’s instructions on adhesion and seaming methods that may be unique to your resilient flooring.
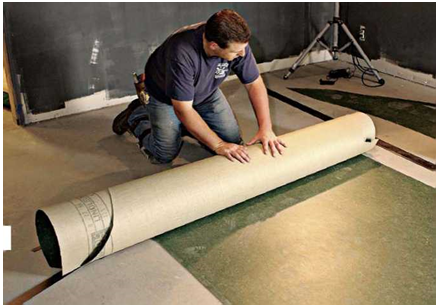
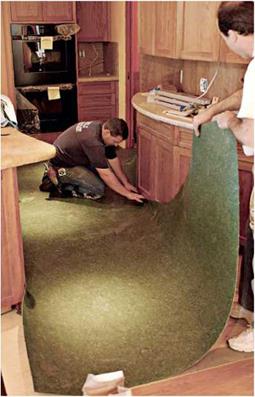
Full-spread adhesion. After the resilient flooring is final-trimmed in place, it is typically lapped back halfway, exposing roughly half the area underneath. Using a square-notched trowel, spread a compatible adhesive on about half the floor. Unroll the lapped portion down into the adhesive, and immediately use a 100-lb. roller on the material to spread the adhesive and drive out bubbles. Roll across the material’s width first, then along its length. Next to the walls, use a


 hand seam-roller to seat the material in the adhesive. Repeat the process with the second half of the sheet. If you get adhesive on the face of the flooring, clean it off at once, using a cleaner recommended by the manufacturer. (Most glues clean up with water.)
Seaming edges. If one sheet of flooring doesn’t cover the entire floor, you’ll have at least one seam edge. Here, be sure to follow the manufacturer’s instructions on seam spacing and adhesive applications between individual sections, called drops. For example, manufacturers indicate how far back from the edges to apply adhesive and whether the seams should be butted together or overlapped and double-cut through both layers.
Although manufacturers tell you to butt vinyl seams tightly, you’ll need to leave a hairline gap between the sections of Marmoleum, which contracts along its length and expands across its width. Also, linoleums tend to expand slightly because of the moisture in the adhesive.


Leave a reply