A Roof Overhead
THE WALLS FOR OUR HOUSE ARE UP and we now have something to show for our work.
At this stage, we can walk through the structure; admire the view through rough window openings; and imagine how the finished siding, painted drywall, and flooring will look. But first, we need to raise the roof.
Before we reach for a hammer, we need to make some decisions about. he roof trusses. We also have to prepare the site for their delivery and do some layout work so that the installation process can go smoothly. Once the trusses are installed, well move on to the fascia hoards, sheathing, and shingling.
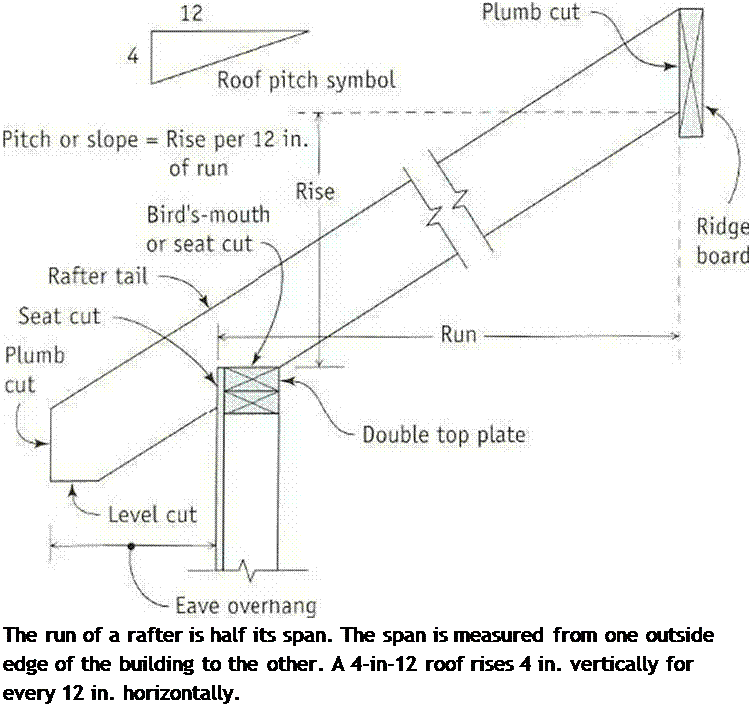
Marly in my building career, 1 was taught how to lay out rafters with a site-made template containing the plumb and birds-mouth cuts. You can still cut and frame a roof one rafter at a time (see the 11ustrat ion on p. 114), but today most roofs are constructed with factory-made trusses. Trusses are designed on a computer, built on an assembly line, and delivered to the job site ready to install. If you’re building a simple
5 ![]() Add Drywall Backing
Add Drywall Backing
6 Install the Barge Rafters and the Fascia Boards
7 Sheathe the Roof
8 Seal the Roof with Felt Paper
9 Ishingle the Roof
|
|
|
|
|
|
|
|
|


sable-roof house like the one shown here, roof
O’
trusses can save time and keep the construction process simple—something that everyone will appreciate.
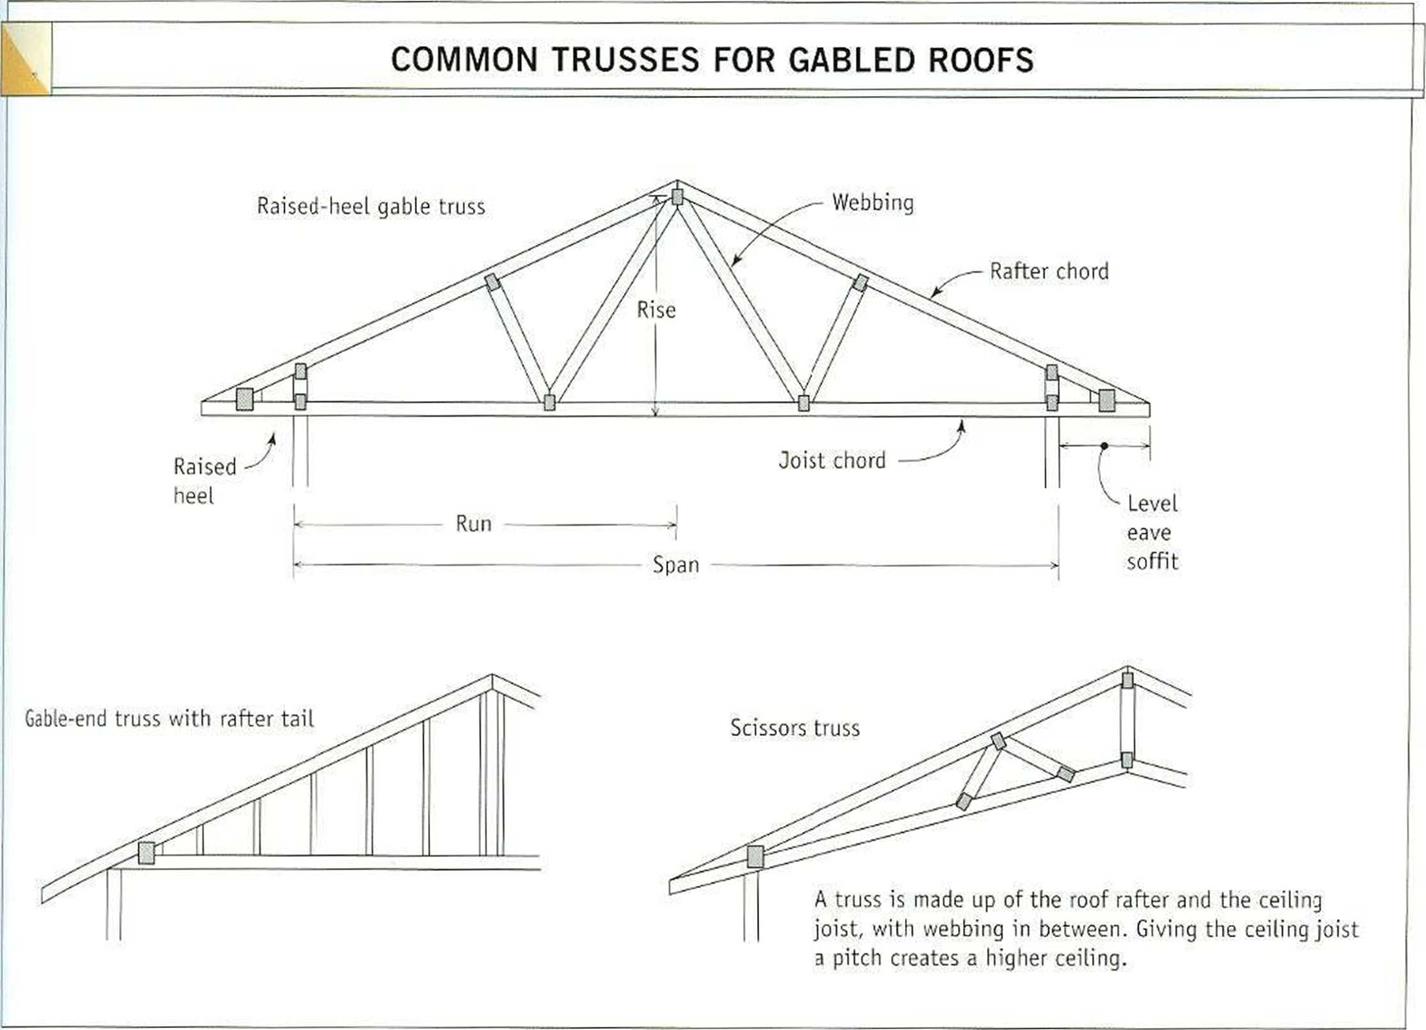
kach truss includes a pair of rafters and a bottom chord that functions as a ceiling joist inside the house and as level soffit framing outside the house. Short lengths of wood, called webbing, connect the rafters with the bottom chord; barbed steel gusset plates [gussets, for short) are pressed into place over the joints to hold all the parts together. For a basic look at the different truss configurations, see the illustration on the facing page. The basic – roof installation process that we’ll use on this house will be very much the same for other
4
houses, regardless of size.
On the house w»4v building, the main root extends over a small porch. In this situation, you need to have at least some of the porch framed before installing the roof trusses. Some builders choose to erect temporary posts to support the top beams on which the roof trusses (or rafters) will bear. When the porch is completed later, these temporary posts arc replaced with permanent ones. This strategy allows roof framing to follow wall framing directly, without the interruption of porch construction work. For details on how to build a porch or a deck that’s attached to the house, see chapter 7.
After vou make a few basic decisions about the trusses for vour house, it’s fairlv easv to order them. 1 like the raised-heel design of the trusses we used on this house (see the illustration on the facing page). This type of truss provides an overhang along the cave walls as well as framing for a level soffit. Because the rafter is elevated above the wall’s top plate, there’s ample room for ceiling insulation and ventilation space above.
11 о woven, as shown in the illustration on the facing page, other truss designs are also possible. Depending on your budget and design preferences, you can use a scissor-type truss and have a cathedral ceiling inside the house. Or perhaps you like the rustic appearance of an open soffit and exposed rafter tails along the eaves. A good lumber dealer has different truss designs to show you, and it’s worth taking a look. Once you decide, here are the basic specifications the manufacturer needs to design and construct vour trusses:
4
 |
TYPE OF TRUSS. The major types of trusses for gable roofs are shown in the illustration above.
SPAN BETWEEN EXTERIOR WALLS. The span is measured from one outside edge of the building to the other.
EAVE DETAILS. The amount of overhang at a building’s eaves is usually shown on the plans. The plans should also tell you whether the soffit will be open or closed. For details on different wavs to finish off an eavc, see the sidebar on p. I 1 7.
NUMBER OF TRUSSES. Roof trusses are typically spaced 24 in. o. c. Therefore, if your building is 40 It. long, you’ll need to order 21 trusses.
SPECIAL REQUIREMENTS. If your house has a more complex roof, special trusses may be required where one roof section joins another.

 ROOF PITCH. Trusses for most small affordable buildings have either a 4-in-12 or a 5-in-12 pitch (see the illustration on the facing page).


STEP 1 Prepare for Truss Arrival and Installation
When roof trusses are delivered lo a job site, they can be offloaded onto the ground or onto the framed walls of the building (see the photo on the facing page). The choice depends on the builder’s preference and on the delivery truck’s capabilities. Experienced builders prefer delivery on the walls because it saves time.
Whether vour trusses are offloaded onto
/
the walls or onto the ground, thev must lie flat. I have seen trusses that were stored on uneven ground come apart at the seams, making them useless within a couple of weeks.
Until they are nailed upright in place, braced, and sheathed, trusses are actually quite fragile. Prepare а Паї area close to the house where the trusses can be offloaded. The bottommost truss should not rest directlv on the
4
ground but on wood slickers that provide a flat, level base.
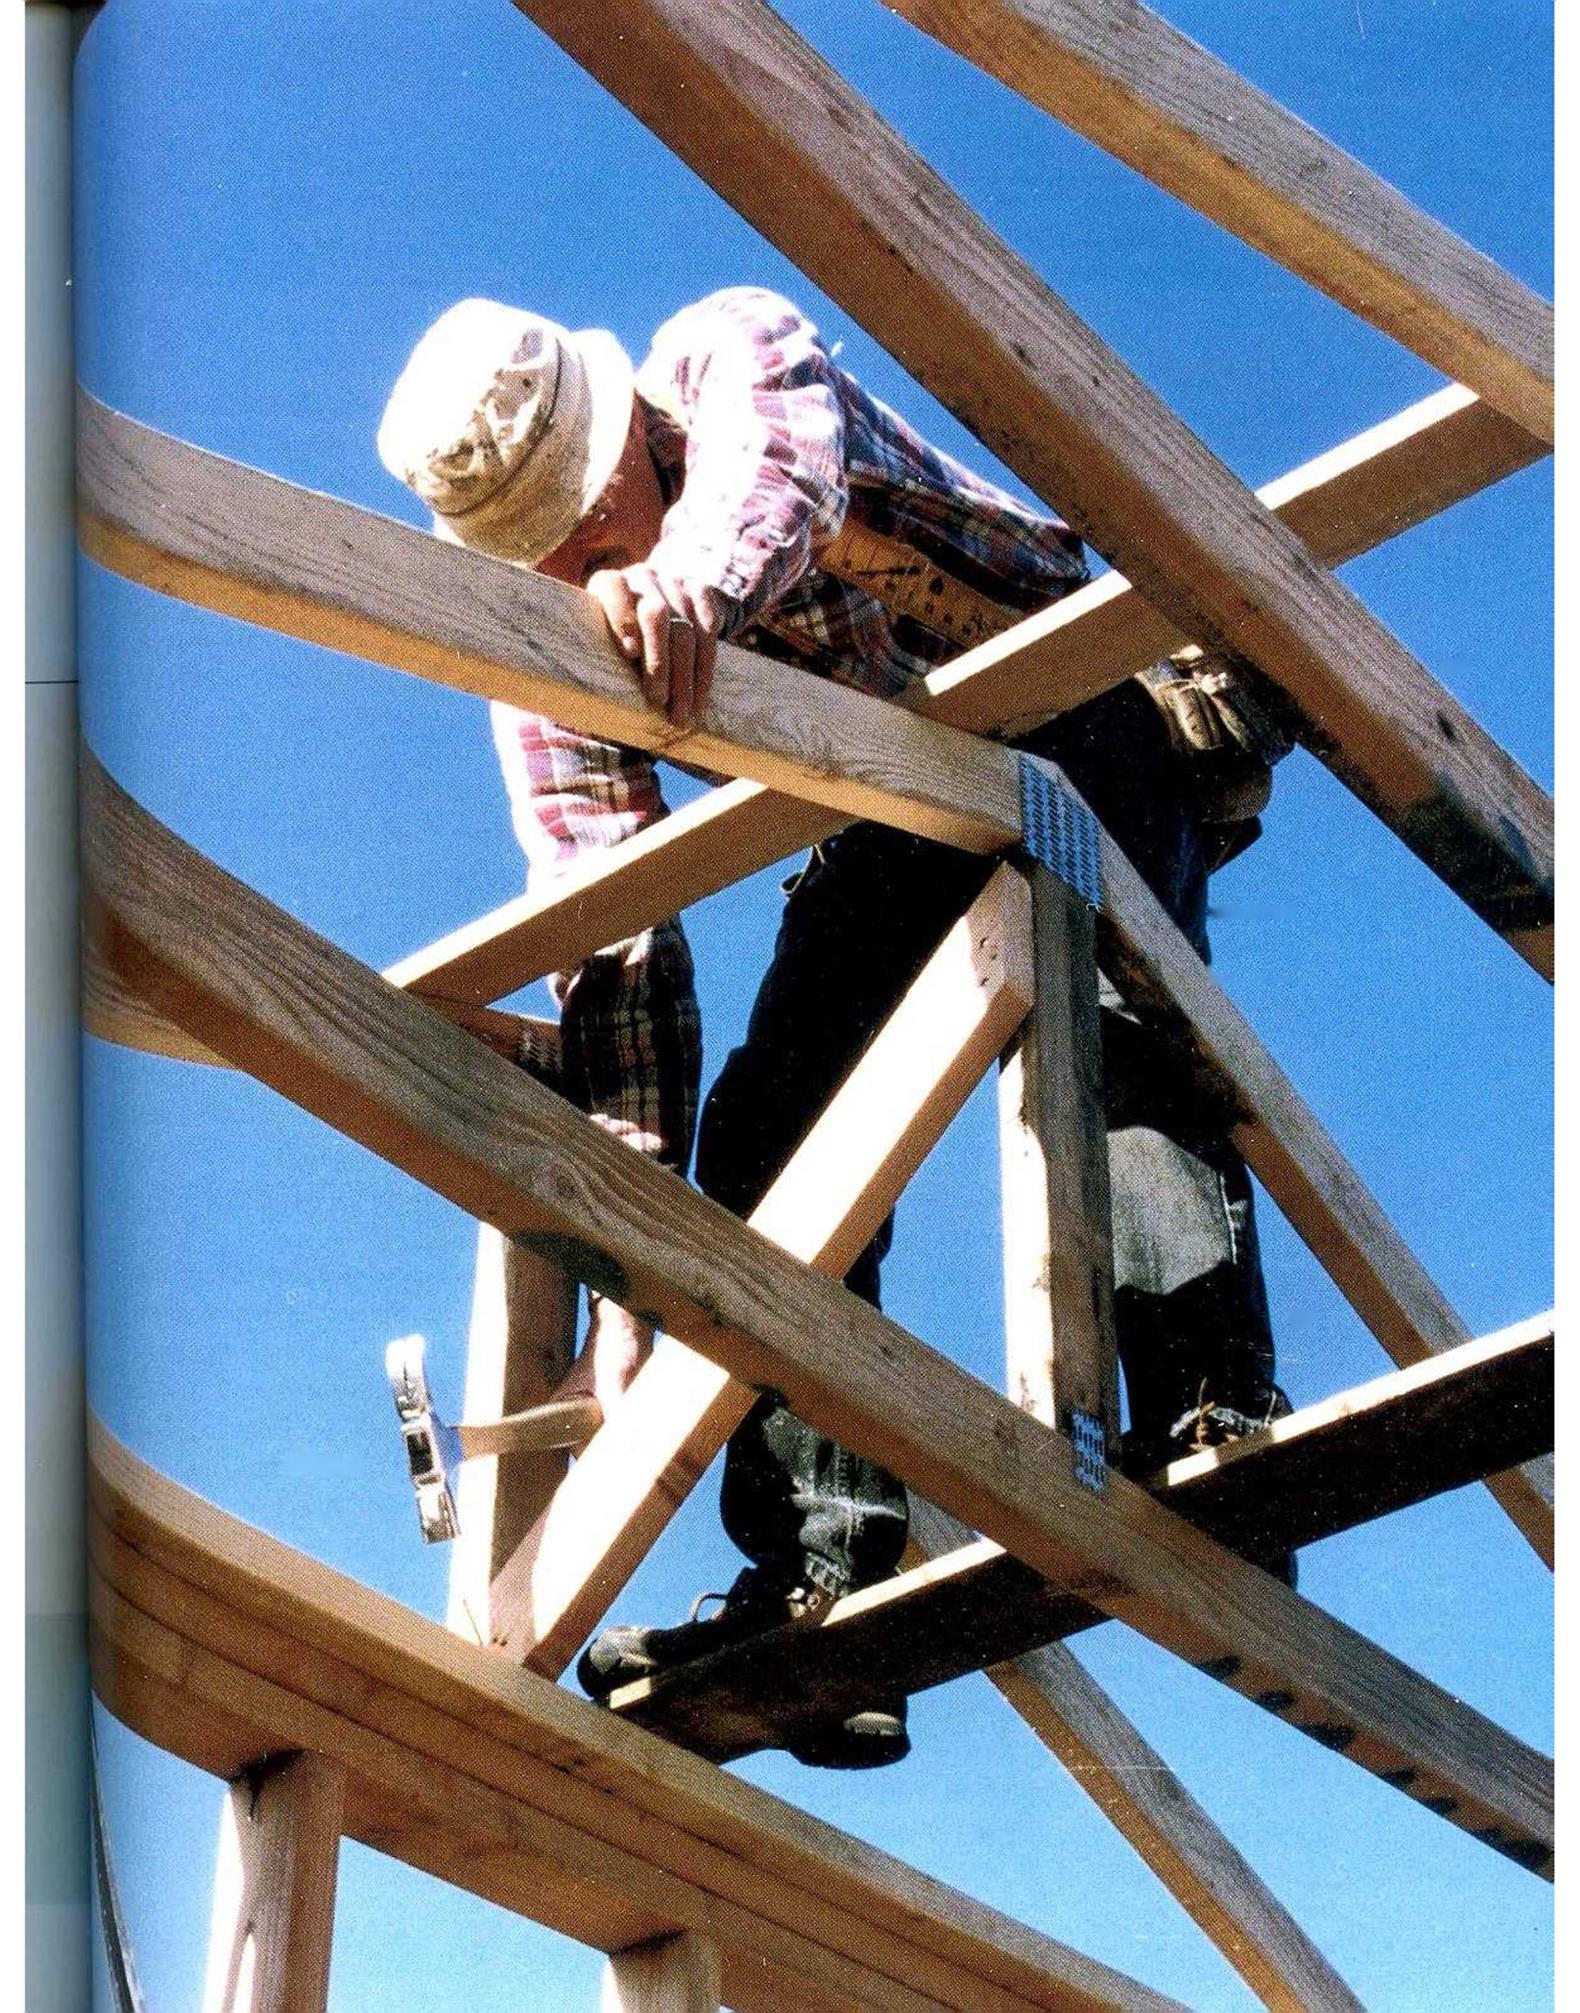
One of the most difficult parts of roof-truss installation is working high off the ground.
It takes skill and practice to be able to stand on a narrow top plate and nail trusses to the wall. If this seems dangerous, or if you’re uncomfortable with it, try working on a


Leave a reply