Method 3: Build and Chalk Lines
This method is possibly the quickest way to figure stud heights and build rake walls. Here is how it is done:
• First, lay out the bottom plate in the same way you would if you were going to frame an ordinary wall.
• Spread your studs, making sure that they are long enough to reach the top of the rake wall.
• Toenail the bottom plate from the inside of the plate so that when the wall is lifted, the nail will function as a pivot point on the layout line.
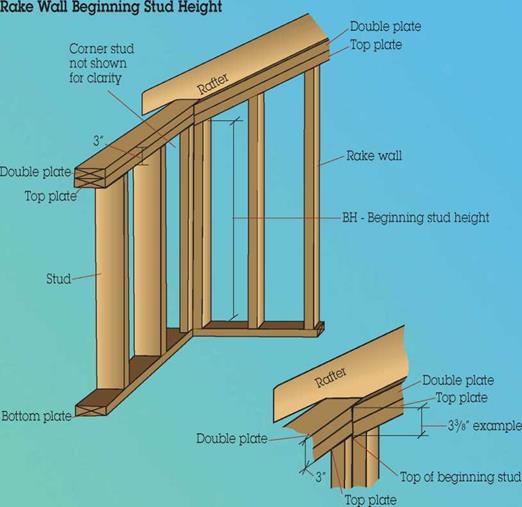
• Cut the length of the beginning stud to match the adjoining wall. Take into consideration the location of the rafters if the lookouts rest on the rake wall, and the thickness of the plates on the rake.
• Set the beginning stud square with the bottom plate.
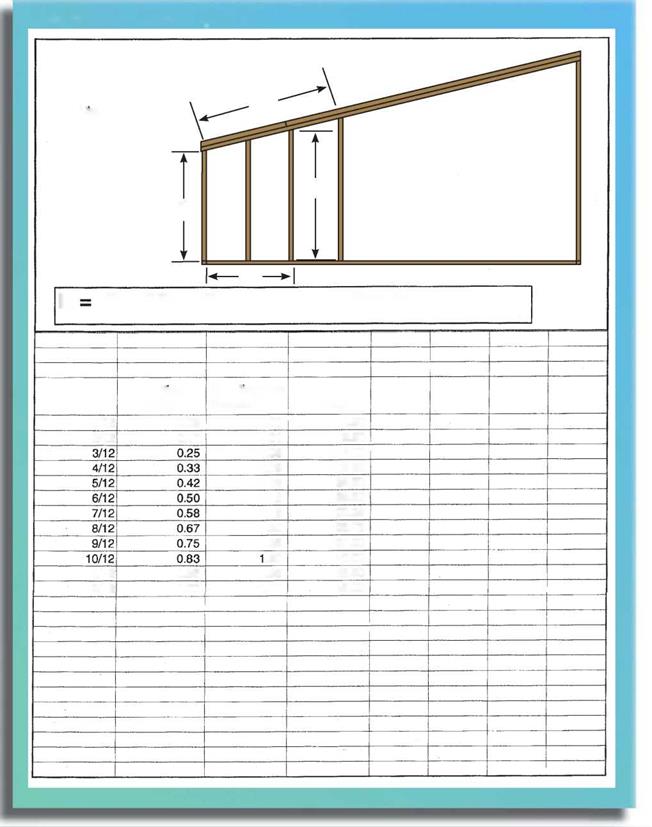
• Use the rise percent to find the length of the longest stud. (See the “Rake Wall, RP, DP, Saw Angle" illustration.)
• Set that stud square with the bottom plate.
• Nail the rest of the studs to the bottom plate.
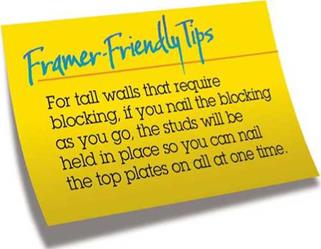
• Block the wall where required.
• Position all the studs so they are square.
• Chalk a line along the top of the studs.
• Cut each stud.
• Measure and cut the top plate and double plate.
• Nail the top plate to the studs, and the double plate to the top plate.
With this method, you are framing the wall in place.
• Find the beginning stud and the longest stud heights in the same way you would with the other methods.
• Nail the bottom plates to the floor, and brace the beginning stud and the longest studs
in place.
• Make sure that the studs are plumb before continuing.
• Measure, cut, and nail the top plate onto the studs.
• Lay out the top plate using the “Figure Lengths on Paper" method, or plumb up from the bottom plate. Measure, cut, and nail the remaining studs in place.
|
|
|
|
||
|
|
||
|
|||
|
|||
|
|||
|
|||
|
|||
|
|||
|
|||
|


|
|||
|
|||
|
|||
|
|||
|
|||
|
|
||
|
|||
|
|||
|
|||

 |
Please note that the beginning stud height on a rake wall is not the same as a typical stud.
|
жї |


Leave a reply